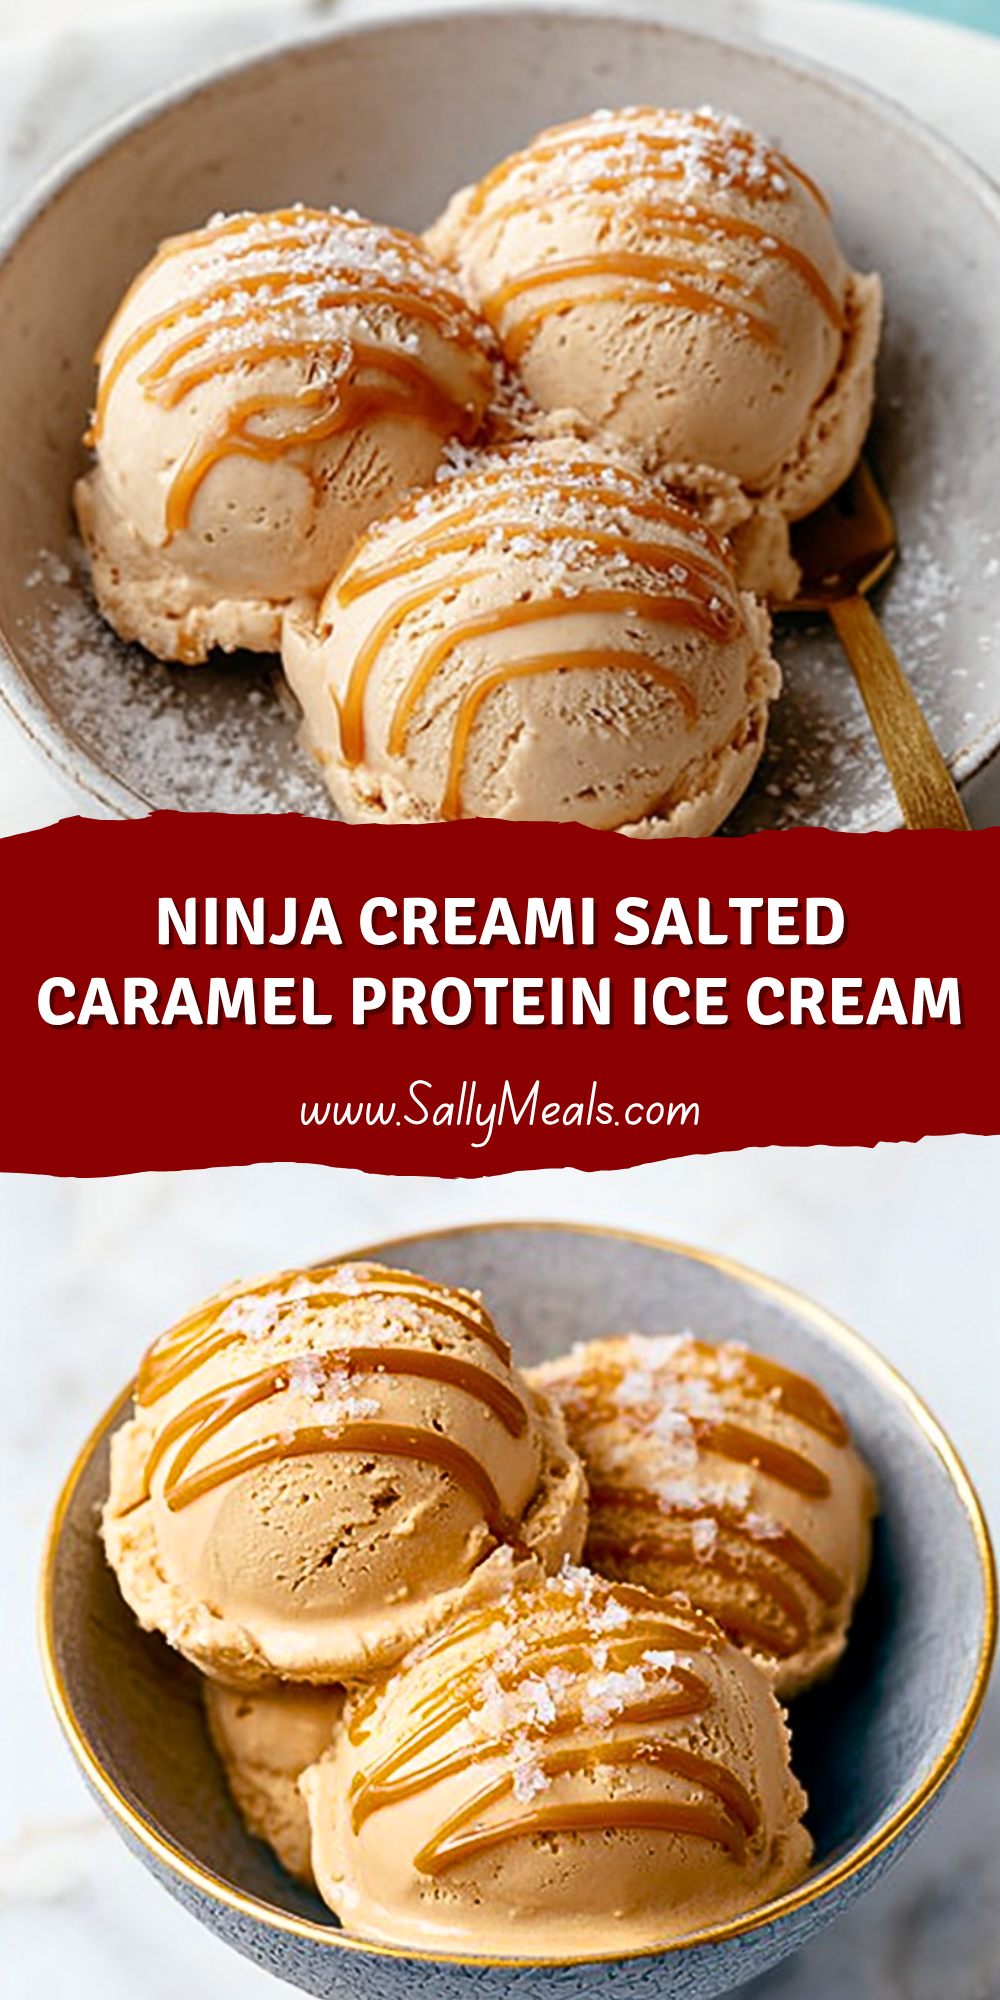
Silky, rich, and irresistibly creamy, this Ninja Creami Salted Caramel Protein Ice Cream delivers everything you crave in a dessert—without the usual guilt. Each spoonful melts smoothly on your tongue, blending deep caramel sweetness with just the right hint of sea salt to create that perfect balance of flavors. It’s the kind of treat that feels indulgent yet surprisingly nourishing.
What makes this version stand out is how effortlessly it turns simple, protein-packed ingredients into a luxurious frozen dessert. Whether you’re winding down after a workout or just want a better-for-you sweet fix, this ice cream proves you don’t have to sacrifice taste for nutrition.
Why You’ll Love This Ninja Creami Salted Caramel Protein Ice Cream
This recipe brings together convenience, flavor, and nutrition in one bowl. It’s high in protein, customizable to your dietary needs, and incredibly easy to make using the Ninja Creami. The salted caramel flavor adds a gourmet touch, while the creamy texture rivals traditional ice cream. Plus, you can tweak sweetness levels and ingredients to match your preferences.
Preparation Phase & Tools to Use (Essential Tools and Equipment, and the Importance of Each Tool)
To get the best results, having the right tools makes all the difference. The Ninja Creami machine is the star here—it transforms a frozen base into a creamy, scoopable dessert with its unique spinning technology. A blender or handheld frother helps ensure your mixture is completely smooth before freezing, which prevents icy textures later on. Measuring cups and spoons keep your ingredient ratios precise, which is especially important for achieving the perfect consistency. Lastly, a freezer-safe pint container (compatible with the Ninja Creami) is essential for properly freezing and processing the mixture.
Preparation Tips
For the smoothest texture, always blend your base thoroughly before freezing to eliminate any lumps. Let the mixture freeze completely—usually overnight—for the best results when spinning. If your ice cream comes out crumbly after the first spin, don’t worry; a quick re-spin or adding a splash of milk can fix the texture instantly. Also, balance is key: taste your base before freezing to ensure the sweetness and saltiness are just right, since flavors mellow slightly once frozen.
Ingredients for this Ninja Creami Salted Caramel Protein Ice Cream
To achieve a perfectly creamy, protein-rich texture with that signature salted caramel flavor, use the following ingredients. Each plays a role in balancing taste, sweetness, and consistency:
- 1 ½ cups fairlife milk (or any high-protein milk alternative)
- 1 scoop vanilla or caramel protein powder (whey or plant-based)
- 2–3 tablespoons sugar-free caramel syrup (adjust to taste)
- 1–2 tablespoons maple syrup or honey (optional, for added natural sweetness)
- ¼ teaspoon sea salt (adjust for that classic salted caramel balance)
- ½ teaspoon vanilla extract (enhances overall flavor depth)
- 1 tablespoon cream cheese (softened, for extra creaminess)
- Optional: 1–2 tablespoons heavy cream (for richer texture)
Optional Mix-ins (add after first spin):
- Crushed caramel candies or toffee bits
- Dark chocolate chips
- Chopped nuts (pecans or almonds work great)
Instructions
Step 1: Prepare the Ice Cream Base
In a blender or mixing bowl, combine the milk, protein powder, caramel syrup, maple syrup (if using), sea salt, vanilla extract, and softened cream cheese. Blend or whisk thoroughly until the mixture is completely smooth and no lumps remain. This step is critical for avoiding icy or grainy texture later.
Step 2: Taste and Adjust Flavor
Before freezing, taste your mixture. Adjust sweetness by adding more caramel syrup or maple syrup if needed. Add a tiny pinch more salt if you want a stronger salted caramel contrast. Keep in mind that flavors become slightly muted after freezing.
Step 3: Freeze the Mixture
Pour the blended mixture into a Ninja Creami-compatible pint container. Secure the lid and place it on a flat surface in your freezer. Freeze for at least 8–12 hours, preferably overnight, until completely solid.
Step 4: First Spin in Ninja Creami
Remove the frozen pint from the freezer and place it into the Ninja Creami machine. Select the “Lite Ice Cream” or “Ice Cream” function depending on your ingredients. Let the machine complete its cycle.
Step 5: Check Texture and Re-Spin
After the first spin, the texture may appear crumbly or powdery. This is normal. Add 1–2 tablespoons of milk directly into the pint and run the “Re-Spin” function. Repeat if needed until the ice cream becomes smooth and creamy.
Step 6: Add Mix-Ins (Optional)
If you’re adding extras like chocolate chips, caramel bits, or nuts, create a small well in the center of the ice cream. Add your mix-ins, then use the “Mix-In” function on the Ninja Creami to evenly distribute them.
Step 7: Final Texture Adjustment
If you prefer a softer, more scoopable consistency, you can run one more re-spin or let the ice cream sit at room temperature for 2–3 minutes before serving.
Step 8: Serve and Enjoy
Scoop into a bowl and drizzle extra caramel syrup on top for a bakery-style finish. Sprinkle a pinch of flaky sea salt for added flavor contrast and visual appeal.
Notes
This recipe is highly flexible and can be tailored to suit different dietary preferences and goals. You can easily swap dairy milk for almond, oat, or coconut milk, though keep in mind that lower-fat options may slightly affect the creaminess. Protein powders vary in sweetness and texture, so you may need to adjust the liquid ratio or sweetness level depending on the brand you use. If your mixture turns out too thick before freezing, simply add a splash of milk to loosen it. For an even richer flavor, consider using a caramel-flavored protein powder to intensify the salted caramel profile.
Watch Out for These Mistakes While Cooking
- Not blending the mixture thoroughly, which can lead to icy or grainy texture
- Skipping the full freezing time, resulting in uneven processing in the Ninja Creami
- Adding too much liquid before the first spin, which can make the ice cream too soft
- Overdoing the salt, which can overpower the caramel sweetness
- Not using the re-spin function when needed, leaving the texture crumbly
- Using low-quality protein powder that doesn’t mix well or tastes artificial
Storage Instructions
Store any leftover ice cream in the same Ninja Creami pint container with a tightly sealed lid. Keep it in the freezer for up to one week for best quality. When ready to enjoy again, allow the pint to sit at room temperature for a few minutes, then run a quick re-spin in the Ninja Creami to restore its creamy consistency. Avoid repeated thawing and refreezing, as this can negatively impact both texture and flavor.
Estimated Nutrition
- Calories: 180–250 per serving (varies based on ingredients)
- Protein: 20–30g
- Carbohydrates: 10–18g
- Fat: 4–10g
- Sugar: 4–8g
- Fiber: 1–3g
Frequently Asked Questions
Can I make this without a Ninja Creami?
Yes, but the texture will be different. You can freeze the mixture and blend it in a high-speed blender, though it may not be as creamy.
What’s the best protein powder to use?
Whey-casein blends or pure whey isolate tend to give the creamiest results, but plant-based options can work with slight adjustments.
Why is my ice cream crumbly after spinning?
This is normal. Simply add a bit of milk and use the re-spin function to achieve a smooth texture.
Can I make it dairy-free?
Absolutely. Use a plant-based milk and protein powder, and skip the cream cheese or replace it with a dairy-free alternative.
How do I make it sweeter?
Add more caramel syrup, maple syrup, or a low-calorie sweetener before freezing.
Can I add mix-ins before freezing?
It’s best to add them after the first spin using the mix-in function for even distribution.
How long should I freeze the base?
At least 8–12 hours, but overnight is ideal for best results.
Can I double the recipe?
You can, but it’s best to prepare and spin each pint separately to ensure proper texture.
Conclusion
Ninja Creami Salted Caramel Protein Ice Cream proves that healthy desserts don’t have to compromise on flavor or texture. With its creamy consistency, balanced sweetness, and satisfying protein boost, it’s a recipe you’ll return to again and again. Whether you’re experimenting with mix-ins or perfecting your base, this dessert offers endless opportunities to customize and enjoy.
Ninja Creami Salted Caramel Protein Ice Cream
Ingredients
- 1 ½ cups fairlife milk
- 1 scoop vanilla or caramel protein powder
- 3 tablespoons sugar-free caramel syrup
- 1 tablespoon maple syrup
- ¼ teaspoon sea salt
- ½ teaspoon vanilla extract
- 1 tablespoon cream cheese
- 1 tablespoon heavy cream
Instructions
- 1. In a blender, combine milk, protein powder, caramel syrup, maple syrup, sea salt, vanilla extract, and cream cheese until smooth
- 2. Taste and adjust sweetness or salt as needed
- 3. Pour into Ninja Creami pint and freeze 8–12 hours
- 4. Run Lite Ice Cream or Ice Cream cycle
- 5. If crumbly, add milk and re-spin
- 6. Repeat re-spin until creamy
- 7. Add mix-ins if desired and use Mix-In function
- 8. Let sit briefly, then scoop and serve