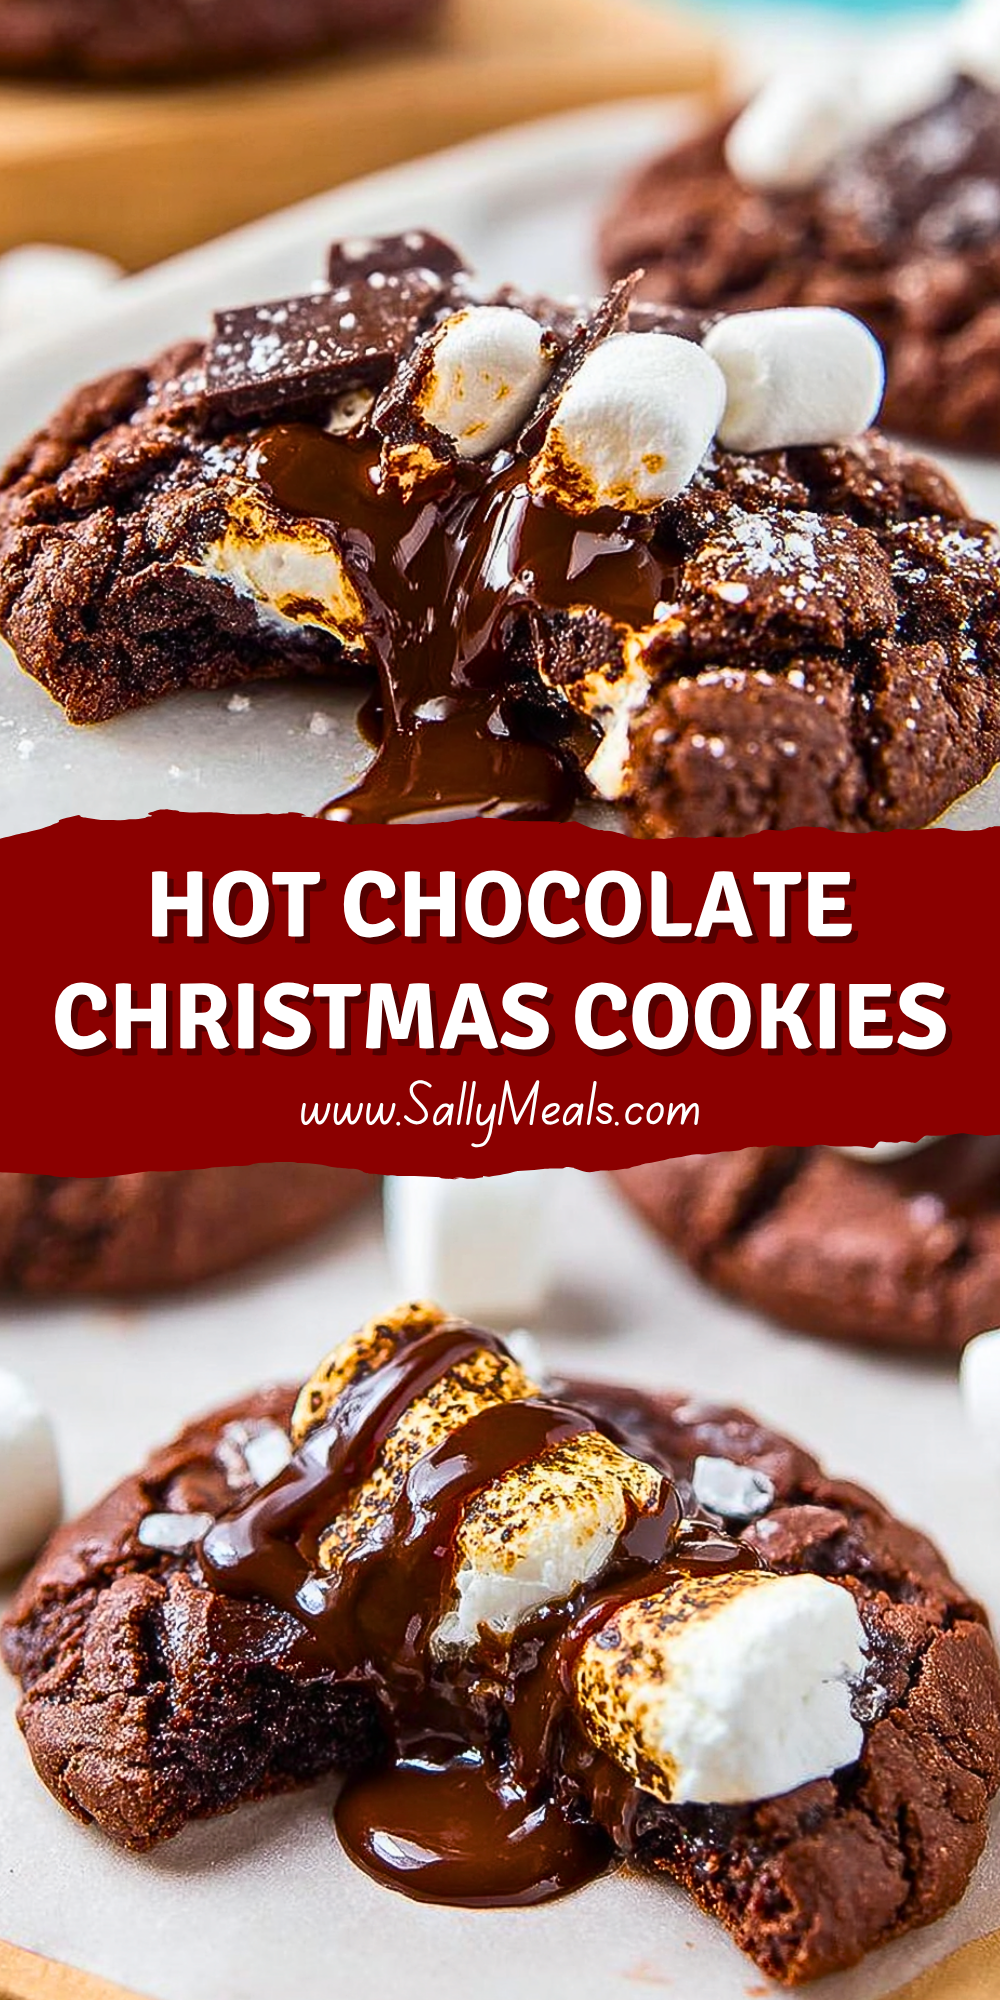
I still remember the first time I baked Hot Chocolate Christmas Cookies during the holiday season. The smell of rich chocolate drifting through the kitchen instantly made everything feel cozy and festive. What makes these cookies unforgettable is the gooey melted chocolate center paired with soft marshmallows that resemble a cup of hot cocoa in dessert form.
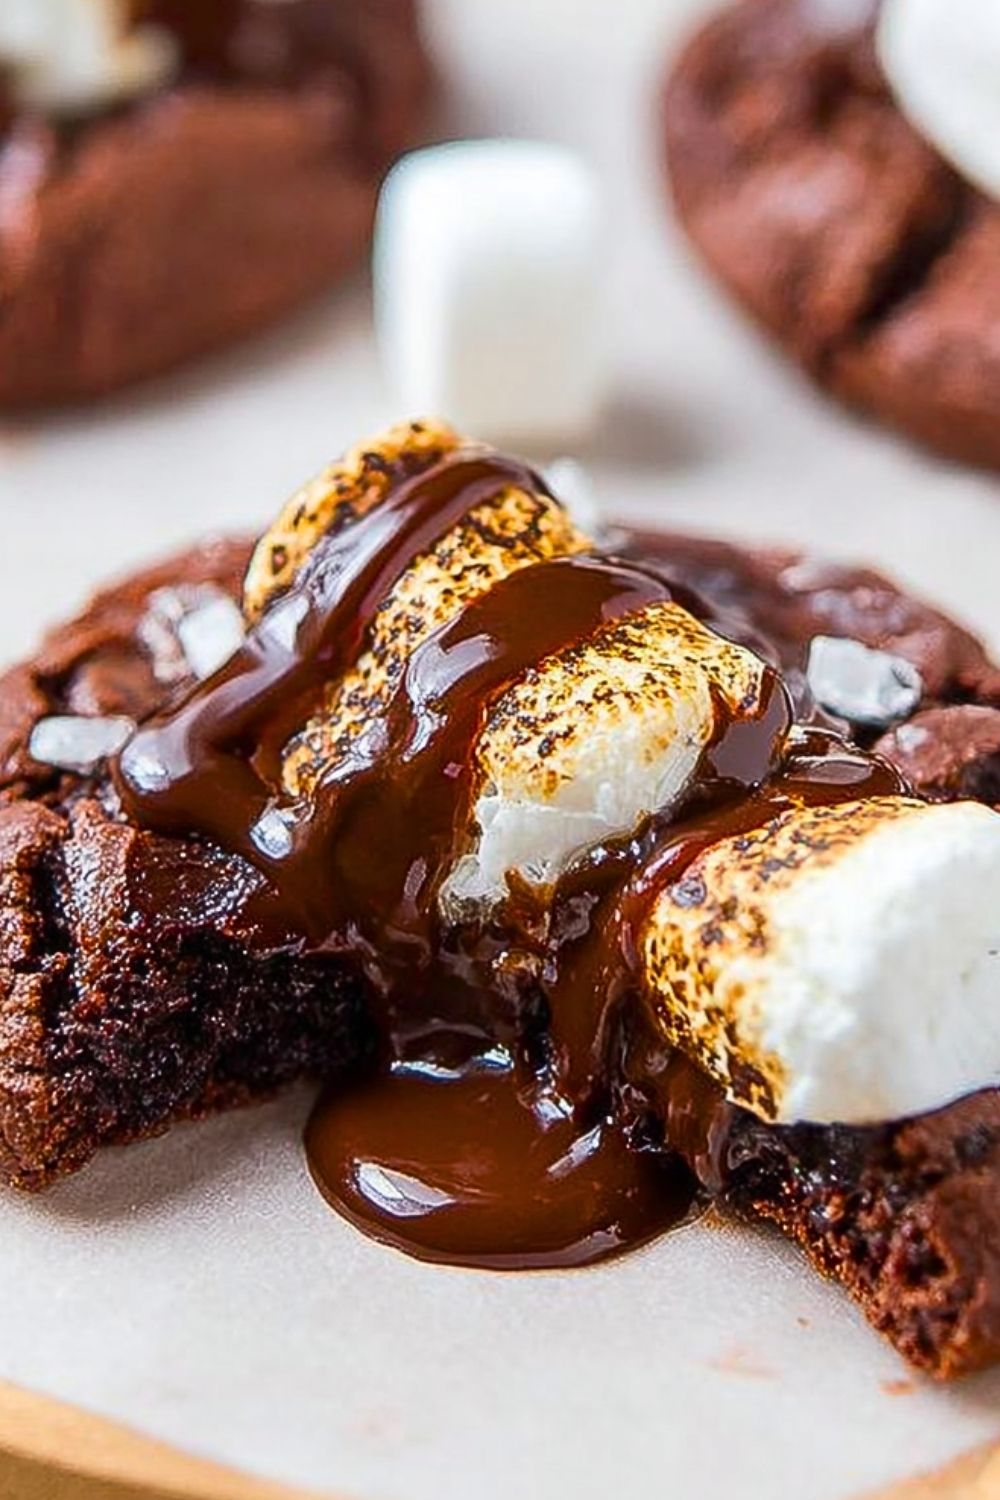
Every year, I look forward to making these cookies because they are simple, comforting, and always the first dessert to disappear from the holiday table. They have a soft brownie-like texture with a warm chocolate filling that flows out when you break them apart. Whether you are baking for a Christmas party, cookie exchange, or a relaxing winter evening at home, these cookies bring extra warmth to the season.
Why You’ll Love This Hot Chocolate Christmas Cookies Recipe
These cookies combine everything people love about hot chocolate and holiday desserts in one bite. The soft chocolate cookie base creates a rich and fudgy texture, while the melted chocolate center adds a decadent surprise.
They are also incredibly festive and easy to customize. You can top them with mini marshmallows, crushed peppermint, or a dusting of powdered sugar for a snowy holiday look. Since they are easy to prepare ahead of time, they work perfectly for Christmas gatherings and homemade gift boxes.
Another reason I enjoy making these cookies is how comforting they feel fresh from the oven. The warm melted center paired with the soft cookie exterior makes them ideal for cozy winter nights.
What Kind of Chocolate Should I Use for Hot Chocolate Christmas Cookies?
The chocolate you choose makes a big difference in both flavor and texture. I prefer using semi-sweet chocolate because it balances sweetness while still giving the cookies a deep chocolate flavor. Dark chocolate also works beautifully if you want a richer and slightly less sweet dessert.
For the molten center, chocolate truffles or chocolate squares melt perfectly and create the signature gooey filling. Milk chocolate can be used for a sweeter cookie, especially if serving children during holiday parties.
Cocoa powder is equally important in the dough. Dutch-process cocoa powder creates a darker and smoother chocolate flavor, while natural cocoa powder gives the cookies a more classic hot chocolate taste.
Options for Substitutions
If you need to adjust the recipe based on ingredients you already have at home, there are several easy substitutions that still deliver delicious results.
Butter can be replaced with margarine or plant-based butter for a dairy-free version. If you want a slightly different flavor profile, coconut oil also works well in chocolate cookie dough.
For the flour, a gluten-free all-purpose blend can be used without dramatically changing the texture. Just make sure it includes xanthan gum for structure.
Mini marshmallows are classic for this recipe, but marshmallow fluff can also create a gooey topping effect. If you want extra holiday flavor, peppermint chocolate pieces or white chocolate chunks make excellent additions.
You can even swap the chocolate filling with caramel candies or peanut butter cups for a creative variation that still keeps the cookies rich and indulgent.
Ingredients for This Hot Chocolate Christmas Cookies Recipe
All-Purpose Flour
Flour gives the cookies their structure and creates the soft yet sturdy texture needed to hold the gooey chocolate center. It also helps balance the richness of the chocolate ingredients.
Unsweetened Cocoa Powder
Cocoa powder is responsible for the deep chocolate flavor throughout the cookie dough. It creates that classic hot chocolate taste that makes these cookies feel extra cozy during the holidays.
Baking Soda
Baking soda helps the cookies rise slightly while keeping the center soft and tender. It also prevents the cookies from becoming too dense.
Salt
A small amount of salt enhances the chocolate flavor and balances the sweetness of the marshmallows and melted chocolate.
Unsalted Butter
Butter creates richness and gives the cookies their soft texture. Using unsalted butter allows better control over the overall flavor of the dough.
Brown Sugar
Brown sugar adds moisture and creates a chewy cookie texture. It also contributes a warm caramel-like flavor that pairs perfectly with chocolate.
Granulated Sugar
Granulated sugar adds sweetness and helps the edges of the cookies develop a slight crispness while the centers remain soft.
Eggs
Eggs bind all the ingredients together and help create a smooth, rich dough. They also contribute to the fudgy texture.
Vanilla Extract
Vanilla enhances the chocolate flavor and adds warmth to the overall taste of the cookies.
Semi-Sweet Chocolate Chips
Chocolate chips provide bursts of melted chocolate throughout the cookies and make every bite extra decadent.
Chocolate Truffles or Chocolate Squares
These create the signature molten center inside the cookies. As they bake, the chocolate becomes smooth and lava-like.
Mini Marshmallows
Mini marshmallows create the classic hot chocolate appearance and add a sweet, gooey topping that melts beautifully.
Crushed Candy Canes (Optional)
Candy canes add a festive peppermint flavor and a decorative Christmas touch.
Powdered Sugar (Optional)
A light dusting of powdered sugar gives the cookies a snowy holiday appearance.
Step 1: Prepare the Baking Sheets
Start by preheating the oven so the cookies bake evenly from the moment they go in. Line baking sheets with parchment paper to prevent sticking and to help the bottoms bake perfectly without burning.
Preparing everything ahead of time makes the baking process smoother, especially because the dough comes together quickly.
Step 2: Mix the Dry Ingredients
In a medium bowl, whisk together the flour, cocoa powder, baking soda, and salt. Mixing these ingredients separately ensures the cocoa and leavening agents are evenly distributed throughout the dough.
This step helps avoid clumps of cocoa powder and ensures every cookie has a consistent chocolate flavor.
Step 3: Cream the Butter and Sugars
In a large mixing bowl, beat the softened butter with the brown sugar and granulated sugar until the mixture becomes light and fluffy.
Creaming the butter properly is important because it creates air pockets that help give the cookies a soft texture. The brown sugar also starts dissolving during this stage, which contributes to chewiness.
Step 4: Add the Eggs and Vanilla
Mix the eggs into the butter mixture one at a time. This helps them blend smoothly into the dough without curdling.
After the eggs are fully incorporated, add the vanilla extract. The vanilla deepens the chocolate flavor and gives the cookies a warm bakery-style aroma.
Step 5: Combine the Wet and Dry Ingredients
Gradually add the dry ingredient mixture into the wet ingredients while mixing on low speed.
The dough should become thick, rich, and chocolatey. Avoid overmixing once the flour disappears because too much mixing can create dense cookies.
Step 6: Fold in the Chocolate Chips
Using a spatula or wooden spoon, gently fold the chocolate chips into the dough.
This step evenly distributes pockets of melted chocolate throughout the cookies and adds extra richness to every bite.
Step 7: Chill the Dough
Place the dough in the refrigerator for at least 30 minutes.
Chilling helps the dough firm up, making it easier to shape around the chocolate centers. It also prevents the cookies from spreading too much while baking.
If you have extra time, chilling for up to one hour creates even thicker cookies with a fudgier texture.
Step 8: Shape the Cookies
Scoop portions of dough and flatten each slightly in your hand. Place a chocolate truffle or chocolate square in the center, then wrap the dough completely around it.
Seal the edges carefully so the molten filling stays inside while baking.
Place the dough balls onto the prepared baking sheets, leaving enough space between each cookie for slight spreading.
Step 9: Bake the Cookies
Bake the cookies until the edges are set while the centers remain soft.
The cookies may appear slightly underbaked in the middle, but they will continue cooking from residual heat once removed from the oven. This is what creates the soft and gooey texture.
Avoid overbaking because the molten center can harden if exposed to heat for too long.
Step 10: Add the Marshmallows
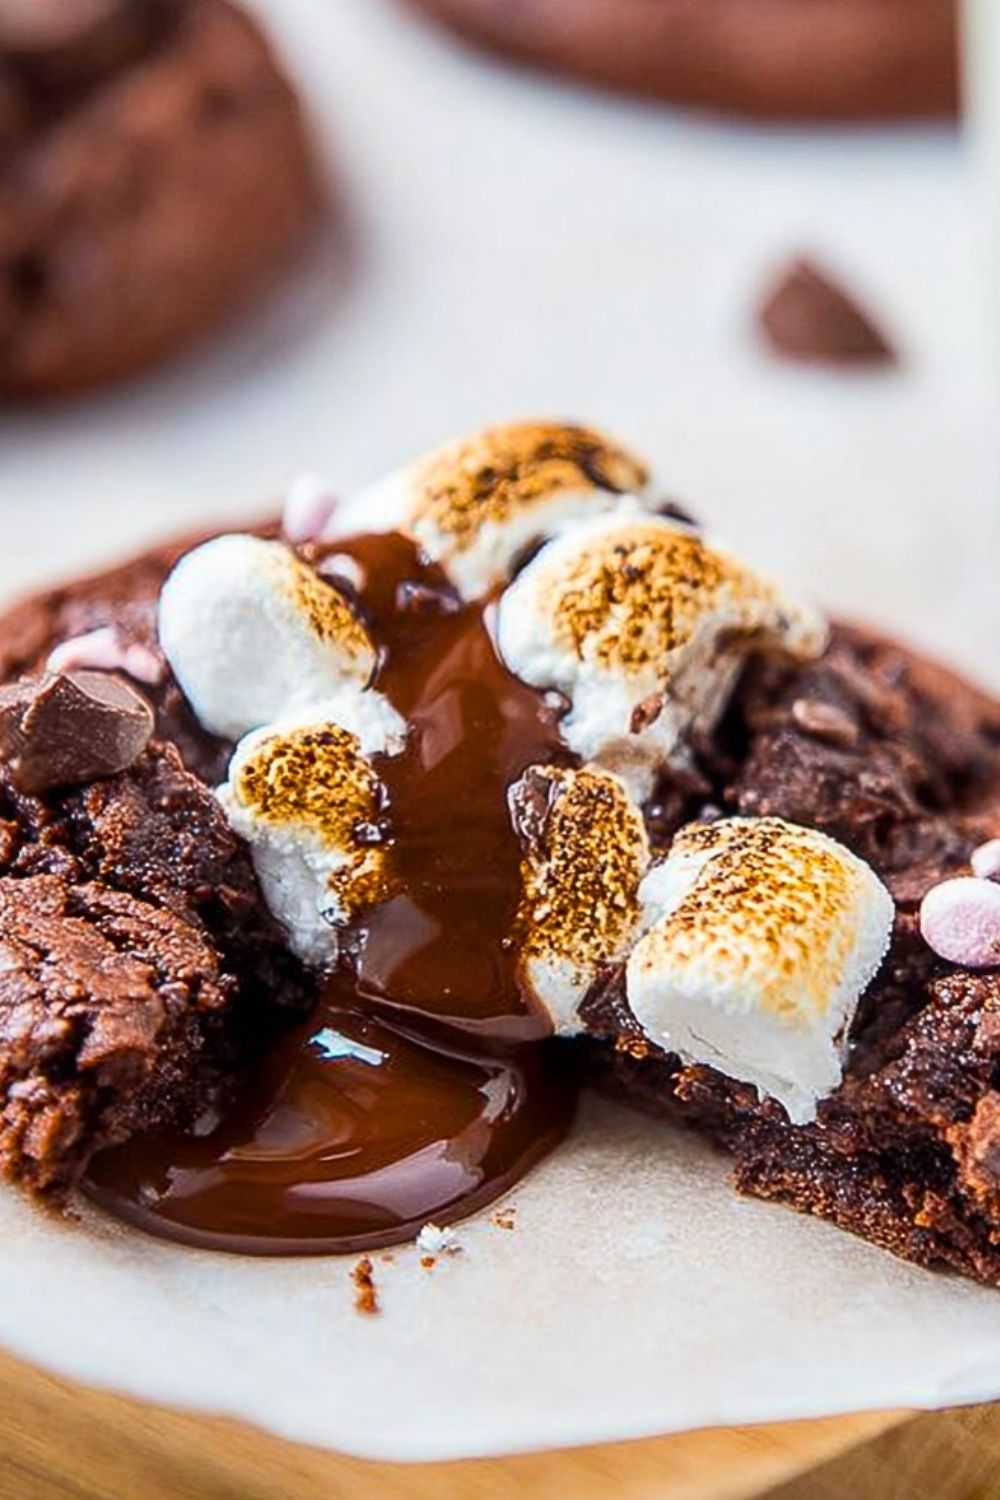
Immediately after removing the cookies from the oven, place mini marshmallows on top of each cookie.
The residual heat softens the marshmallows and gives them that classic hot chocolate appearance. If you want lightly toasted marshmallows, place the cookies back in the oven for a brief moment.
Step 11: Decorate for the Holidays
Sprinkle crushed candy canes, chocolate drizzle, or powdered sugar over the cookies while they are still slightly warm.
These finishing touches make the cookies look festive and bakery-worthy for Christmas parties and dessert trays.
Step 12: Cool and Serve
Allow the cookies to cool for several minutes before serving.
The chocolate center remains very hot immediately after baking, so letting the cookies rest slightly helps the filling thicken into a smooth molten texture.
Serve the cookies warm for the ultimate hot chocolate experience. Pair them with coffee, milk, or a mug of real hot cocoa for an extra cozy holiday dessert.
How Long to Prepare Hot Chocolate Christmas Cookies
Preparing Hot Chocolate Christmas Cookies is surprisingly simple, even though they look like a bakery-style holiday dessert. Most of the preparation time goes into mixing the dough, shaping the cookies around the chocolate filling, and allowing the dough to chill properly before baking. Chilling is an important step because it helps the cookies stay thick and soft while preventing them from spreading too much in the oven.
For most home bakers, the full preparation process takes around 20 to 30 minutes, depending on how quickly the dough is assembled. If you are making multiple batches for holiday parties or cookie exchanges, you can prepare the dough ahead of time and refrigerate it overnight.
The baking process itself is fairly quick. Each batch usually needs about 10 to 12 minutes in the oven. Once baked, the cookies should cool for several minutes so the molten chocolate center can settle slightly while remaining warm and gooey.
If you include cooling and decorating time, the total process generally takes about 1 hour from start to finish. The result is well worth the effort because these cookies deliver a rich chocolate flavor and an impressive molten center that feels extra special during the holiday season.
Tips for Perfect Hot Chocolate Christmas Cookies
Using high-quality chocolate makes a huge difference in the final flavor. Since chocolate is the star ingredient, choosing good cocoa powder and rich chocolate pieces creates a deeper and more luxurious taste.
Always chill the dough before baking. This step helps the cookies maintain their shape and keeps the centers soft and thick.
Avoid overbaking the cookies. The edges should look set while the centers remain slightly soft. Overbaking can dry out the cookies and harden the molten filling.
Use room-temperature ingredients whenever possible. Softened butter and room-temperature eggs mix more smoothly and create a more even cookie dough.
When sealing the dough around the chocolate filling, make sure there are no cracks or openings. Properly sealed dough prevents the melted center from leaking during baking.
Adding marshmallows immediately after baking helps them soften perfectly without burning. If you prefer toasted marshmallows, broil the cookies very briefly while watching closely.
For extra holiday flavor, add peppermint extract, crushed candy canes, or white chocolate drizzle after baking.
Watch Out for These Mistakes While Cooking
One common mistake is skipping the dough chilling step. Warm dough spreads too quickly in the oven and can cause flat cookies with leaking chocolate centers.
Another issue is overmixing the dough after adding the flour. Overmixing develops too much gluten, which can make the cookies tough instead of soft and fudgy.
Using chocolate pieces that are too small for the center may prevent the cookies from developing the signature molten filling. Larger chocolate chunks or truffles work best.
Many bakers also accidentally overbake these cookies. Because the centers should remain soft, it is normal for the middle to look slightly underdone when removed from the oven.
Adding marshmallows too early can also cause problems. Marshmallows melt and burn quickly, so they should be added near the end of baking or immediately afterward.
Finally, placing cookies too close together on the baking sheet can lead to uneven baking and cookies sticking together. Leaving enough space allows proper airflow around each cookie.
What to Serve With Hot Chocolate Christmas Cookies?
Hot Cocoa
Serving these cookies with a warm mug of hot cocoa creates the ultimate cozy holiday dessert experience. The creamy drink complements the rich chocolate flavor perfectly.
Peppermint Mocha Coffee
A peppermint mocha pairs beautifully with the chocolate and marshmallow flavors in the cookies. The mint adds a refreshing holiday touch.
Vanilla Ice Cream
Warm cookies with cold vanilla ice cream create a delicious contrast in both temperature and texture. The melting ice cream also enhances the gooey chocolate center.
Fresh Strawberries
Fresh strawberries provide a bright and slightly tart contrast to the rich chocolate flavor, helping balance the sweetness.
Holiday Milkshakes
Chocolate or peppermint milkshakes make these cookies feel even more festive and indulgent during Christmas celebrations.
Storage Instructions
Hot Chocolate Christmas Cookies store very well, making them perfect for holiday baking ahead of time.
If you plan to enjoy them within a few days, keep the cookies in an airtight container at room temperature. They typically stay soft and fresh for about 3 to 4 days. Adding a slice of bread to the container can help maintain moisture and keep the cookies soft.
For longer storage, refrigerate the cookies in a sealed container. Refrigeration helps preserve the gooey chocolate center and prevents the marshmallows from becoming sticky. Before serving, warm the cookies slightly in the microwave for a few seconds to restore the molten center.
These cookies also freeze beautifully. Arrange the cooled cookies in layers separated by parchment paper and store them in a freezer-safe container. They can be frozen for up to 2 months.
If freezing unbaked dough, shape the cookies around the chocolate centers first, then freeze the dough balls on a tray before transferring them to a freezer bag. This allows fresh cookies to be baked anytime during the holiday season.
Estimated Nutrition
The nutritional values may vary depending on the specific chocolate and marshmallow products used.
- Calories: Approximately 320 per cookie
- Carbohydrates: 42g
- Protein: 4g
- Fat: 16g
- Saturated Fat: 9g
- Sugar: 28g
- Fiber: 3g
- Sodium: 160mg
These cookies are rich and indulgent, making them ideal as a special holiday treat.
Frequently Asked Questions
Can I make Hot Chocolate Christmas Cookies ahead of time?
Yes, the dough can be prepared in advance and refrigerated overnight. You can also freeze the shaped dough balls for future baking.
Why did my chocolate center leak out?
This usually happens when the dough is not sealed completely around the chocolate filling or when the dough becomes too warm before baking.
Can I use marshmallow fluff instead of mini marshmallows?
Yes, marshmallow fluff can be added after baking for a softer topping with a creamy texture.
How do I keep the cookies soft?
Store them in an airtight container and avoid overbaking. Slightly underbaking the cookies helps maintain a soft center.
Can I add peppermint flavor?
Absolutely. A small amount of peppermint extract or crushed candy canes adds a festive holiday flavor that pairs wonderfully with chocolate.
Conclusion
Hot Chocolate Christmas Cookies bring together everything people love about the holiday season: rich chocolate, gooey marshmallows, warm melted centers, and cozy homemade flavor. They are visually festive, incredibly indulgent, and surprisingly simple to prepare.
Whether you are baking for a Christmas gathering, creating homemade dessert gifts, or simply enjoying a quiet winter evening, these cookies always feel special. Their soft texture and molten chocolate filling make every bite comforting and memorable.
Once you make a batch, it is easy to see why these cookies quickly become a favorite holiday tradition.
Hot Chocolate Christmas Cookies
- Prep Time: 30 minutes
- Cook Time: 12 minutes
- Total Time: 42 minutes
- Yield: 12 cookies 1x
- Category: Dessert
- Method: Baking
- Cuisine: American
- Diet: Vegetarian
Description
These Hot Chocolate Christmas Cookies are rich, fudgy, and filled with a gooey melted chocolate center that makes every bite feel warm and cozy. Soft chocolate cookie dough surrounds creamy chocolate filling and is topped with gooey marshmallows for the ultimate holiday dessert experience. Perfect for Christmas parties, cookie exchanges, easy dessert ideas, holiday baking, winter treats, and festive food ideas, these cookies combine everything people love about hot cocoa in one indulgent dessert.
Ingredients
1 ¾ cups all-purpose flour
½ cup unsweetened cocoa powder
1 teaspoon baking soda
¼ teaspoon salt
¾ cup unsalted butter, softened
1 cup brown sugar
½ cup granulated sugar
2 large eggs
1 teaspoon vanilla extract
1 cup semi-sweet chocolate chips
12 chocolate truffles or chocolate squares
1 cup mini marshmallows
¼ cup crushed candy canes (optional)
Powdered sugar for dusting (optional)
Instructions
1. Preheat the oven to 350°F and line baking sheets with parchment paper.
2. In a medium bowl, whisk together the flour, cocoa powder, baking soda, and salt.
3. In a large mixing bowl, beat the butter, brown sugar, and granulated sugar until light and fluffy.
4. Add the eggs one at a time, mixing well after each addition. Stir in the vanilla extract.
5. Gradually mix the dry ingredients into the wet ingredients until fully combined.
6. Fold in the chocolate chips evenly throughout the dough.
7. Chill the dough for at least 30 minutes to prevent spreading.
8. Scoop portions of dough and flatten slightly. Place a chocolate truffle in the center and wrap the dough around it completely.
9. Arrange the cookie dough balls on the prepared baking sheets with space between each cookie.
10. Bake for 10 to 12 minutes until the edges are set and the centers remain soft.
11. Immediately place mini marshmallows on top of each cookie after baking.
12. Sprinkle crushed candy canes or powdered sugar over the cookies if desired.
13. Allow the cookies to cool slightly before serving warm.
Notes
Use high-quality chocolate for the richest molten center and best flavor.
Always chill the dough before baking to keep the cookies thick and soft.
Do not overbake the cookies because the centers should remain fudgy and gooey.
Nutrition
- Serving Size: 1 cookie
- Calories: 320
- Sugar: 28g
- Sodium: 160mg
- Fat: 16g
- Saturated Fat: 9g
- Unsaturated Fat: 6g
- Trans Fat: 0g
- Carbohydrates: 42g
- Fiber: 3g
- Protein: 4g
- Cholesterol: 45mg
Keywords: hot chocolate cookies, Christmas cookies, holiday dessert, easy cookie recipe, chocolate cookies, gooey cookies, marshmallow cookies, winter dessert, festive baking, holiday treats