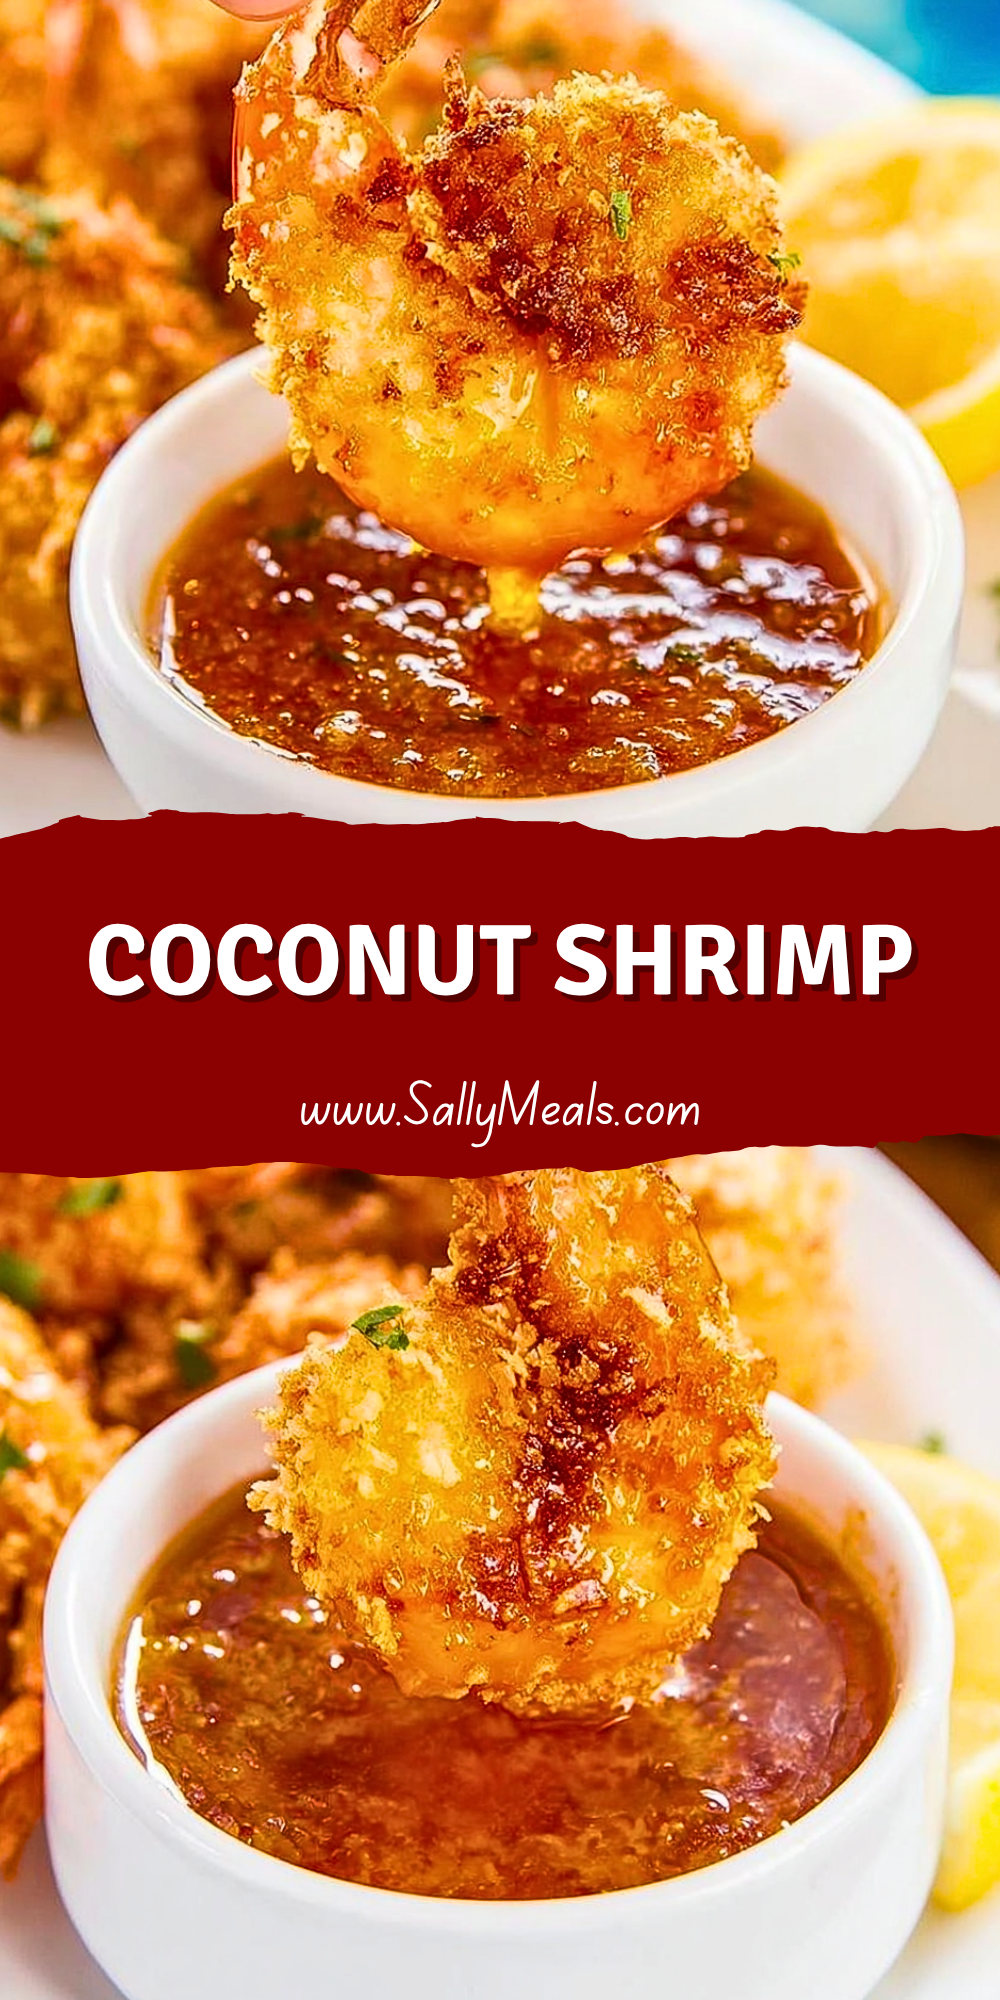
I still remember the first time I made Coconut Shrimp at home. I wanted something that felt restaurant-worthy but didn’t require complicated techniques or hard-to-find ingredients. The combination of crispy coconut coating and juicy shrimp instantly won me over, especially when paired with a sweet and spicy dipping sauce. Every bite delivers that perfect crunch followed by tender seafood flavor that makes this dish impossible to resist.
What I love most about Coconut Shrimp is how versatile it is. It works beautifully as a party appetizer, a fun family dinner, or even a tropical-inspired snack for weekend gatherings. The golden coating looks impressive on the plate, yet the recipe itself is surprisingly simple to prepare in your own kitchen.
Why You’ll Love This Coconut Shrimp
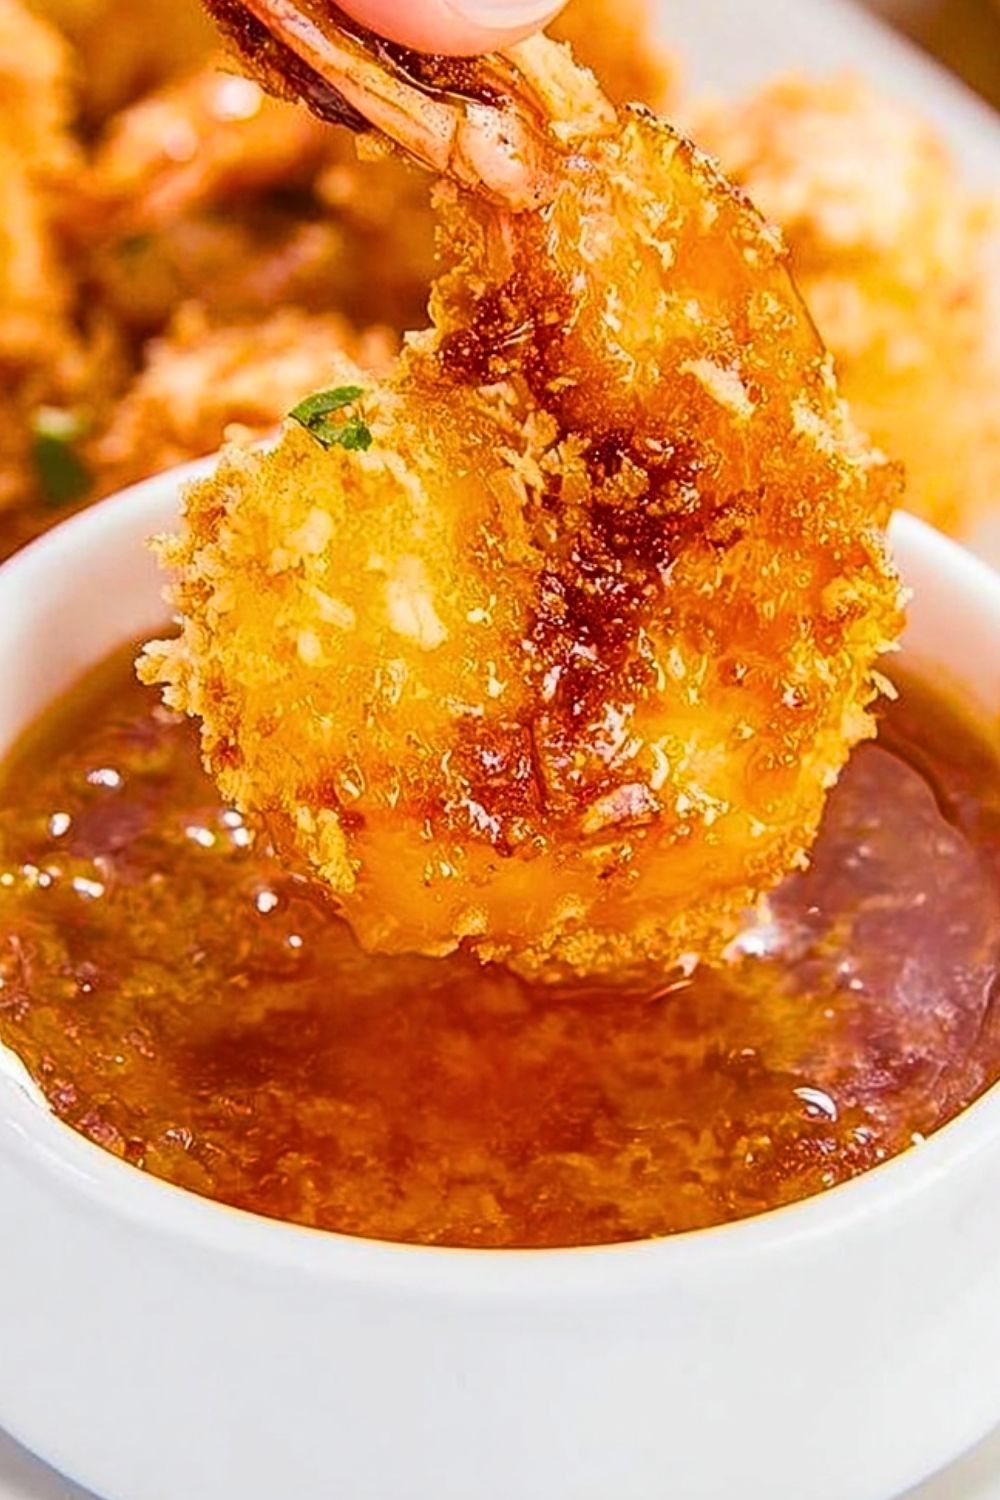
Coconut Shrimp brings together crunchy texture, savory shrimp, and lightly sweet coconut in one irresistible bite. The coating fries up beautifully golden while keeping the shrimp juicy and tender inside.
Another reason this recipe stands out is how quickly it comes together. You can have a batch ready in under an hour, making it ideal for busy evenings or last-minute entertaining.
The dipping sauce options are endless too. Sweet chili sauce, orange marmalade blends, or spicy mango sauces all pair wonderfully with the crispy shrimp.
And if you enjoy recipes that feel both comforting and a little special, this one checks every box. It has that restaurant-style presentation without requiring advanced cooking skills.
What Kind of Shrimp Should I Use for Coconut Shrimp?
Large or jumbo shrimp work best for Coconut Shrimp because they stay juicy during frying and provide the perfect balance of shrimp and crispy coating. I prefer using peeled and deveined shrimp with the tails left on since the tails make them easier to hold and dip.
Fresh shrimp are fantastic if available, but frozen shrimp are equally convenient and reliable. Just make sure they’re fully thawed and patted dry before breading to help the coating stick properly.
You can also choose between wild-caught and farm-raised shrimp depending on your preference. Wild-caught shrimp often have a firmer texture and slightly sweeter flavor, while farm-raised shrimp tend to be more affordable and easy to find.
Options for Substitutions
If you don’t have sweetened shredded coconut, unsweetened coconut works just as well and creates a slightly less sweet finish. Toasted coconut can also add deeper flavor and extra crunch.
Panko breadcrumbs are ideal for the crispiest texture, but regular breadcrumbs can still create a delicious coating if that’s what you have on hand.
For a gluten-free version, swap traditional flour and breadcrumbs for gluten-free alternatives. Rice flour and gluten-free panko hold up especially well during frying.
You can also air fry the shrimp instead of deep frying if you prefer a lighter option. The coating still becomes crispy while using much less oil.
For dipping sauces, sweet chili sauce is classic, but pineapple sauce, spicy mayo, or honey mustard all complement the coconut flavor beautifully.
Ingredients for this Coconut Shrimp
Shrimp
Large shrimp are the heart of this recipe. They stay juicy inside while holding up perfectly to the crispy coconut coating. Leaving the tails on also makes them easier to serve and dip.
All-Purpose Flour
Flour helps the coating stick to the shrimp. It creates the first dry layer that allows the egg mixture to cling evenly.
Eggs
Eggs act as the binding ingredient that keeps the coconut and breadcrumb coating attached during frying.
Panko Breadcrumbs
Panko breadcrumbs provide the light, crispy texture that makes Coconut Shrimp so crunchy and golden.
Shredded Coconut
Sweetened shredded coconut gives the shrimp its signature tropical flavor and beautiful toasted finish.
Salt
Salt enhances the natural sweetness of the shrimp and balances the coating flavors.
Black Pepper
A little black pepper adds mild warmth and depth without overpowering the coconut.
Garlic Powder
Garlic powder gives the breading savory flavor that complements the shrimp perfectly.
Paprika
Paprika adds gentle smokiness and a rich golden color to the coating.
Vegetable Oil
Oil is needed for frying the shrimp until crisp and evenly browned.
Sweet Chili Sauce
Sweet chili sauce creates the classic dipping option with a balance of sweetness and heat.
Lime Wedges
Fresh lime brightens the flavors and adds a refreshing citrus finish.
Step 1: Prepare the Shrimp
Start by peeling and deveining the shrimp if they are not already cleaned. Leave the tails attached for easier handling and better presentation.
Pat the shrimp completely dry with paper towels. Removing excess moisture helps the breading stick properly and prevents oil splatter during frying.
Place the shrimp in a bowl and lightly season them with salt, pepper, and a little garlic powder for extra flavor throughout every bite.
Step 2: Set Up the Breading Station
Prepare three separate shallow bowls for breading.
In the first bowl, add the flour along with paprika, garlic powder, salt, and black pepper.
In the second bowl, whisk the eggs until smooth and fully combined.
In the third bowl, mix the shredded coconut with the panko breadcrumbs. Combining the two ingredients creates the perfect balance of crunch and coconut flavor.
Keeping the bowls organized in order makes the coating process much easier and less messy.
Step 3: Coat the Shrimp
Take one shrimp at a time and coat it lightly in the seasoned flour. Shake off any excess flour before moving to the egg mixture.
Dip the shrimp into the eggs, making sure every surface is covered evenly.
Finally, press the shrimp into the coconut and breadcrumb mixture. Gently press the coating onto the shrimp so it adheres well and creates a thick crispy crust.
Place the coated shrimp on a tray or plate while finishing the remaining shrimp.
Step 4: Chill the Breaded Shrimp
For the best results, refrigerate the breaded shrimp for about 15 to 20 minutes before frying.
This step helps the coating stay firmly attached during cooking and prevents pieces from falling off in the oil.
It also gives the coconut mixture time to hydrate slightly from the egg wash, resulting in a crispier texture once fried.
Step 5: Heat the Oil Properly
Pour vegetable oil into a deep skillet or heavy-bottomed pot until it reaches about 2 inches deep.
Heat the oil to around 350°F. Maintaining the correct temperature is important because oil that is too cool makes the shrimp greasy, while overly hot oil can burn the coconut coating before the shrimp cook through.
Using a thermometer makes this process much easier and more reliable.
Step 6: Fry the Coconut Shrimp
Carefully place several shrimp into the hot oil without overcrowding the pan.
Cook the shrimp for about 2 to 3 minutes per side until they become deep golden brown and crispy. The shrimp should curl slightly and turn opaque inside.
Work in small batches to maintain the oil temperature and ensure even frying.
Transfer the cooked shrimp onto a wire rack or paper towel-lined plate to drain excess oil.
Step 7: Prepare the Dipping Sauce
While the shrimp cool slightly, prepare your dipping sauce.
Sweet chili sauce works beautifully on its own, but you can also mix it with orange marmalade, honey, or a little lime juice for extra flavor.
A creamy spicy mayo or pineapple dipping sauce also pairs wonderfully with the crispy coconut coating.
Step 8: Garnish and Serve
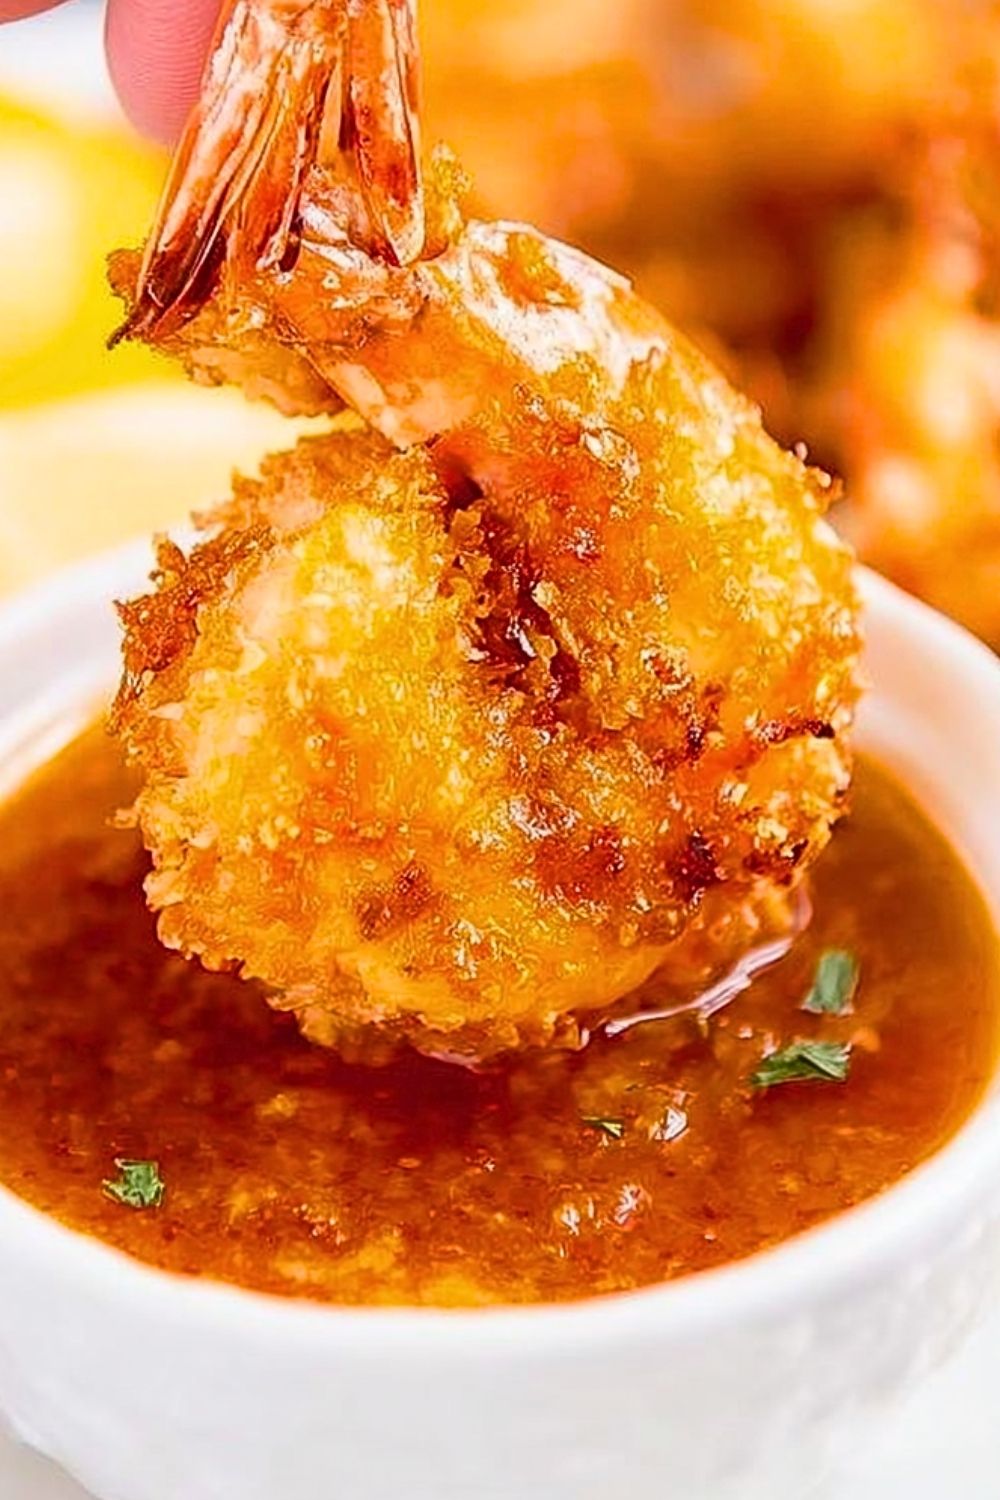
Arrange the Coconut Shrimp on a serving platter with lime wedges and dipping sauce on the side.
Serve them immediately while the coating is still hot and crispy.
The contrast between the crunchy coconut exterior and the juicy shrimp inside is what makes this dish so satisfying and unforgettable.
Step 9: Air Fryer Method for Coconut Shrimp
If you prefer a lighter version, Coconut Shrimp can also be cooked in the air fryer.
Preheat the air fryer to 390°F and lightly spray the basket with oil.
Arrange the shrimp in a single layer and spray the tops lightly with cooking spray to help them crisp.
Cook for about 8 to 10 minutes, flipping halfway through, until golden brown and fully cooked.
The air fryer method still produces a crispy texture while using far less oil.
Step 10: Oven-Baked Coconut Shrimp Option
For baking, preheat the oven to 425°F and place the breaded shrimp on a parchment-lined baking sheet.
Lightly spray the shrimp with oil to encourage browning.
Bake for 12 to 15 minutes, flipping halfway through, until crispy and cooked through.
Although baked Coconut Shrimp is slightly less crunchy than fried, it still delivers excellent flavor and texture.
How Long to Prepare the Coconut Shrimp
Preparing Coconut Shrimp is surprisingly manageable, even for beginners. Most of the time goes into setting up the breading station and coating the shrimp carefully so every piece turns out crispy and flavorful. If the shrimp are already peeled and deveined, the process moves much faster.
Preparation Time
The prep time usually takes about 20 to 25 minutes. This includes cleaning the shrimp, mixing the breading ingredients, coating each shrimp, and preparing the dipping sauce.
Chilling Time
For the crispiest results, chilling the breaded shrimp for 15 to 20 minutes is highly recommended. This extra step helps the coating stick better during frying and improves the final texture.
Cooking Time
The frying process itself is very quick. Each batch typically cooks in just 2 to 3 minutes per side. Depending on the size of your pan and how many shrimp you are making, total cooking time is usually around 10 to 15 minutes.
Total Time
From start to finish, Coconut Shrimp can usually be completed in about 45 to 60 minutes, making it an excellent choice for both casual dinners and entertaining guests.
Tips for Perfect Coconut Shrimp
Using dry shrimp is one of the most important details for achieving a crispy coating. Excess moisture can prevent the breading from sticking properly and may cause splattering during frying.
Mixing panko breadcrumbs with shredded coconut creates the ideal crunchy texture. Coconut alone can brown too quickly, while panko balances the coating beautifully.
Always maintain the oil temperature near 350°F. If the oil becomes too cool, the shrimp absorb excess oil and lose their crispness. If it becomes too hot, the coconut may burn before the shrimp finish cooking.
Frying in small batches helps the shrimp cook evenly and keeps the coating crisp instead of soggy.
Serving the shrimp immediately after cooking gives the best texture. Coconut Shrimp tastes best while still hot and crunchy.
Watch Out for These Mistakes While Cooking
One common mistake is overcrowding the frying pan. Too many shrimp at once lower the oil temperature quickly and create uneven cooking.
Skipping the flour layer can also cause problems. The flour helps the egg mixture adhere properly, which is essential for keeping the coconut coating attached.
Using very fine coconut instead of shredded coconut may result in less crunch and weaker texture.
Another issue is underseasoning the breading. Since the shrimp cook quickly, seasoning every layer helps build flavor throughout the dish.
Overcooking the shrimp is another easy mistake. Shrimp cook fast, and leaving them in the oil too long can make them rubbery instead of tender and juicy.
What to Serve With Coconut Shrimp?
Tropical Mango Salsa
Fresh mango salsa adds sweetness, freshness, and acidity that pair perfectly with the crispy shrimp coating.
Coconut Rice
Coconut rice complements the tropical flavors beautifully while making the meal more filling and comforting.
Fresh Garden Salad
A light salad with citrus vinaigrette balances the richness of the fried shrimp and keeps the meal refreshing.
Sweet Potato Fries
Sweet potato fries add another crispy element while matching the slightly sweet coconut flavor wonderfully.
Pineapple Coleslaw
Crunchy pineapple coleslaw provides brightness and texture that work especially well alongside fried seafood.
Storage Instructions
Refrigerating Coconut Shrimp
Store leftover Coconut Shrimp in an airtight container in the refrigerator for up to 3 days. Allow the shrimp to cool completely before storing to prevent condensation from softening the coating.
Reheating for Best Texture
The best way to reheat Coconut Shrimp is in the oven or air fryer. Heating at 375°F for several minutes helps restore crispiness without drying out the shrimp.
Avoid microwaving whenever possible because it softens the coating and can make the shrimp rubbery.
Freezing Instructions
Breaded uncooked shrimp can be frozen before frying. Arrange them on a baking sheet until firm, then transfer them to freezer-safe bags.
They can typically be frozen for up to 2 months and cooked directly from frozen with slightly longer cooking time.
Estimated Nutrition
The exact nutrition depends on the size of the shrimp and cooking method, but a typical serving generally includes:
- Calories: 350–450
- Protein: 20–25 grams
- Carbohydrates: 20–30 grams
- Fat: 18–25 grams
- Fiber: 2–4 grams
- Sugar: 5–8 grams
- Sodium: Moderate depending on seasoning and sauce
Air frying or baking can significantly reduce the fat content while still keeping the shrimp flavorful and crispy.
Frequently Asked Questions
Can I use frozen shrimp for Coconut Shrimp?
Yes, frozen shrimp work very well. Just thaw them completely and pat them dry thoroughly before breading.
Can I make Coconut Shrimp ahead of time?
Yes, you can bread the shrimp several hours ahead and refrigerate them until ready to fry.
Why is my coconut coating falling off?
This usually happens when the shrimp are too wet or when the breading layers are skipped. Chilling the breaded shrimp before frying also helps the coating stay attached.
Can Coconut Shrimp be baked instead of fried?
Absolutely. Baking creates a lighter version while still delivering great flavor and crispness, especially when lightly sprayed with oil.
What sauce goes best with Coconut Shrimp?
Sweet chili sauce is the classic option, but orange marmalade sauce, spicy mayo, mango sauce, and pineapple dipping sauces are all delicious choices.
Conclusion
Coconut Shrimp is one of those recipes that instantly feels special without requiring complicated preparation. The crispy coconut coating, tender shrimp, and flavorful dipping sauces create a combination that works beautifully for appetizers, dinners, parties, and casual gatherings alike.
What makes this recipe truly memorable is the balance of textures and flavors. Every bite delivers crunch, sweetness, savory seafood flavor, and just enough richness to keep everyone reaching for another piece. Whether fried, baked, or air fried, Coconut Shrimp is a dish that always impresses and never lasts long on the table.
Coconut Shrimp
- Prep Time: 25 minutes
- Cook Time: 15 minutes
- Total Time: 40 minutes
- Yield: 4 servings 1x
- Category: Appetizer
- Method: Frying
- Cuisine: American Seafood
Description
Crispy, golden Coconut Shrimp is the perfect combination of crunchy coconut coating and juicy shrimp inside. This easy seafood recipe delivers restaurant-style flavor right at home and works beautifully as a quick dinner, party appetizer, game day snack, or tropical-inspired meal idea. The crispy panko and coconut crust pairs perfectly with sweet chili dipping sauce for a bold balance of sweet and savory flavors. Whether you fry, bake, or air fry them, these homemade Coconut Shrimp are guaranteed to become one of your favorite easy dinner ideas and seafood recipes.
Ingredients
1 pound large shrimp, peeled and deveined with tails on
1 cup all-purpose flour
2 large eggs
1 tablespoon water
1 cup panko breadcrumbs
1 cup sweetened shredded coconut
1 teaspoon salt
1/2 teaspoon black pepper
1 teaspoon garlic powder
1 teaspoon paprika
2 cups vegetable oil for frying
1/2 cup sweet chili sauce
1 lime cut into wedges
Instructions
1. Pat the shrimp completely dry using paper towels and season lightly with salt and pepper.
2. Prepare three shallow bowls. Add flour, garlic powder, paprika, salt, and pepper to the first bowl. Whisk eggs with water in the second bowl. Combine panko breadcrumbs and shredded coconut in the third bowl.
3. Coat each shrimp in the flour mixture, then dip into the egg mixture, and finally press into the coconut breadcrumb mixture until fully coated.
4. Place the breaded shrimp on a tray and refrigerate for 15 to 20 minutes to help the coating stick properly.
5. Heat vegetable oil in a deep skillet or heavy-bottomed pot to 350°F.
6. Fry the shrimp in small batches for 2 to 3 minutes per side until golden brown and crispy.
7. Transfer cooked shrimp to a wire rack or paper towel-lined plate to drain excess oil.
8. Serve immediately with sweet chili sauce and fresh lime wedges.
Notes
For extra crispy Coconut Shrimp, use panko breadcrumbs instead of regular breadcrumbs.
Always fry in small batches to maintain the oil temperature and keep the coating crispy.
You can air fry the shrimp at 390°F for 8 to 10 minutes for a lighter version with less oil.
Nutrition
- Serving Size: 4 shrimp
- Calories: 420
- Sugar: 7g
- Sodium: 720mg
- Fat: 22g
- Saturated Fat: 12g
- Unsaturated Fat: 8g
- Trans Fat: 0g
- Carbohydrates: 28g
- Fiber: 3g
- Protein: 24g
- Cholesterol: 185mg
Keywords: coconut shrimp, crispy shrimp, seafood appetizer, easy dinner ideas, shrimp recipe, tropical shrimp, fried shrimp, homemade coconut shrimp