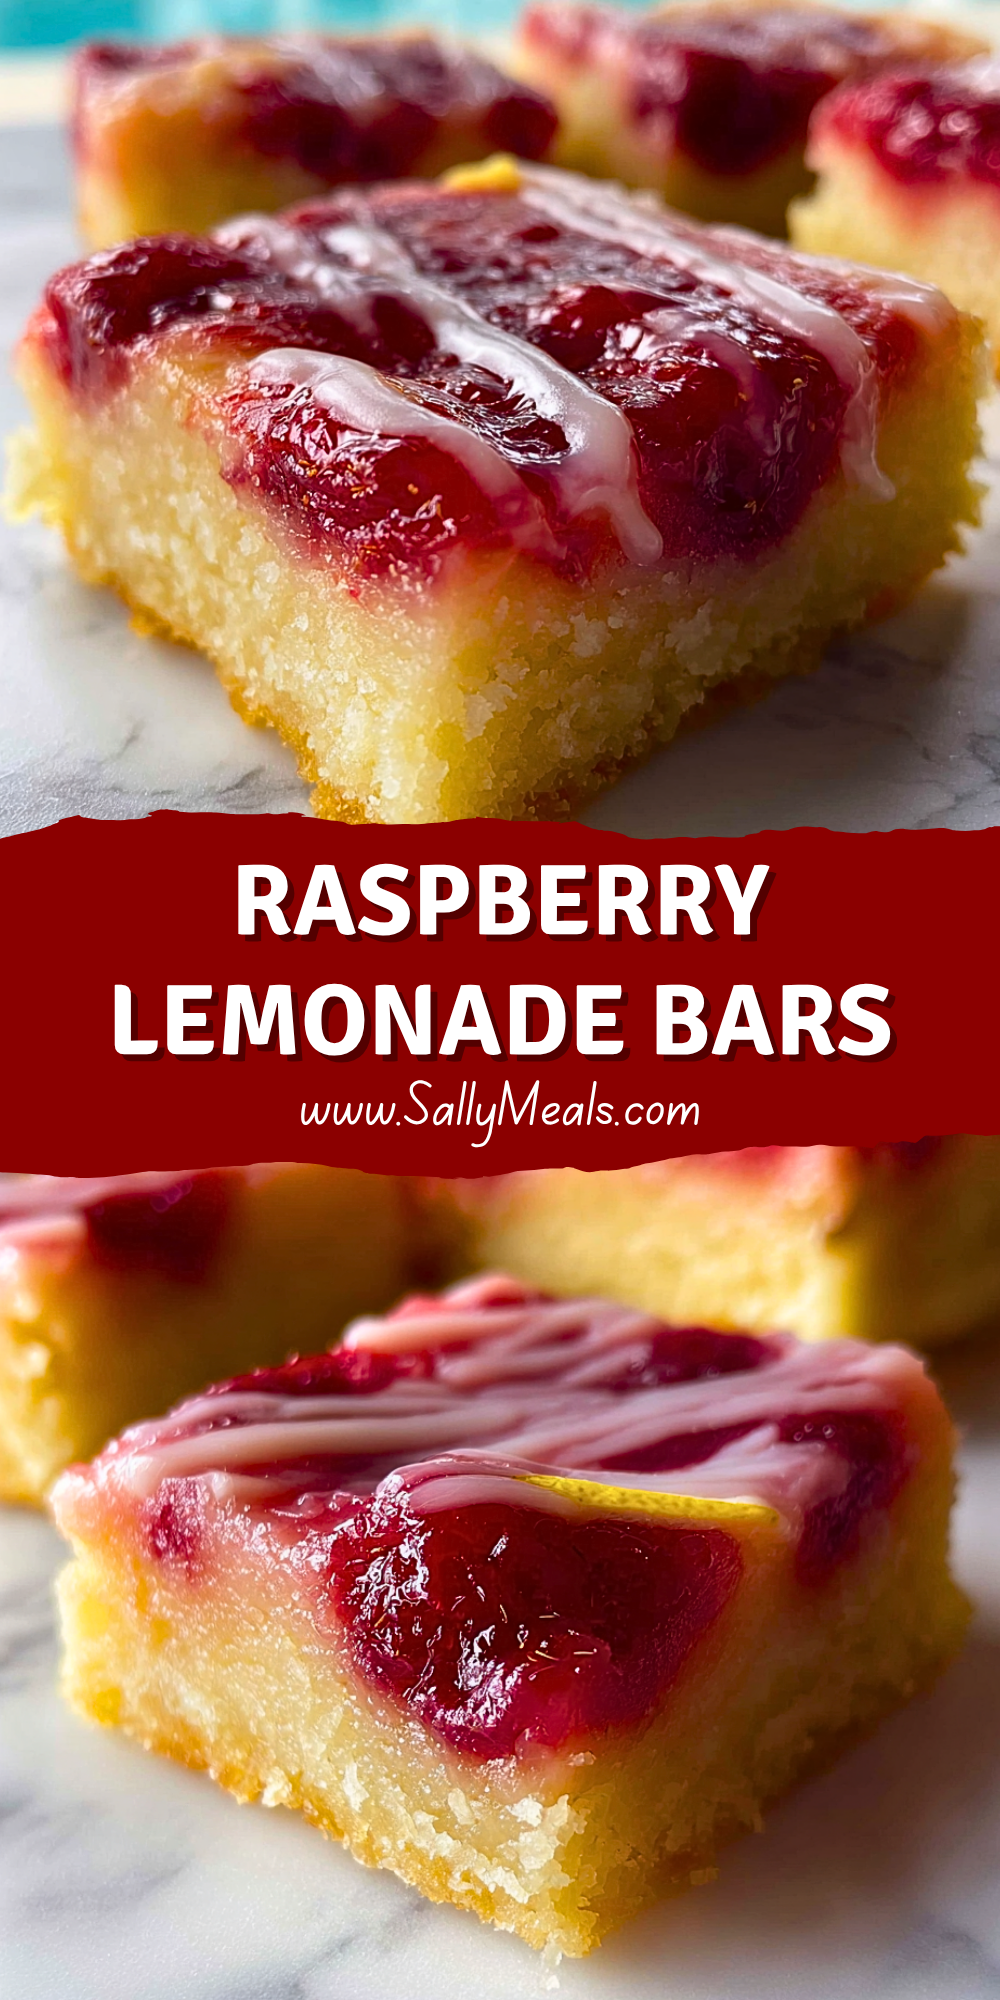
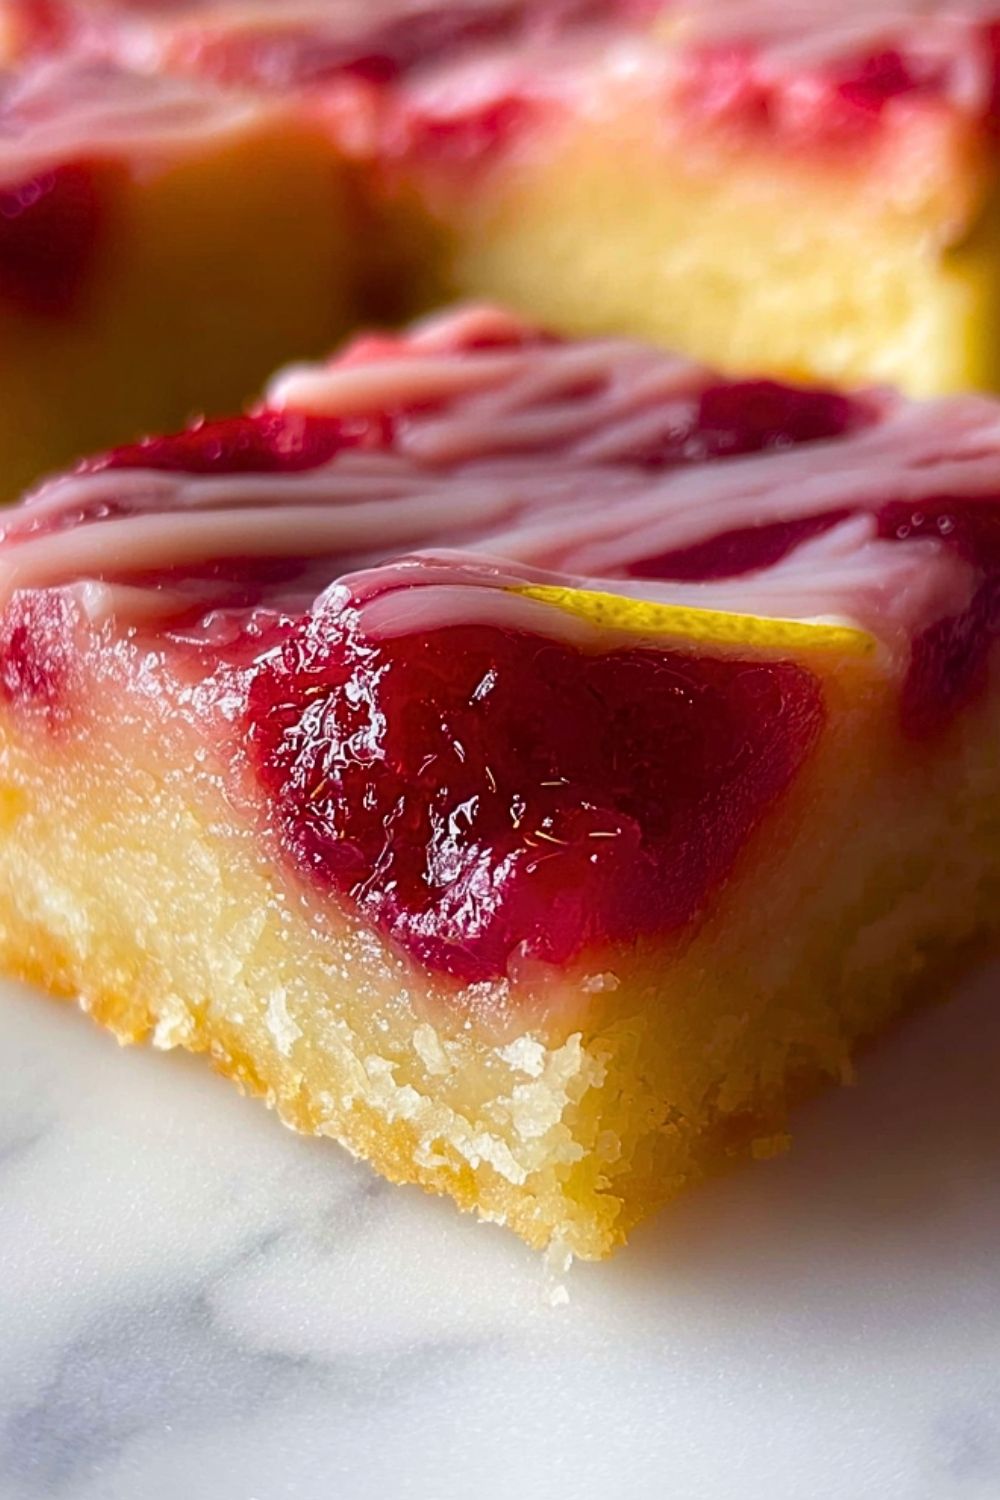
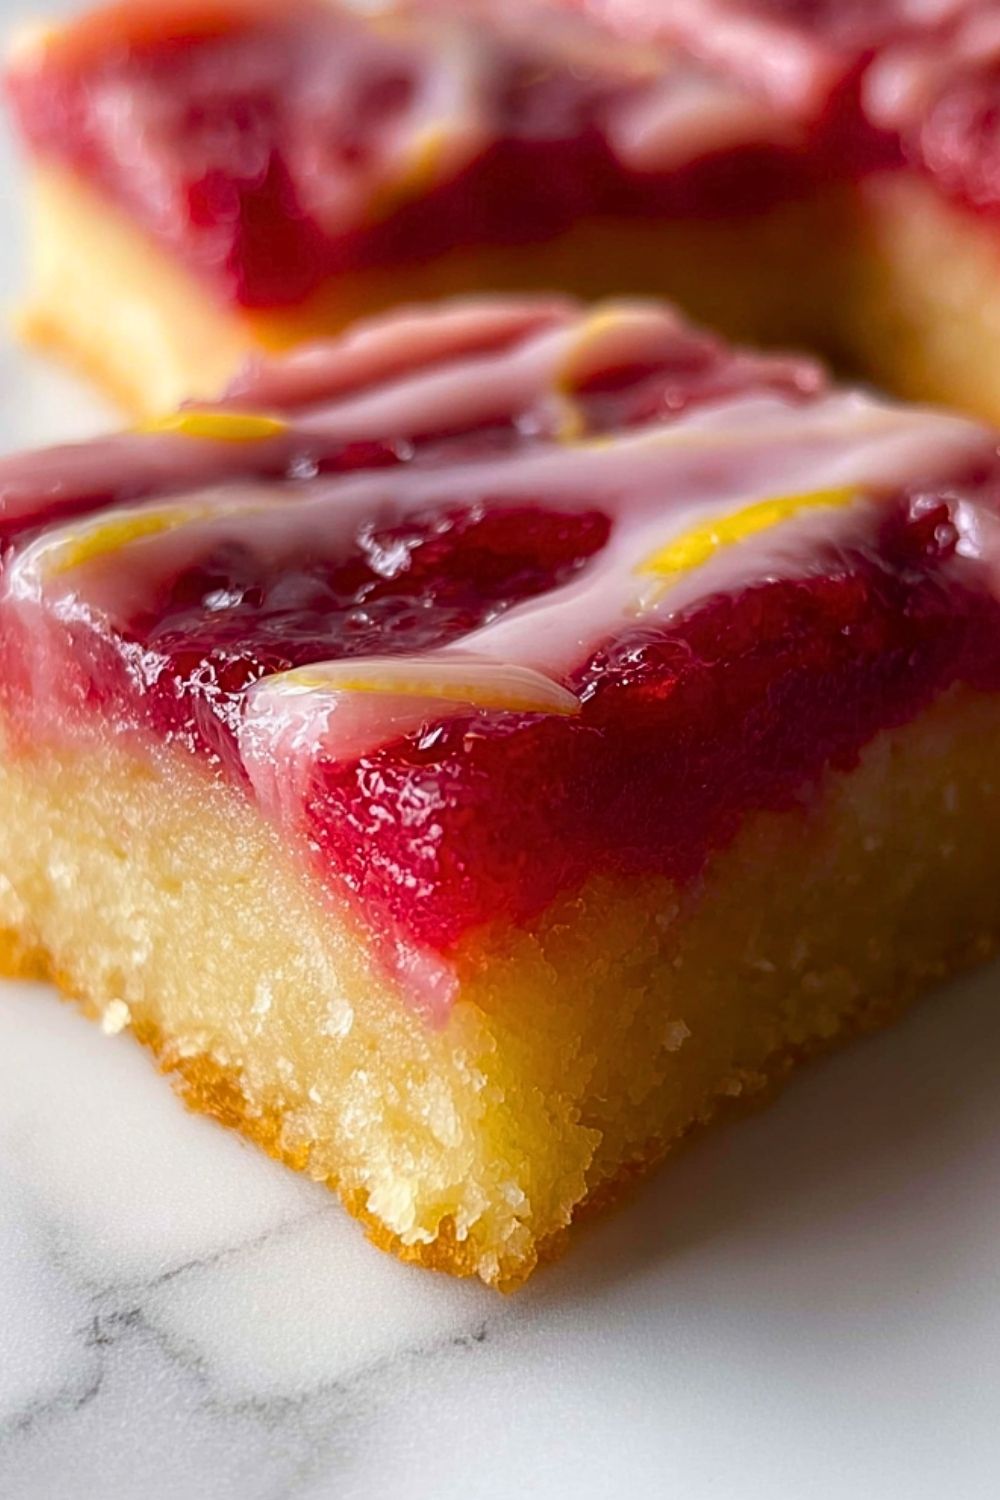
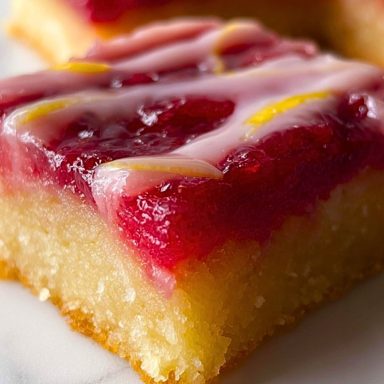
Bright, tangy, and irresistibly sweet, Raspberry Lemonade Bars are the kind of dessert that instantly lifts your mood. Each bite delivers a buttery, tender base topped with a vibrant raspberry layer kissed with fresh lemon flavor, creating a perfect balance between tart and sweet. The glossy finish and delicate drizzle make them as beautiful as they are delicious.
These bars are ideal for warm days, gatherings, or whenever you crave something refreshing yet indulgent. The combination of citrusy zing and juicy berry richness creates a dessert that feels light but still satisfying, making it hard to stop at just one piece.
Why You’ll Love This Raspberry Lemonade Bars
These bars stand out for their refreshing flavor and simple preparation. The contrast between the soft, buttery crust and the bright raspberry-lemon topping creates a delightful texture. They’re easy to slice, serve, and transport, which makes them perfect for parties, picnics, or casual treats at home. Plus, the vibrant color naturally draws attention on any dessert table.
Preparation Phase & Tools to Use (Essential Tools and Equipment and Their Importance)
To make Raspberry Lemonade Bars successfully, having the right tools makes all the difference. A sturdy mixing bowl is essential for evenly combining ingredients, while a hand mixer or whisk ensures a smooth, lump-free batter. A fine mesh strainer helps remove seeds from the raspberry mixture if you prefer a smoother texture. Use a zester or microplane to extract fresh lemon zest, which intensifies the citrus flavor without adding bitterness. A square baking pan (usually 8×8 or 9×9 inches) ensures even baking and perfect thickness. Parchment paper is highly recommended for easy removal and clean slicing. Finally, a sharp knife is key for achieving neat, bakery-style bars.
Preparation Tips
For the best results, always use fresh lemon juice rather than bottled, as it delivers a brighter, more natural flavor. If using frozen raspberries, thaw and drain them well to avoid excess moisture that could affect the texture. Make sure your butter is softened but not melted to create the ideal crust consistency. Chilling the bars before slicing helps them set properly and gives you clean, defined edges. Taking a few extra minutes to prepare your ingredients carefully will elevate both the taste and presentation.
Ingredients for this Raspberry Lemonade Bars
For the Crust:
- 1 cup (2 sticks) unsalted butter, softened
- 1/2 cup granulated sugar
- 2 cups all-purpose flour
- 1/4 teaspoon salt
- 1 teaspoon vanilla extract (optional for added depth)
For the Raspberry Lemon Layer:
- 2 cups fresh or frozen raspberries (thawed and drained if frozen)
- 1 cup granulated sugar
- 2 large eggs
- 1/4 cup freshly squeezed lemon juice
- 1 tablespoon lemon zest
- 2 tablespoons all-purpose flour (for thickening)
- 1 teaspoon cornstarch (optional, for extra stability)
For the Glaze (Optional but Recommended):
- 1/2 cup powdered sugar
- 1–2 tablespoons lemon juice or milk
Step 1: Prepare the Baking Pan
Preheat your oven to 350°F (175°C). Line an 8×8 or 9×9-inch baking pan with parchment paper, leaving an overhang on the sides. This makes it much easier to lift the bars out cleanly after baking. Lightly grease the parchment to prevent sticking.
Step 2: Make the Buttery Crust
In a mixing bowl, cream together the softened butter and granulated sugar until light and fluffy. This step is key to achieving a tender, melt-in-your-mouth base. Add vanilla extract if using. Gradually mix in the flour and salt until a soft dough forms. The mixture should be slightly crumbly but hold together when pressed.
Step 3: Press and Pre-Bake the Crust
Transfer the dough into the prepared baking pan and press it evenly into the bottom. Use the back of a spoon or your fingers to create a smooth, compact layer. Bake for 15–18 minutes or until the edges are lightly golden. Remove from the oven and let it cool slightly while preparing the filling.
Step 4: Prepare the Raspberry Mixture
In a saucepan over medium heat, cook the raspberries until they break down and release their juices (about 5–7 minutes). Mash gently with a spoon. For a smoother texture, strain the mixture through a fine mesh sieve to remove seeds. Let it cool slightly before using.
Step 5: Make the Lemon Filling
In a clean bowl, whisk together the sugar and eggs until smooth and slightly pale. Add fresh lemon juice and zest, mixing until fully incorporated. Stir in the flour and cornstarch to help the filling set properly. Finally, fold in the raspberry mixture until you achieve a vibrant pink-red consistency.
Step 6: Assemble the Layers
Pour the raspberry lemon filling over the slightly cooled crust. Spread it evenly using a spatula, ensuring it reaches all corners of the pan. Tap the pan gently on the counter to release any air bubbles.
Step 7: Bake to Perfection
Return the pan to the oven and bake for 20–25 minutes, or until the center is set and no longer jiggles excessively. The top should appear slightly glossy but firm to the touch.
Step 8: Cool Completely
Remove the bars from the oven and allow them to cool at room temperature. Once cooled, transfer them to the refrigerator for at least 2 hours. This step is crucial for clean slicing and proper texture.
Step 9: Add the Glaze
In a small bowl, whisk together powdered sugar and lemon juice (or milk) until smooth. Drizzle the glaze over the chilled bars in thin lines for a decorative finish. Let it set for a few minutes before slicing.
Step 10: Slice and Serve
Using the parchment paper overhang, lift the bars out of the pan. Place them on a cutting board and use a sharp knife to cut into squares. Wipe the knife between cuts for clean edges. Serve chilled or at room temperature.
Notes
Raspberry Lemonade Bars rely on the balance between tart citrus and sweet berry flavor, so adjusting sugar levels slightly based on the sweetness of your raspberries can make a big difference. Fresh raspberries tend to be brighter and less watery than frozen ones, but both work well when handled properly. The texture should be soft yet set, not overly firm or runny, which is why careful baking and chilling are essential. For an extra flavor boost, a touch of lemon zest in both the crust and filling can elevate the overall taste without overpowering the dessert.
Watch Out for These Mistakes While Cooking
- Overbaking the bars can lead to a dry texture and dull flavor. Keep an eye on the center—it should be just set.
- Skipping the parchment paper can make removal difficult and ruin the shape of your bars.
- Using too much liquid (especially from undrained frozen raspberries) can prevent the filling from setting properly.
- Not allowing enough chilling time will result in messy slices that don’t hold their shape.
- Overmixing the crust dough can make it dense instead of tender.
- Forgetting to strain seeds (if desired) may affect the smoothness of the final texture.
Storage Instructions
Store Raspberry Lemonade Bars in an airtight container in the refrigerator for up to 5 days. Keeping them chilled helps maintain their structure and enhances their refreshing flavor. If stacking layers, place parchment paper between them to prevent sticking. For longer storage, you can freeze the bars for up to 2 months. Wrap them individually in plastic wrap and place them in a freezer-safe container. Thaw overnight in the refrigerator before serving for best results.
Estimated Nutrition
Per serving (based on 12 bars, approximate values):
- Calories: 210–240 kcal
- Carbohydrates: 30g
- Sugar: 18–22g
- Fat: 10–12g
- Saturated Fat: 6–7g
- Protein: 2–3g
- Fiber: 1–2g
- Sodium: 60–90mg
Frequently Asked Questions
Can I use frozen raspberries instead of fresh?
Yes, frozen raspberries work well. Just make sure to thaw and drain them thoroughly to remove excess moisture before using.
How do I know when the bars are fully baked?
The center should be set and no longer jiggle when gently shaken. The top will look slightly glossy but firm.
Can I make these bars gluten-free?
Yes, you can substitute the all-purpose flour with a gluten-free flour blend designed for baking.
Why did my bars turn out runny?
This usually happens if there is too much liquid in the filling or if the bars were underbaked or not chilled long enough.
Can I reduce the sugar?
You can slightly reduce the sugar, but keep in mind it balances the tartness of the lemon and raspberries.
What’s the best way to cut clean slices?
Use a sharp knife and wipe it clean between each cut. Chilling the bars beforehand also helps.
Can I skip the glaze?
Absolutely. The bars are flavorful on their own, but the glaze adds a nice finishing touch and a bit of extra sweetness.
How long should I chill the bars before serving?
At least 2 hours, but overnight chilling gives the best texture and flavor.
Conclusion
Raspberry Lemonade Bars are a refreshing, crowd-pleasing dessert that combines vibrant fruit flavors with a buttery base. With the right balance of sweetness and tartness, they’re perfect for any occasion—from casual gatherings to special celebrations. Once you master the simple steps and techniques, these bars will quickly become a go-to favorite in your recipe collection.
Raspberry Lemonade Bars
Ingredients
- 1 cup unsalted butter softened
- 1/2 cup granulated sugar
- 2 cups all purpose flour
- 1/4 teaspoon salt
- 1 teaspoon vanilla extract
- 2 cups raspberries fresh or frozen
- 1 cup granulated sugar
- 2 large eggs
- 1/4 cup fresh lemon juice
- 1 tablespoon lemon zest
- 2 tablespoons all purpose flour
- 1 teaspoon cornstarch
- 1/2 cup powdered sugar
- 1 to 2 tablespoons lemon juice or milk
Instructions
- 1. Preheat oven to 350°F and line an 8×8 inch pan with parchment paper.
- 2. Cream butter and sugar until light and fluffy, then mix in vanilla.
- 3. Add flour and salt, mixing until a soft dough forms.
- 4. Press dough evenly into pan and bake for 15 to 18 minutes until lightly golden.
- 5. Cook raspberries in a saucepan until broken down, then strain if desired.
- 6. Whisk sugar and eggs until smooth, then add lemon juice and zest.
- 7. Mix in flour and cornstarch, then fold in raspberry mixture.
- 8. Pour filling over crust and spread evenly.
- 9. Bake for 20 to 25 minutes until center is set.
- 10. Cool completely, then refrigerate for at least 2 hours.
- 11. Mix glaze ingredients and drizzle over bars.
- 12. Slice and serve.