
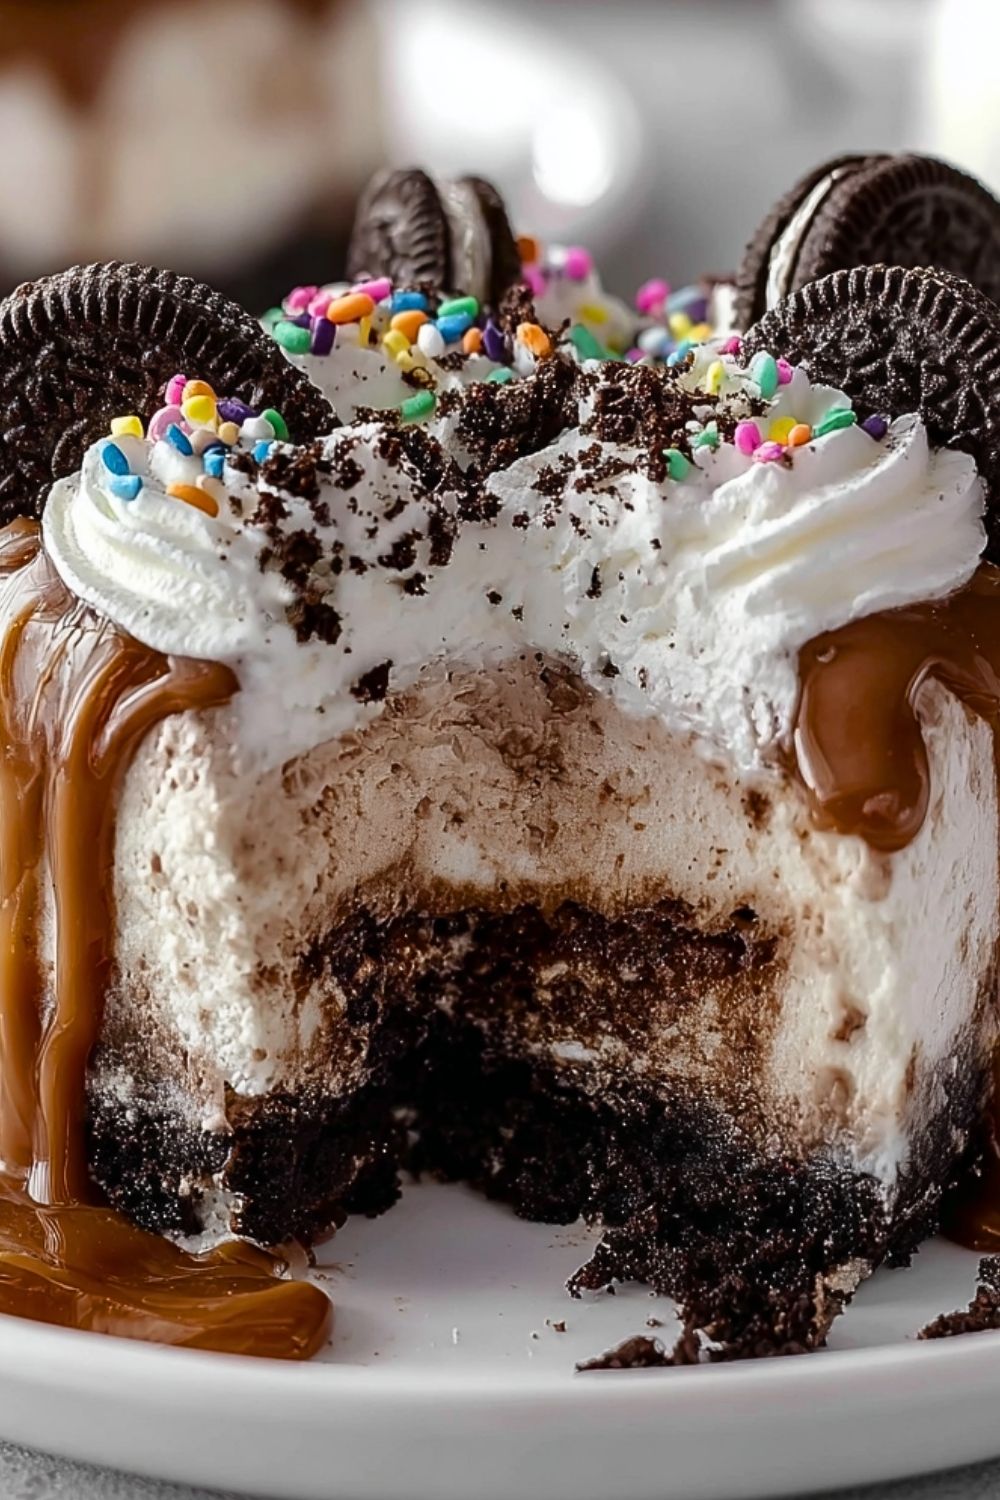
Creamy, crunchy, and irresistibly indulgent, Oreo Ice Cream Cake Delight is the ultimate crowd-pleaser for any celebration or spontaneous dessert craving. This layered masterpiece combines velvety vanilla or cookies-and-cream ice cream with a rich Oreo cookie crust, all topped with luscious whipped cream and even more crushed Oreos for that perfect bite every time. Whether you’re a die-hard Oreo fan or simply love a dessert that checks all the boxes—cold, sweet, and texturally perfect—this cake is bound to become your go-to.
What makes this dessert stand out is how deceptively simple it is to assemble, yet it delivers the kind of satisfaction you’d expect from a gourmet bakery. No baking required, just a few ingredients, a freezer, and a bit of patience. It’s the kind of dessert that looks impressive on the table but requires minimal effort in the kitchen—ideal for summer parties, birthdays, or just a fun family weekend treat.
Why You’ll Love This Oreo Ice Cream Cake Delight
- No baking involved
- Uses only a few ingredients
- Great make-ahead dessert
- Customizable with your favorite ice cream flavors
- Always a hit with both kids and adults
Preparation Phase & Tools to Use
Before starting, make sure your ice cream is slightly softened—this makes it much easier to spread and layer. You’ll need:
- 9-inch springform pan: Ensures easy release of the cake.
- Mixing bowls: For crushing Oreos and mixing with butter.
- Food processor or rolling pin: To crush Oreos to the perfect crumb consistency.
- Rubber spatula: For spreading layers evenly.
- Freezer space: Allow enough space for the cake to chill properly between steps.
Each tool helps streamline the process, ensuring smooth layers and a clean finish.
Preparation Tips
Let the ice cream sit out for 10–15 minutes before using to make it soft but not melted. When crushing Oreos, you can choose between a fine crumb for a compact crust or a chunkier texture if you like more crunch. Use a spatula dipped in hot water to smooth out each ice cream layer for a polished look. Be sure to freeze the cake between adding layers to maintain structure. For a cleaner release from the pan, run a warm knife around the edge before unlocking the springform.
Ingredients for this Oreo Ice Cream Cake Delight
- 36 Oreo cookies (divided)
- 1/4 cup unsalted butter, melted
- 1.5 quarts vanilla or cookies-and-cream ice cream (slightly softened)
- 1 container (8 oz) whipped topping (like Cool Whip), thawed
- Chocolate syrup or hot fudge (optional, for drizzle)
- Additional Oreo crumbs or mini Oreos for garnish
Step 1: Prepare the Oreo Crust
Crush 24 Oreo cookies using a food processor or place them in a ziplock bag and crush with a rolling pin. Mix the crumbs with melted butter until fully coated. Press the mixture evenly into the bottom of a 9-inch springform pan to form the crust. Freeze for 15–20 minutes to set.
Step 2: Layer the Ice Cream
Scoop and spread half of the softened ice cream over the chilled crust using a spatula. Smooth the surface and return to the freezer for 30 minutes to firm up.
Step 3: Add Oreo Crumble Layer
Coarsely chop or crush 6–8 Oreos and sprinkle them over the first layer of ice cream. This adds crunch and extra Oreo flavor throughout the cake.
Step 4: Add Second Ice Cream Layer
Spread the remaining half of the ice cream over the Oreo crumble layer. Smooth the top with a spatula. Freeze again for at least 1 hour until firm.
Step 5: Top with Whipped Topping
Spread thawed whipped topping evenly over the top of the cake. Use a spatula to create decorative swirls if desired. Return the cake to the freezer for another 2–4 hours or until fully set.
Step 6: Garnish and Serve
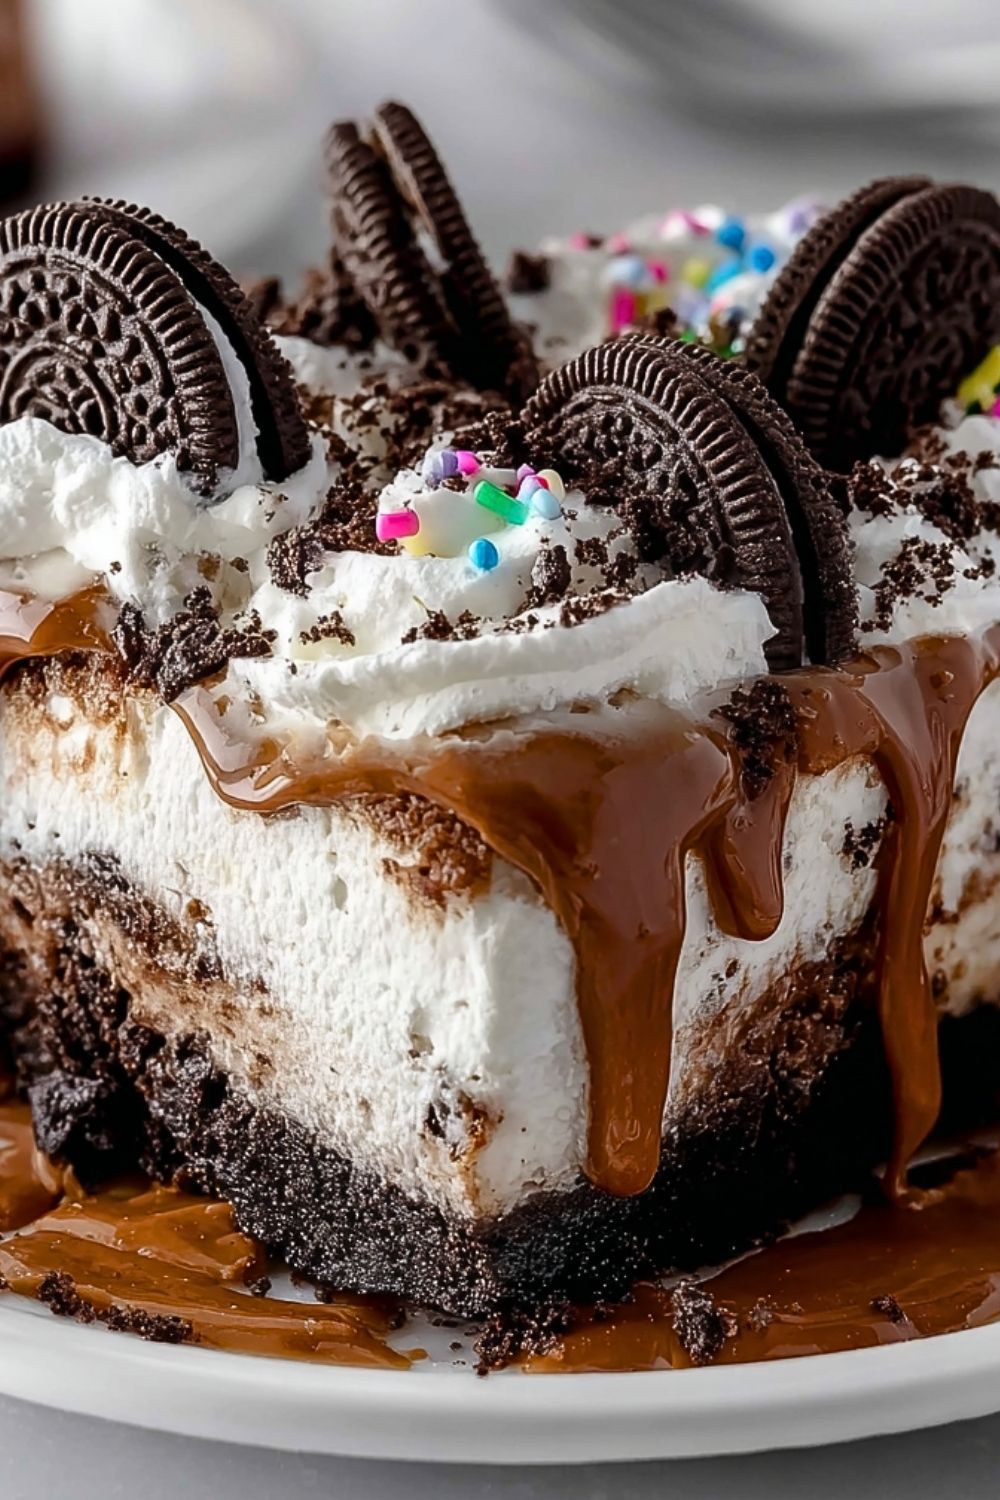
Just before serving, garnish with extra crushed Oreos, mini Oreos, or drizzle with chocolate syrup or hot fudge. For best slicing, run a sharp knife under hot water before cutting. Remove the cake from the springform pan and serve immediately.
Notes
This Oreo Ice Cream Cake Delight is a no-fail dessert when properly frozen between each step. Using high-quality ice cream and real whipped topping elevates the overall flavor. The cake slices best when allowed to sit at room temperature for 5–10 minutes before cutting, making it easier to enjoy clean slices. Feel free to play with flavor variations by using mint chocolate chip, peanut butter swirl, or even coffee-flavored ice cream for unique twists.
Watch Out for These Mistakes While Cooking
- Skipping freeze times: Not allowing layers to freeze properly can cause the cake to collapse.
- Over-softening the ice cream: If the ice cream becomes too melty, it won’t layer neatly.
- Using too many toppings: Excess toppings can make the surface soggy or overpower the main flavors.
- Not greasing or lining the pan: While springform pans are easy to use, lightly greasing or lining with parchment makes removal even smoother.
Storage Instructions
Store the Oreo Ice Cream Cake in the freezer, tightly covered with plastic wrap or in an airtight container. It can be stored for up to 7 days for best texture and taste. For longer storage, wrap the cake in both plastic wrap and aluminum foil to prevent freezer burn. Always label the date of preparation.
Estimated Nutrition
(Per slice, based on 12 servings)
- Calories: 360
- Fat: 20g
- Saturated Fat: 11g
- Carbohydrates: 38g
- Sugar: 26g
- Protein: 4g
- Fiber: 1g
- Sodium: 220mg
Frequently Asked Questions
Can I make this ice cream cake ahead of time?
Yes! In fact, it’s best made at least a day in advance to allow for full freezing between layers.
What type of Oreos work best?
Classic Oreos are ideal, but feel free to use Golden, Mint, or Double Stuf based on your flavor preferences.
Can I use homemade whipped cream instead of store-bought?
Absolutely. Homemade whipped cream works great, just be sure it’s stabilized so it holds up in the freezer.
What if I don’t have a springform pan?
You can use a regular cake pan lined with parchment or plastic wrap for easier removal, though it might not look as clean.
How do I get neat slices?
Dip your knife in hot water and wipe between cuts for clean slices.
Can I make this dairy-free?
Yes, use dairy-free ice cream and whipped topping. Check that the cookies are also dairy-free.
Is it possible to add layers like fudge or caramel?
Definitely! A layer of fudge or caramel sauce between the ice cream layers adds delicious variety.
Can I use another cookie besides Oreos?
Yes, graham crackers, chocolate chip cookies, or Biscoff can be used, though it will change the overall flavor profile.
Conclusion
Oreo Ice Cream Cake Delight brings together beloved ingredients in an effortlessly show-stopping dessert. With its crunchy cookie base, creamy layers, and customizable nature, it’s sure to become a family favorite. Whether for birthdays, holidays, or just because, this cake is a guaranteed hit every time you serve it.
Oreo Ice Cream Cake Delight
Ingredients
- 36 Oreo cookies divided
- 0.25 cup unsalted butter melted
- 1.5 quarts vanilla or cookies-and-cream ice cream slightly softened
- 8 oz whipped topping like Cool Whip, thawed
- Chocolate syrup or hot fudge optional, for drizzle
- Additional Oreo crumbs or mini Oreos for garnish
Instructions
- 1. Crush 24 Oreo cookies using a food processor or place them in a ziplock bag and crush with a rolling pin. Mix the crumbs with melted butter until fully coated. Press the mixture evenly into the bottom of a 9-inch springform pan to form the crust. Freeze for 15–20 minutes to set.
- 2. Scoop and spread half of the softened ice cream over the chilled crust using a spatula. Smooth the surface and return to the freezer for 30 minutes to firm up.
- 3. Coarsely chop or crush 6–8 Oreos and sprinkle them over the first layer of ice cream. This adds crunch and extra Oreo flavor throughout the cake.
- 4. Spread the remaining half of the ice cream over the Oreo crumble layer. Smooth the top with a spatula. Freeze again for at least 1 hour until firm.
- 5. Spread thawed whipped topping evenly over the top of the cake. Use a spatula to create decorative swirls if desired. Return the cake to the freezer for another 2–4 hours or until fully set.
- 6. Just before serving, garnish with extra crushed Oreos, mini Oreos, or drizzle with chocolate syrup or hot fudge. For best slicing, run a sharp knife under hot water before cutting. Remove the cake from the springform pan and serve immediately.