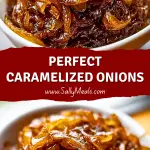
If there’s one ingredient that can magically elevate almost any dish, it’s caramelized onions. I’ve made these dozens of times, and I still get excited every time that rich, golden-brown transformation begins. Their deep, sweet, and savory flavor is like a slow-cooked secret weapon in the kitchen—whether you’re layering them into a sandwich, stirring them into pasta, or spooning them over steak.
The beauty of caramelized onions is that they take something humble and everyday—just onions and a bit of fat—and turn it into something luxurious. It does require some patience, but trust me, it’s entirely worth it. With a few simple tips, anyone can master this. Once you do, you’ll find yourself making double batches just to keep them on hand.
Why You’ll Love This Perfect Caramelized Onions
Caramelized onions offer a depth of flavor that’s hard to beat. They’re sweet, rich, and savory, making them an irresistible topping or base for so many dishes. Whether you’re crafting a gourmet grilled cheese or preparing a hearty stew, these onions add soul to every bite. And because they store well, they’re also incredibly convenient.
What Kind of Onions Should I Use?
Yellow onions are my go-to for this recipe. They have just the right balance of sweetness and sharpness, and they caramelize beautifully. However, you can experiment with red onions for a slightly fruitier flavor, or white onions for a more mild taste. Sweet varieties like Vidalia or Walla Walla also work well if you’re aiming for extra sweetness.
Options for Substitutions
You can swap the butter for olive oil or use a vegan butter alternative if you’re avoiding dairy. For a richer flavor, try a splash of balsamic vinegar or Worcestershire sauce towards the end of cooking. You can also add a pinch of brown sugar if your onions aren’t sweet enough naturally, but it’s usually not necessary.
Ingredients for Perfect Caramelized Onions
- Yellow Onions – These are the foundation. Their natural balance of sweetness and acidity gives the perfect base for deep caramel flavor.
- Butter – It adds richness and helps with even browning. You can use olive oil or a mix of both for more depth.
- Salt – Crucial for drawing out moisture and intensifying the flavor of the onions.
- Water (optional) – Adding a splash when the onions start to stick helps deglaze and avoid burning.
- Balsamic Vinegar (optional) – Adds complexity and a slight tangy finish.
Step 1: Slice the Onions
Peel and thinly slice the onions evenly. Uniform slices ensure even cooking and prevent burning. I usually cut them pole-to-pole (from root to stem) for better texture.
Step 2: Heat the Pan
Use a wide, heavy-bottomed skillet or sauté pan. Add butter (or oil) and let it melt over medium heat. Don’t rush this—starting at the right temperature matters.
Step 3: Add the Onions
Once the butter is melted and slightly bubbling, add the onions. Toss to coat every slice evenly in the fat. Spread them out to ensure they cover the pan in an even layer.
Step 4: Let Them Sweat
Cook the onions over medium to medium-low heat. Stir every few minutes to let them soften and release moisture. This is the sweating stage where they turn translucent.
Step 5: Start Caramelizing
After about 10–15 minutes, the moisture will cook off, and the onions will begin to turn golden. Lower the heat slightly and continue to stir often, scraping the fond (brown bits) from the pan’s bottom.
Step 6: Deglaze as Needed
If the pan gets too dry or begins to brown too much, add a tablespoon of water or broth. Scrape up any stuck bits to keep the onions from burning and add flavor.
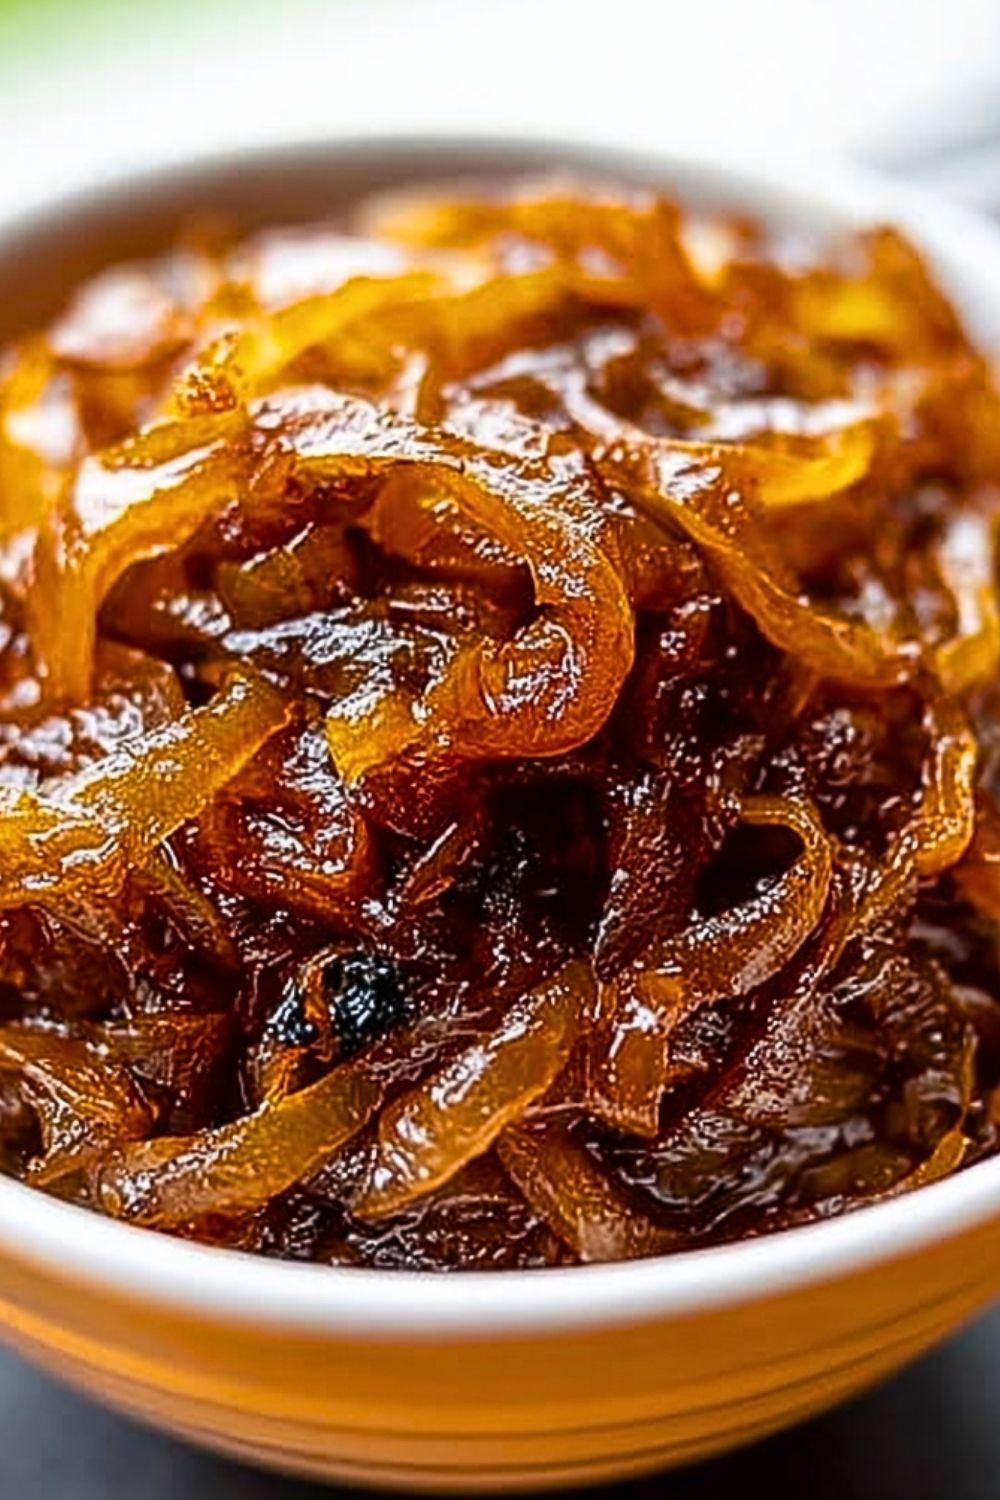
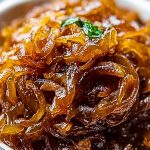
Step 7: Continue Until Deep Brown
This whole process can take 40–50 minutes. Patience is key. Stir frequently and don’t rush the heat. You’re aiming for a deep mahogany color and a jammy consistency.
Step 8: Optional Flavor Boost
Once fully caramelized, you can stir in a splash of balsamic vinegar or Worcestershire sauce for added complexity. Season with additional salt to taste.
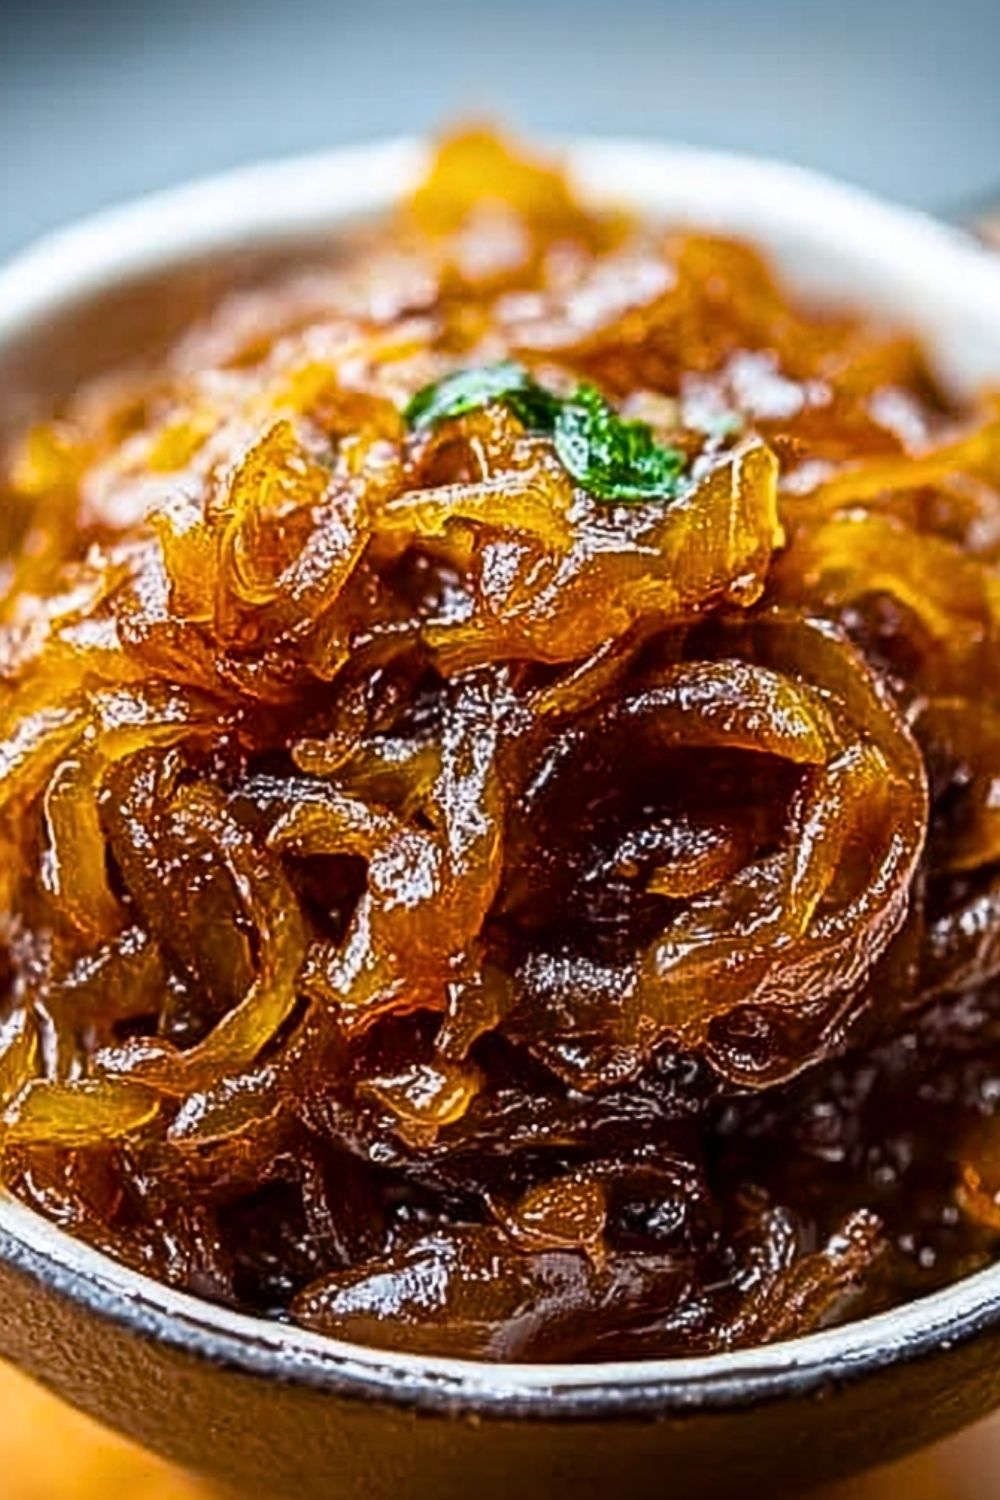
Step 9: Let Cool or Use Immediately
You can use them right away or let them cool completely and store for later use. Either way, be prepared for these to steal the show in whatever dish you use them in.
How Long to Prepare Perfect Caramelized Onions
Caramelizing onions is a slow process, but it’s worth every minute. On average, the full process takes about 45 minutes to an hour. That might sound like a lot of time for onions, but the transformation that occurs in both flavor and texture simply can’t be rushed.
The initial 10–15 minutes are spent sweating the onions until translucent. The remaining time is spent developing that signature deep brown color and sweet-savory flavor. You’ll want to stir every few minutes to keep them from burning and encourage even browning. Trust me—it’s all part of the flavor-building magic.
Tips for Perfect Caramelized Onions
- Use a wide pan to maximize surface area—this ensures even browning.
- Don’t overcrowd the pan. Work in batches if you’re doing a large quantity.
- Keep the heat on medium-low. Too hot and they’ll burn before they sweeten.
- Stir every few minutes, but not constantly. Let them sit a bit to build color.
- Deglaze with water or stock to lift the fond and deepen the flavor.
Watch Out for These Mistakes While Cooking
- High Heat: It can be tempting to turn up the heat to speed up the process, but this often results in burned, bitter onions.
- Undercooking: If you stop when they’re just golden, you miss out on the true caramelized flavor.
- Skipping the Stir: Not stirring enough can cause uneven browning or burnt spots.
- Too Much Salt Early On: Salt draws moisture, which is great—but too much at the start can slow the browning.
- Thin Pans: Thin pans can create hot spots and lead to scorching. Use a heavy-bottomed pan for even heat.
What to Serve With Perfect Caramelized Onions?
1. Burgers and Sandwiches
Spread them on a juicy burger or a grilled cheese for a gourmet upgrade.
2. Steak or Chicken
Top grilled or roasted meats with a spoonful of caramelized onions to add richness.
3. Pizza
Use them as a pizza topping along with goat cheese or mushrooms for a savory-sweet layer.
4. Pasta
Mix them into pasta with olive oil, Parmesan, and maybe a touch of cream for a fast, flavorful dinner.
5. Omelets or Frittatas
They’re amazing folded into eggs with a sprinkle of cheese for a perfect breakfast or brunch.
Storage Instructions
Caramelized onions keep beautifully, making them ideal for meal prep. Once cooled, store them in an airtight container in the refrigerator for up to 5 days. They’ll thicken as they chill, but reheat wonderfully in a skillet or microwave.
For longer storage, freeze in small portions using an ice cube tray or spoon into freezer-safe bags. They’ll last for up to 3 months in the freezer. Just thaw and use as needed.
Estimated Nutrition
Per 1/4 cup serving:
- Calories: 90
- Fat: 6g
- Saturated Fat: 3.5g
- Carbohydrates: 9g
- Sugar: 5g
- Fiber: 1g
- Protein: 1g
- Sodium: 100mg
- Cholesterol: 10mg
Frequently Asked Questions
How do I know when the onions are done?
They should be a deep brown color, soft, and jammy in texture. There should be no bite left in them.
Can I use oil instead of butter?
Absolutely. Olive oil works well, or you can use a 50/50 mix of butter and oil for flavor and browning.
Why are my onions sticking to the pan?
It’s normal. Just add a splash of water and gently scrape the bottom to lift the fond—it builds flavor.
Can I speed up the process?
Not really. You can try a pinch of baking soda to speed things up slightly, but it changes the texture and flavor. Patience gives the best results.
Can I add sugar to make them sweeter?
You can, but it’s usually not necessary if you’re cooking low and slow. Onions have plenty of natural sugars.
Conclusion
Perfect Caramelized Onions are a labor of love, but they’re one of those simple recipes that pays off in a big way. With just a few ingredients and a bit of patience, you’ll have a versatile, flavor-packed addition to elevate countless meals. Whether you’re topping, mixing, or layering them in, their deep, sweet-savory richness is always a welcome addition to the plate. Don’t be surprised if you start finding excuses to caramelize onions every week!
Perfect Caramelized Onions
- Prep Time: 10 minutes
- Cook Time: 50 minutes
- Total Time: 1 hour
- Yield: 1 1/2 cups 1x
- Category: Condiments & Sauces
- Method: Stovetop
- Cuisine: Universal
- Diet: Vegetarian
Description
If you’ve never made caramelized onions from scratch, you’re about to unlock one of the best-kept kitchen secrets. This *Perfect Caramelized Onions* recipe turns simple yellow onions into a golden, sweet-savory treasure you’ll want to spoon onto everything. Whether you’re after quick breakfast ideas, an easy dinner upgrade, or just flavorful food ideas to have on hand, this easy recipe fits into every cooking style. Great for healthy snacks, dinner ideas, or layered into sandwiches and eggs—this is one kitchen staple you’ll want to master.
Ingredients
3 large yellow onions
2 tablespoons butter
1 teaspoon salt
2 tablespoons water (as needed)
1 teaspoon balsamic vinegar (optional)
Instructions
1. Peel and slice the onions thinly and evenly for consistent cooking.
2. Heat butter in a wide, heavy-bottomed pan over medium heat.
3. Add the sliced onions, stir to coat, and spread evenly in the pan.
4. Let them cook, stirring every few minutes as they soften and release moisture.
5. After about 15 minutes, reduce the heat slightly and continue cooking.
6. Stir regularly and deglaze with a splash of water if they start to stick.
7. Continue cooking for 40–50 minutes until the onions are deep brown and jammy.
8. Stir in balsamic vinegar at the end for an optional flavor boost.
9. Let cool or serve immediately as desired.
Notes
Always use a wide, heavy pan to ensure even caramelization without burning.
Add a splash of water to the pan if you see dark spots or sticking.
Patience is the key—rushing leads to uneven or bitter results.
Nutrition
- Serving Size: 1/4 cup
- Calories: 90
- Sugar: 5g
- Sodium: 100mg
- Fat: 6g
- Saturated Fat: 3.5g
- Unsaturated Fat: 2.5g
- Trans Fat: 0g
- Carbohydrates: 9g
- Fiber: 1g
- Protein: 1g
- Cholesterol: 10mg
Keywords: easy recipe, food ideas, dinner ideas, healthy snack, breakfast ideas, caramelized onions