
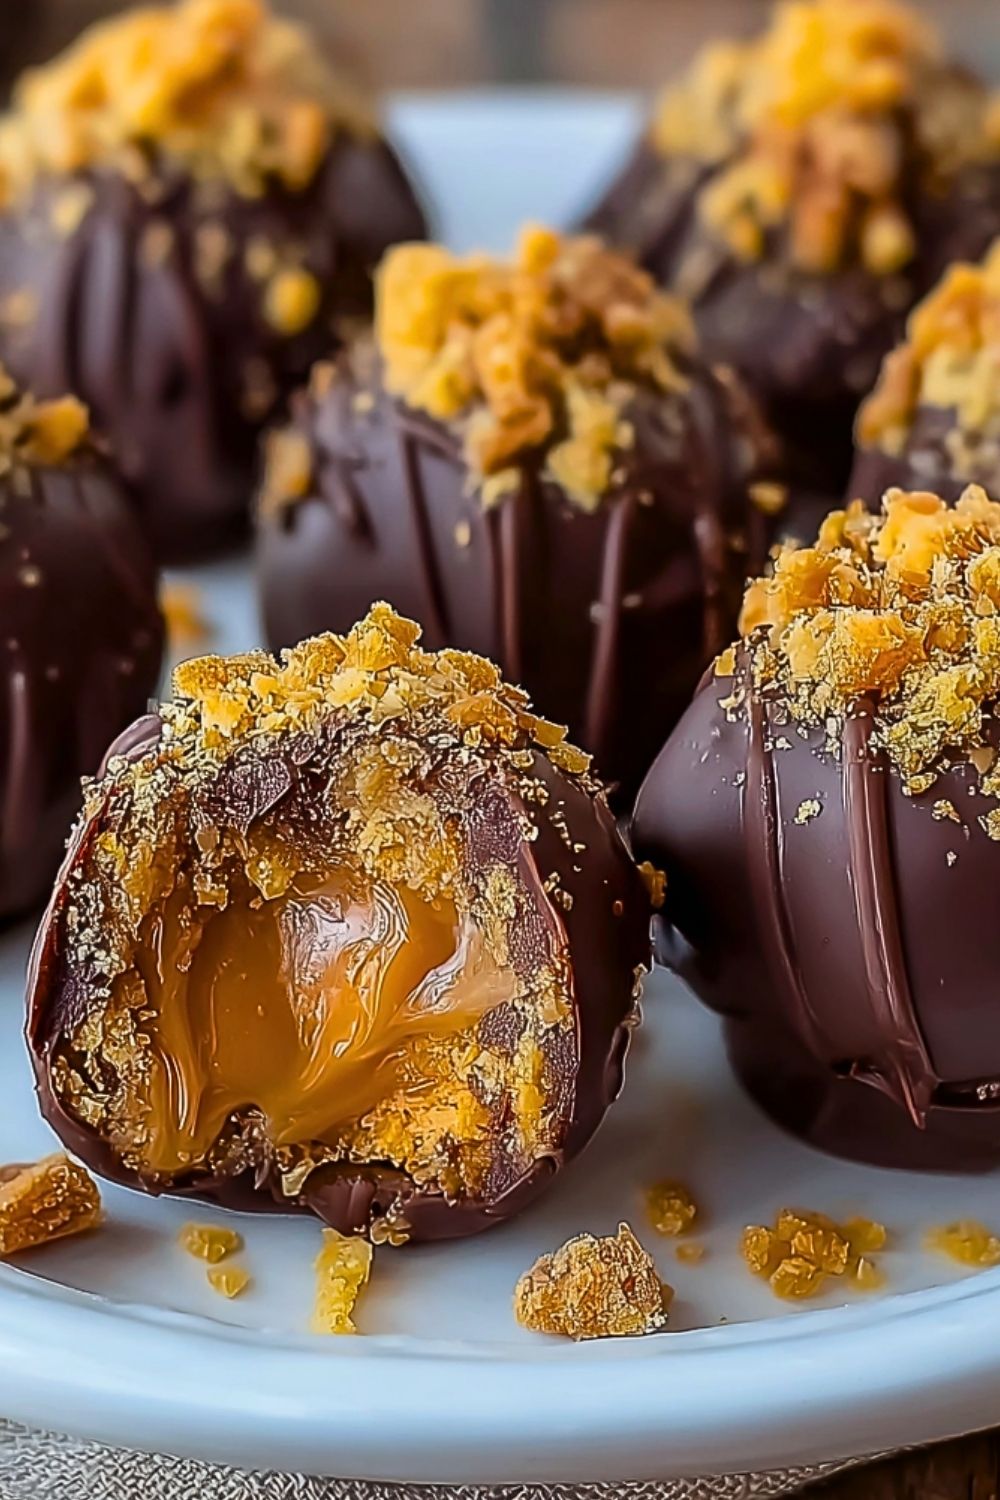
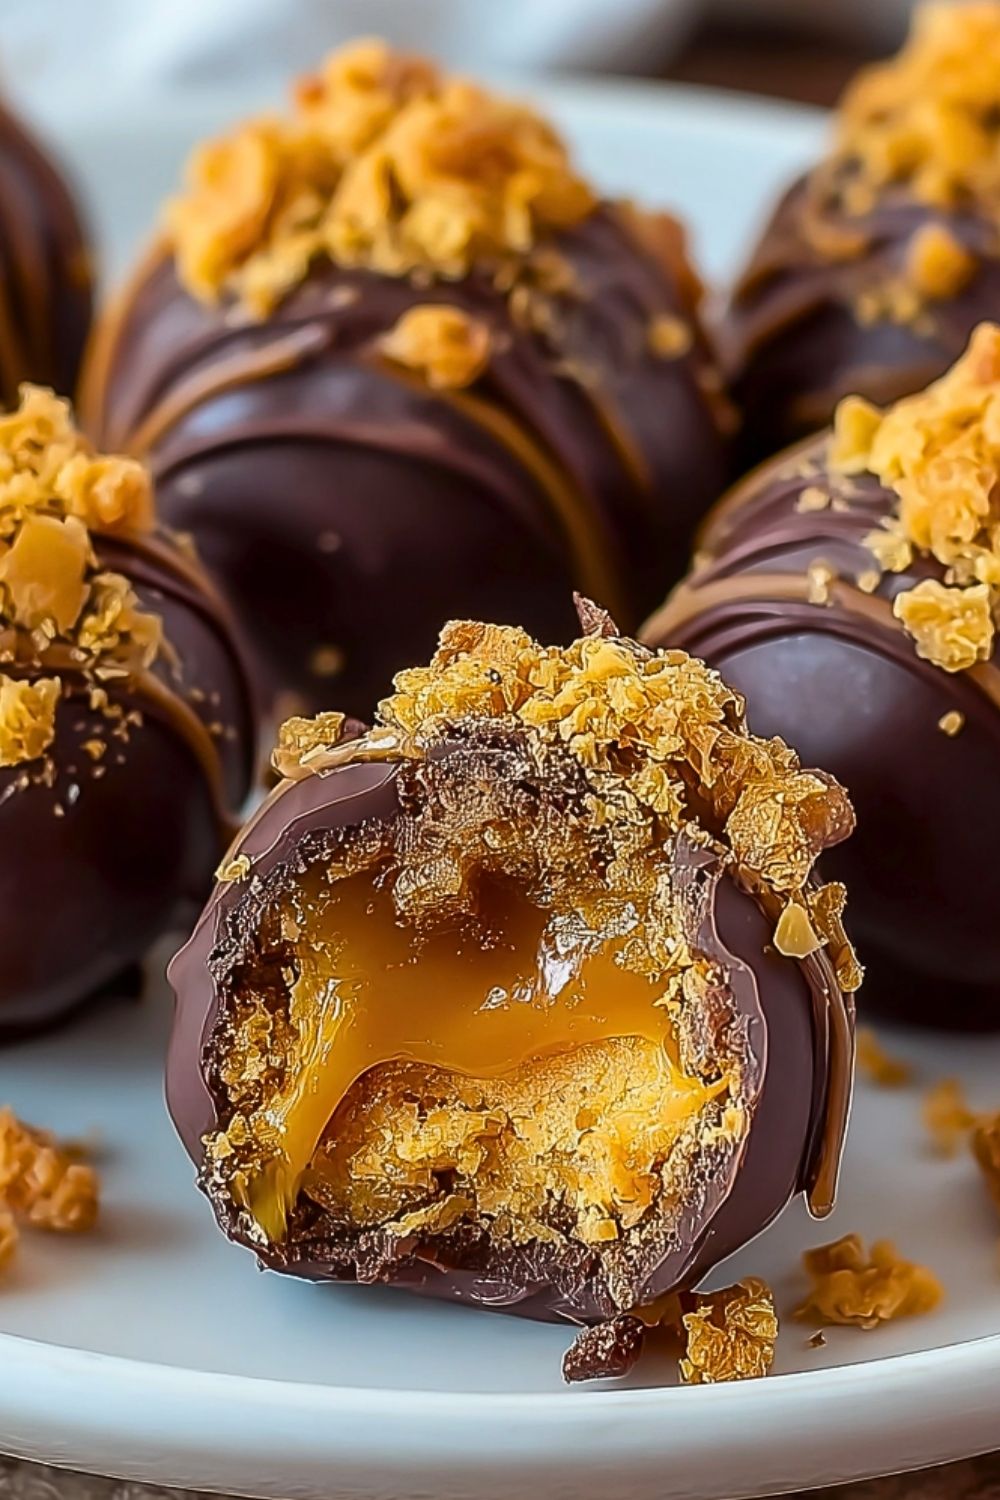
Rich, chewy, and decadently crunchy, these No Bake Caramel Crunch Butterfinger Truffles are pure bliss in a bite. Each truffle hides a gooey caramel center, wrapped in a velvety chocolate shell and rolled in crushed Butterfinger pieces for the perfect crisp finish. They’re indulgent enough for special occasions but simple enough to whip up anytime you’re craving something sweet, salty, and satisfying.
With no baking required, these truffles are the ultimate shortcut to dessert heaven. Whether you’re making them for a party, a holiday treat platter, or just a quick sweet fix, their irresistible combination of textures and flavors will have everyone coming back for seconds. And since they store beautifully, you can make them ahead and enjoy them for days (if they last that long!).
Why You’ll Love This No Bake Caramel Crunch Butterfinger Truffles Recipe
- No baking required — quick and easy!
- Irresistible caramel-filled center wrapped in chocolate
- Crunchy Butterfinger topping adds texture and flavor
- Perfect for holidays, parties, or edible gifts
- Freezer-friendly and great for make-ahead treats
Preparation Phase & Tools to Use
To get started, you’ll need a few essential tools to make these truffles seamlessly:
- Microwave-safe bowl: For melting chocolate without burning.
- Mixing bowl: To combine crushed candies and fillings evenly.
- Silicone spatula: For smooth mixing and scooping.
- Small cookie scoop or spoon: To form uniform-sized truffles.
- Baking sheet lined with parchment paper: For placing truffles to chill and set.
- Toothpicks or forks: Useful when dipping truffles into the melted chocolate.
Each tool plays a role in helping you work cleanly and efficiently, especially since melted chocolate and caramel can get sticky fast. Having the right setup makes a big difference in keeping this process mess-free and enjoyable.
Preparation Tips
Start by chilling your caramel candies slightly to make them easier to handle — this helps when forming the centers of the truffles. Crush your Butterfinger bars finely but leave some chunkier pieces for added texture. When melting chocolate, do it in short intervals and stir frequently to avoid overheating. Make sure the truffles are chilled before dipping, so they don’t fall apart in the warm chocolate. Finally, sprinkle the crushed Butterfingers on top quickly while the chocolate coating is still wet to ensure they stick perfectly.
Ingredients for No Bake Caramel Crunch Butterfinger Truffles
- 1 1/2 cups crushed Butterfinger candy bars (about 6 fun-size bars)
- 1 cup semi-sweet chocolate chips (or melting chocolate wafers)
- 12 soft caramel candies (unwrapped)
- 2 tablespoons heavy cream
- 1/2 teaspoon sea salt (optional, for balancing sweetness)
- 1/2 teaspoon vanilla extract
- Additional crushed Butterfingers for topping (about 1/4 cup)
Step 1: Prepare the Caramel Centers
Unwrap the soft caramel candies and place them in a microwave-safe bowl along with 2 tablespoons of heavy cream. Microwave in 15-second increments, stirring each time, until smooth and fully melted. Allow it to cool just slightly, then spoon small amounts (about 1/2 teaspoon) onto a parchment-lined baking sheet. Freeze for 15 minutes until firm.
Step 2: Make the Butterfinger Mixture
While the caramel centers are chilling, combine 1 1/2 cups of crushed Butterfinger bars with the vanilla extract in a medium mixing bowl. Stir until evenly mixed and set aside.
Step 3: Shape the Truffles
Once the caramel centers are firm, scoop about a tablespoon of the Butterfinger mixture and flatten it slightly in your palm. Place a caramel ball in the center and wrap the mixture around it to form a ball. Roll gently to smooth out the shape. Repeat until all truffles are formed. Place them back in the freezer for another 10–15 minutes to firm up.
Step 4: Melt the Chocolate
Add the chocolate chips or melting wafers to a microwave-safe bowl. Heat in 20–30 second bursts, stirring in between, until the chocolate is fully melted and glossy. Avoid overheating, which can cause the chocolate to seize.
Step 5: Dip and Decorate
Using a fork or toothpick, dip each truffle into the melted chocolate, letting excess drip off. Place on a parchment-lined tray. Immediately sprinkle with additional crushed Butterfingers before the chocolate sets. Repeat until all truffles are coated.
Step 6: Let Them Set
Allow the truffles to set at room temperature or refrigerate for about 10–15 minutes until the chocolate is completely hardened. Once set, they’re ready to enjoy or store for later.
Notes
These truffles are rich, so smaller portions go a long way. The quality of your chocolate makes a big difference—opt for high-quality melting wafers or real chocolate chips for a smoother finish. If you’re gifting them or serving at a party, consider placing each truffle in a mini cupcake liner for a polished presentation.
Watch Out for These Mistakes While Cooking
- Overheating the caramel or chocolate: Always microwave in short bursts and stir frequently to avoid burning or seizing.
- Skipping the chilling steps: These help the truffles hold their shape during dipping.
- Using sticky hands: Lightly greasing your hands or wearing food-safe gloves can prevent the mixture from sticking when shaping truffles.
- Not working quickly during coating: The topping won’t stick if the chocolate sets before sprinkling.
Storage Instructions
Store the truffles in an airtight container in the refrigerator for up to 7 days. To freeze, layer them between parchment paper in a freezer-safe container for up to 1 month. Allow to thaw in the fridge for several hours before serving. Avoid storing them at room temperature for long periods, as the chocolate may soften or melt.
Estimated Nutrition
(Per truffle, assuming yield of 12)
- Calories: 170
- Total Fat: 9g
- Saturated Fat: 5g
- Cholesterol: 5mg
- Sodium: 60mg
- Carbohydrates: 22g
- Fiber: 1g
- Sugars: 18g
- Protein: 1g
Frequently Asked Questions
What kind of caramel works best for this recipe?
Soft, chewy caramel candies like Kraft or Werther’s Soft Caramels work best. They melt easily and re-firm in the center when cooled.
Can I use different candy bars instead of Butterfingers?
Absolutely! Try using crushed toffee bars, Snickers, or even Twix for a different flavor profile.
How far in advance can I make these?
You can make them up to 5 days in advance and store them in the refrigerator. For longer storage, freeze them.
Can I make these truffles gluten-free?
Yes, just be sure to use gluten-free caramel and chocolate, and verify that your Butterfinger bars are gluten-free (some varieties are).
What if my chocolate seizes while melting?
If this happens, add a teaspoon of vegetable oil or shortening and stir vigorously to bring it back to a smooth consistency.
Can I double this recipe?
Yes, it scales up easily! Just be sure to chill in batches if your freezer space is limited.
How do I make the truffles uniform in size?
Use a small cookie scoop to ensure consistent sizing. This also helps them chill and set evenly.
Can kids help with this recipe?
Definitely! They’ll love helping roll the truffles and sprinkle the crushed candy on top. Just supervise the chocolate melting process.
Conclusion
No Bake Caramel Crunch Butterfinger Truffles are a show-stopping treat with minimal effort. They combine creamy, crunchy, chewy, and chocolaty in one unforgettable bite. Whether you’re prepping for a holiday tray, party, or simply treating yourself, this no-bake dessert delivers gourmet-level flavor with everyday ingredients. Make a batch, share a few (or not!), and enjoy the magic of caramel and chocolate done right.

No Bake Caramel Crunch Butterfinger Truffles
- Prep Time: 25 minutes
- Cook Time: 0 minutes
- Total Time: 40 minutes
- Yield: 12 truffles 1x
- Category: Dessert
- Method: No Bake
- Cuisine: American
- Diet: Vegetarian
Description
Craving a sweet treat that’s rich, crunchy, and indulgent with no oven required? These No Bake Caramel Crunch Butterfinger Truffles are the answer! With gooey caramel centers, crushed Butterfinger candy, and smooth chocolate coating, they deliver the perfect bite-sized dessert experience. Great for holidays, parties, or quick snack ideas, this easy recipe requires just a few ingredients and minimal prep. Whether you’re looking for quick breakfast add-ons, healthy-ish sweet treats, or fun food ideas for entertaining, this crowd-pleasing dessert won’t disappoint.
Ingredients
1 1/2 cups crushed Butterfinger candy bars
1 cup semi-sweet chocolate chips
12 soft caramel candies
2 tablespoons heavy cream
1/2 teaspoon sea salt
1/2 teaspoon vanilla extract
1/4 cup additional crushed Butterfingers for topping
Instructions
1. Unwrap the caramel candies and microwave with heavy cream in 15-second increments until melted and smooth. Cool slightly and spoon small mounds onto parchment-lined tray. Freeze 15 minutes.
2. In a bowl, mix crushed Butterfinger bars with vanilla extract.
3. Flatten a tablespoon of the Butterfinger mix in your palm, place a caramel dollop in the center, and wrap to form a ball. Roll into shape and freeze 10–15 minutes.
4. Melt chocolate chips in a microwave-safe bowl in 30-second bursts, stirring until smooth.
5. Dip each truffle into chocolate using a fork or toothpick, place on parchment, and sprinkle with extra crushed Butterfingers.
6. Let truffles set at room temperature or refrigerate for 10–15 minutes until firm.
Notes
Use high-quality chocolate for best melting and coating results.
Grease your hands lightly when rolling to prevent sticking.
Store truffles in mini cupcake liners for a clean, giftable presentation.
Nutrition
- Serving Size: 1 truffle
- Calories: 170
- Sugar: 18g
- Sodium: 60mg
- Fat: 9g
- Saturated Fat: 5g
- Unsaturated Fat: 3g
- Trans Fat: 0g
- Carbohydrates: 22g
- Fiber: 1g
- Protein: 1g
- Cholesterol: 5mg
Keywords: no bake dessert, butterfinger truffles, caramel truffles, easy dessert, chocolate treat, holiday candy, party snack, sweet gift