
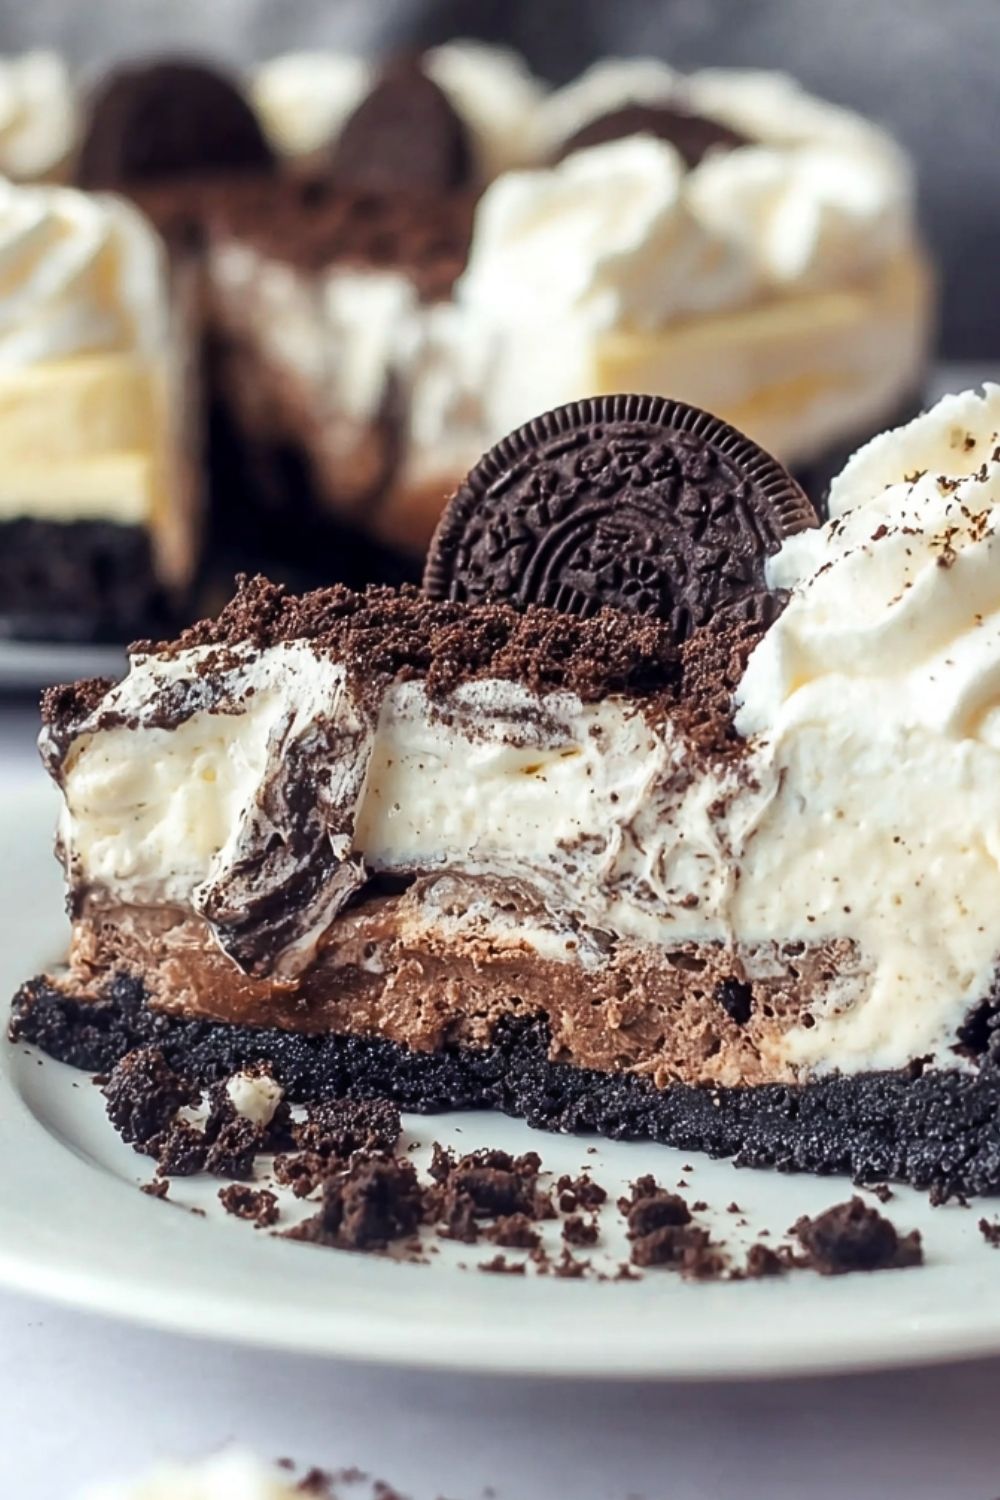
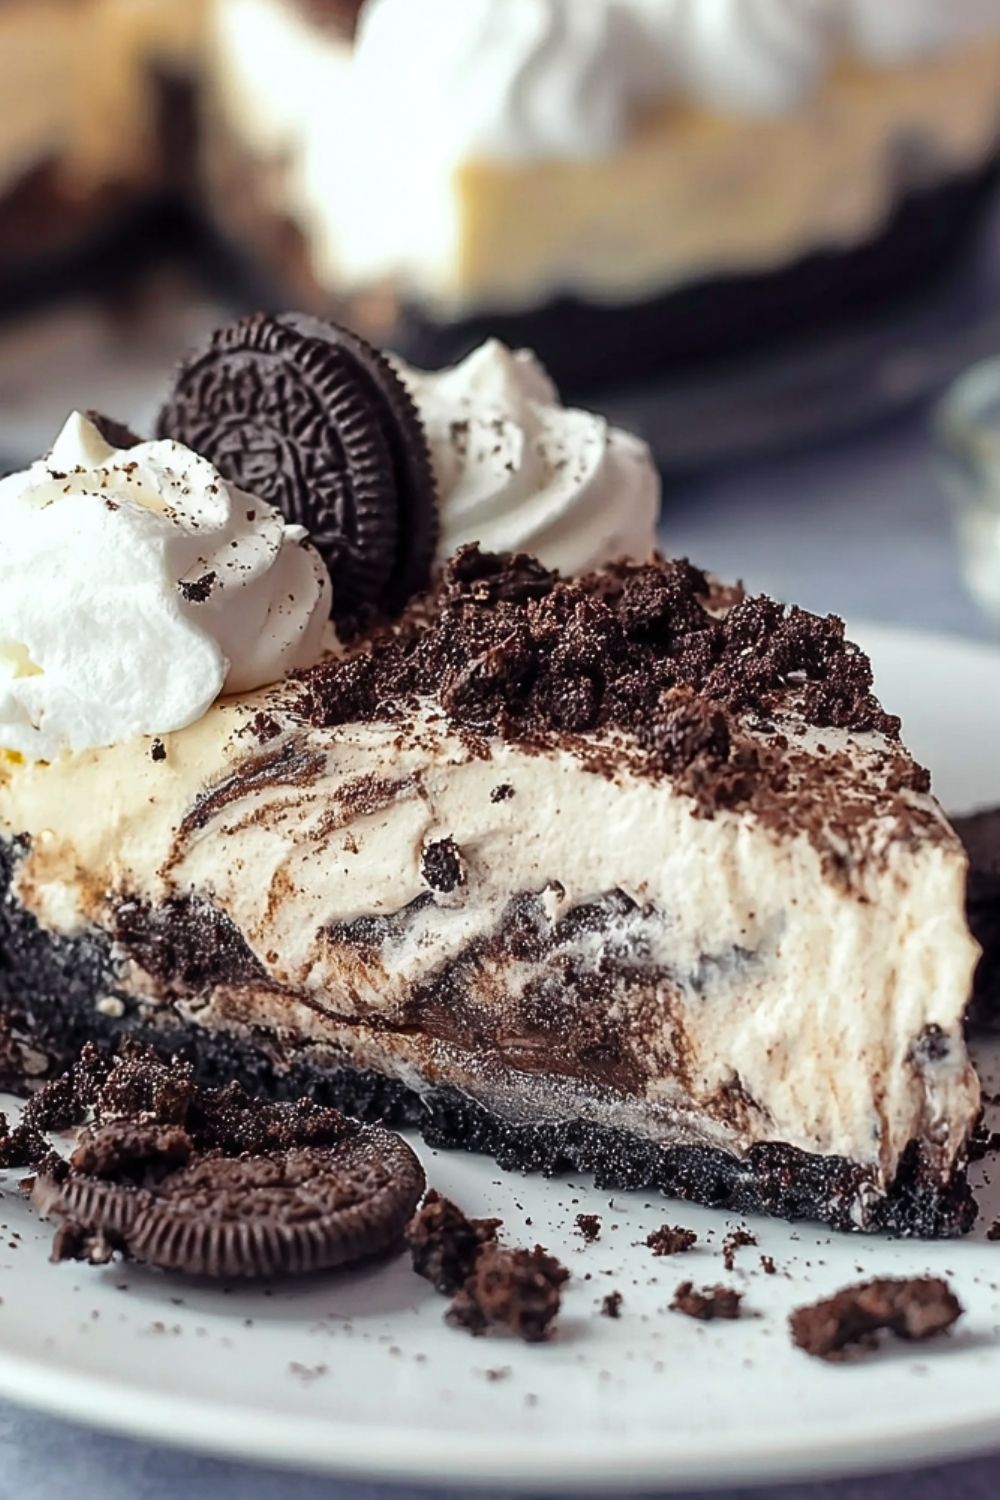
This Easy No-Bake Oreo Pie is what dessert dreams are made of. Imagine a rich, chocolatey Oreo crust filled with a silky, creamy filling that’s loaded with crushed Oreos, topped with whipped cream and a dusting of cocoa powder. Every bite melts in your mouth with just the right balance of sweetness and crunch. And the best part? It’s incredibly simple to make—no oven required.
Whether you’re prepping for a special occasion or need a last-minute dessert idea, this Oreo pie delivers big flavor with minimal effort. It’s a crowd-pleaser that appeals to kids and adults alike, making it the perfect go-to treat for potlucks, birthdays, or casual get-togethers. If you’re a fan of quick desserts that don’t skimp on taste, this pie will become your new favorite.
Why You’ll Love This Oreo Pie
- It’s completely no-bake—no oven, no fuss.
- Only a handful of ingredients needed.
- Perfect for warm-weather days or when you want a fast dessert fix.
- Creamy, crunchy, and packed with chocolate flavor.
- Easily customizable with your favorite toppings.
Preparation Phase & Tools to Use (Essential Tools and Equipment + Importance)
To make the perfect Oreo pie, a few key tools will make all the difference:
- Food Processor or Rolling Pin – Crucial for crushing the Oreos into a fine crumb for the crust.
- Mixing Bowls – You’ll need at least two: one for mixing the crust and another for the creamy filling.
- Electric Mixer or Whisk – Helps achieve that light, fluffy texture for the whipped cream filling.
- 9-Inch Pie Dish – The standard size for this recipe, giving the pie its shape and holding everything together.
- Rubber Spatula – Great for scraping down the sides of bowls and spreading the filling evenly.
Each of these tools ensures that the pie comes together smoothly and looks as beautiful as it tastes.
Preparation Tips
Make sure your cream cheese is softened to room temperature before mixing—it blends more easily and creates a smoother filling. For an extra chocolatey crust, consider adding a tablespoon of melted butter to the Oreo crumbs before pressing them into the pie dish. When folding in the crushed Oreos into the filling, do it gently to preserve their texture. And don’t forget to chill the pie for at least 4 hours before serving; this allows it to set properly and makes slicing much easier.
Ingredients for This Easy No-Bake Oreo Pie
- 24 Oreo cookies (for crust)
- 5 tablespoons unsalted butter, melted
- 16 Oreo cookies (for filling)
- 8 oz cream cheese, softened
- 1/2 cup powdered sugar
- 1 teaspoon vanilla extract
- 1 1/2 cups heavy whipping cream (cold)
- 2 tablespoons granulated sugar
- Cocoa powder (for dusting, optional)
- Whipped cream (for topping, optional)
Step 1: Prepare the Crust
Crush 24 Oreos in a food processor until they become fine crumbs. If you don’t have a processor, place them in a zip-top bag and crush with a rolling pin. Mix the crumbs with melted butter until well combined. Press the mixture firmly into the bottom and up the sides of a 9-inch pie dish. Place the crust in the freezer for 20 minutes to firm up.
Step 2: Make the Whipped Cream
In a large mixing bowl, beat the cold heavy whipping cream with granulated sugar until stiff peaks form. This will give the pie its airy texture. Set aside in the fridge while you prepare the filling.
Step 3: Mix the Cream Cheese Filling
In another bowl, beat softened cream cheese with powdered sugar and vanilla extract until smooth and creamy. This will form the base of your filling.
Step 4: Fold in Crushed Oreos
Roughly crush 16 Oreos (some chunks are great for texture) and gently fold them into the cream cheese mixture. Then, carefully fold in the whipped cream until evenly combined. Be gentle to keep the mixture light and fluffy.
Step 5: Assemble the Pie
Remove the crust from the freezer and pour the filling into it. Spread evenly with a rubber spatula. Smooth the top and add any additional crushed Oreos or decorative toppings you like.
Step 6: Chill the Pie
Cover and refrigerate the pie for at least 4 hours, preferably overnight. This helps the filling set perfectly for clean slices.
Step 7: Garnish and Serve
Before serving, dust the top with cocoa powder and pipe on some whipped cream if desired. Slice with a sharp knife and serve cold. Enjoy every creamy, crunchy bite!
Notes
This pie is incredibly adaptable—feel free to experiment by adding peanut butter, caramel swirls, or different flavored Oreo cookies to change things up. Make sure to give the pie enough chill time; it’s crucial for firming the filling and making clean slices. For best presentation, use a hot knife (run under hot water and wiped dry) when slicing the pie.
Watch Out for These Mistakes While Cooking
- Using warm cream cheese or cream: Both need to be cold (or at room temp for cream cheese only) for proper consistency.
- Overmixing the whipped cream: You want stiff peaks, not butter, so stop mixing once the cream holds its shape.
- Not letting the crust chill: A rushed crust will crumble too easily and won’t support the filling.
- Folding too aggressively: Stirring too hard when adding whipped cream to the filling can deflate the mixture.
- Skipping the chill time: The pie needs at least 4 hours to set; overnight is even better.
Storage Instructions
Store the Oreo pie in the refrigerator, covered tightly with plastic wrap or a fitted lid. It keeps well for up to 5 days, though the crust may begin to soften slightly over time. For longer storage, freeze the pie (without whipped cream topping) for up to 1 month. Let it thaw in the refrigerator for a few hours before serving. If garnished, add fresh whipped cream just before serving to keep it fluffy.
Estimated Nutrition
Per slice (based on 10 servings):
- Calories: 420
- Fat: 30g
- Saturated Fat: 16g
- Cholesterol: 85mg
- Sodium: 240mg
- Carbohydrates: 35g
- Sugar: 22g
- Fiber: 1g
- Protein: 4g
Frequently Asked Questions
Can I make this pie ahead of time?
Yes, it’s actually best when made the night before. It needs time to chill and set properly.
Can I freeze Oreo pie?
Absolutely. Freeze without toppings for up to a month. Thaw in the fridge before serving.
Can I use store-bought whipped topping?
Yes, substitute the homemade whipped cream with about 2 cups of Cool Whip if preferred.
How do I prevent the crust from crumbling?
Make sure to firmly press the crust into the dish and chill it before adding the filling.
What kind of Oreos should I use?
Classic Oreos work best, but feel free to try Golden, Mint, or seasonal flavors.
Is it okay to use low-fat cream cheese?
You can, but full-fat cream cheese gives the best creamy texture and rich flavor.
Can I add other ingredients to the filling?
Definitely! Try mini chocolate chips, caramel bits, or peanut butter swirls.
How do I get clean slices?
Use a sharp knife dipped in hot water and wiped clean between each cut.
Conclusion
This Easy No-Bake Oreo Pie is everything you want in a dessert—quick to make, creamy, crunchy, and universally loved. With minimal prep and maximum indulgence, it’s the ideal treat for when you need something simple yet impressive. Perfect for birthdays, celebrations, or just satisfying a late-night craving, this pie deserves a permanent spot in your recipe box.

Easy No-Bake Oreo Pie Everyone Will Love
- Prep Time: 25 minutes
- Cook Time: 0 minutes
- Total Time: 25 minutes
- Yield: 1 9-inch pie (10 servings) 1x
- Category: Dessert
- Method: No-bake
- Cuisine: American
- Diet: Vegetarian
Description
Looking for a quick dessert that’s as irresistible as it is effortless? This Easy No-Bake Oreo Pie is your go-to fix! With a chocolatey Oreo crust, creamy whipped filling, and extra Oreo chunks folded in, this no-bake treat is perfect for busy weeknights, last-minute parties, or when that late-night craving hits. It’s one of the easiest food ideas out there—great for both beginner bakers and pros. Whether you’re hunting for easy dessert recipes, fun food ideas, or classic crowd-pleasers, this creamy, crunchy Oreo pie belongs on your must-make list.
Ingredients
24 Oreo cookies (for crust)
5 tablespoons unsalted butter, melted
16 Oreo cookies (for filling)
8 oz cream cheese, softened
0.5 cup powdered sugar
1 teaspoon vanilla extract
1.5 cups heavy whipping cream, cold
2 tablespoons granulated sugar
Cocoa powder (for dusting, optional)
Whipped cream (for topping, optional)
Instructions
1. Crush 24 Oreos in a food processor or with a rolling pin until finely ground.
2. Mix Oreo crumbs with melted butter until fully combined.
3. Press mixture into a 9-inch pie dish and freeze for 20 minutes.
4. In a bowl, beat cold heavy cream and granulated sugar until stiff peaks form. Set aside.
5. In a separate bowl, beat softened cream cheese, powdered sugar, and vanilla until smooth.
6. Roughly crush 16 Oreos and gently fold them into the cream cheese mixture.
7. Fold in the whipped cream gently to keep the filling light and airy.
8. Pour filling into the chilled crust and smooth the top.
9. Refrigerate for at least 4 hours, preferably overnight.
10. Before serving, dust with cocoa powder and garnish with whipped cream. Slice and enjoy!
Notes
Let the pie chill for at least 4 hours so it sets properly—overnight is ideal.
Don’t overmix the whipped cream—stiff peaks are enough.
Use a warm knife to slice cleanly without dragging through the soft filling.
Nutrition
- Serving Size: 1 slice
- Calories: 420
- Sugar: 22g
- Sodium: 240mg
- Fat: 30g
- Saturated Fat: 16g
- Unsaturated Fat: 10g
- Trans Fat: 0g
- Carbohydrates: 35g
- Fiber: 1g
- Protein: 4g
- Cholesterol: 85mg
Keywords: easy dessert, Oreo pie, no bake dessert, quick recipes, kid-friendly