I can’t think of a cozier kitchen moment than the scent of simmering apples, cinnamon, and sugar filling the air. That’s exactly what this Best Apple Pie Filling delivers—comfort in a jar. Whether you’re prepping for the holidays or just craving a taste of homemade goodness, this recipe is one I’ve turned to over and over again. It’s the kind of classic that feels like a warm hug on a chilly day.
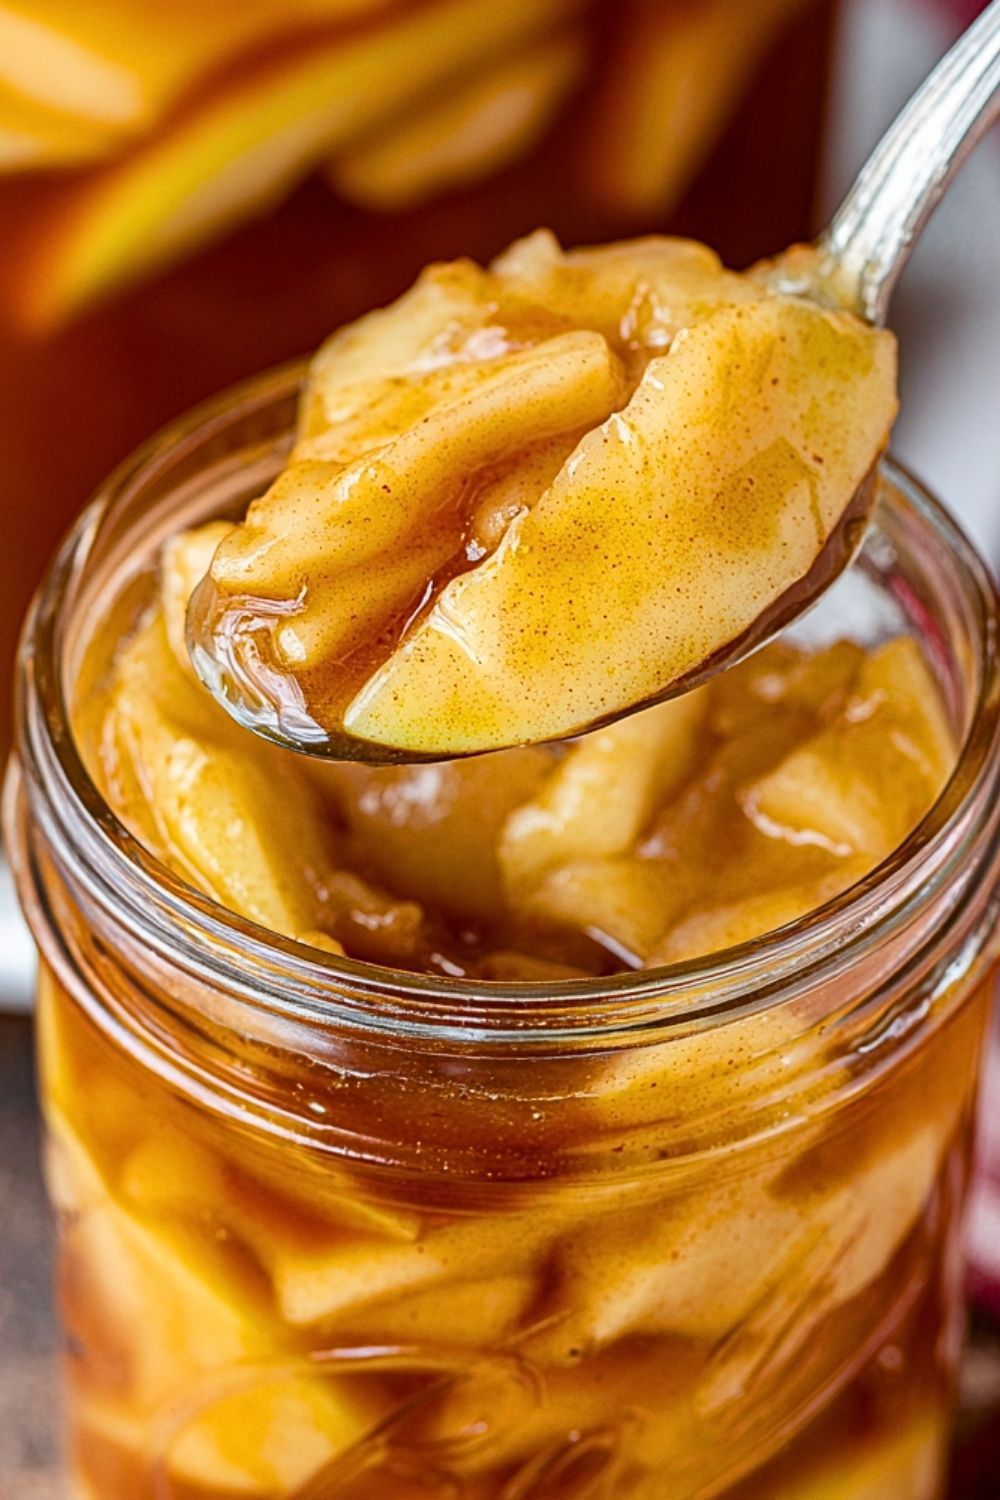
Making your own apple pie filling might sound like an extra step, but once you try it, there’s no going back to canned versions. The apples stay slightly firm, the sauce is rich and spiced just right, and it stores beautifully. I love keeping a few jars in my pantry for quick pies, crisps, or even as a topping for pancakes or yogurt. This is my go-to, and I’m thrilled to share it with you.
Why You’ll Love This Best Apple Pie Filling
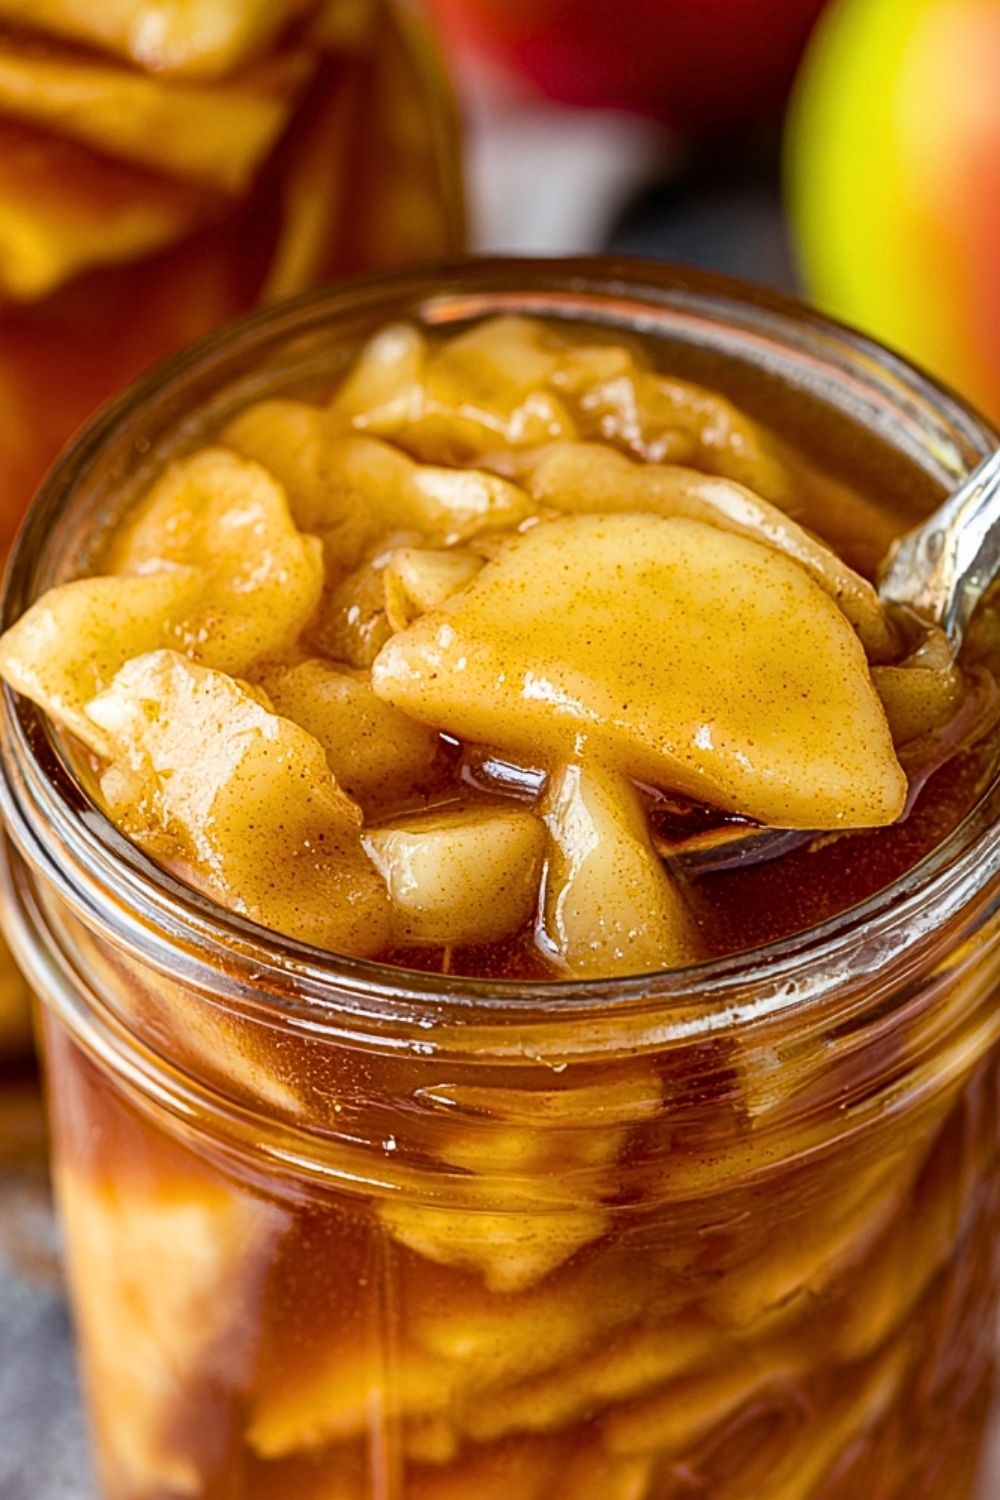
This recipe is thick, luscious, and loaded with apple flavor. Unlike store-bought versions, it’s not overly sweet and doesn’t taste artificial. You’re in full control of the ingredients, from the type of apple to the amount of spice. It’s also freezer-friendly and perfect for make-ahead desserts, saving you time when you need it most.
What Kind of Apples Should I Use?
For the best texture and flavor, I use a mix of tart and sweet apples. Granny Smith apples hold their shape beautifully and balance out the sugar, while varieties like Honeycrisp or Fuji add natural sweetness. Avoid softer apples like Red Delicious—they tend to break down too much during cooking.
Options for Substitutions
If you want to make this recipe gluten-free, simply swap the flour or cornstarch thickener with arrowroot powder. Don’t have apple pie spice? A simple combo of cinnamon, nutmeg, and allspice will do the trick. You can also use maple syrup or honey instead of granulated sugar for a slightly different flavor profile. If you like a richer, more buttery filling, stir in a tablespoon of unsalted butter at the end.
Ingredients for this Best Apple Pie Filling
- Apples – The heart of the recipe. A mix of tart and sweet apples gives the perfect balance of flavor and texture.
- Lemon Juice – Keeps the apples from browning and adds a fresh, bright contrast to the sweetness.
- Granulated Sugar – Sweetens the filling and helps draw out the juices from the apples.
- Brown Sugar – Adds a deeper, caramel-like sweetness and richness to the sauce.
- Cornstarch – Thickens the filling to a glossy, pie-perfect consistency. You can substitute with flour or arrowroot.
- Ground Cinnamon – Essential for that warm, comforting apple pie flavor.
- Nutmeg – Adds subtle depth and spice.
- Salt – Balances out the sweetness and enhances the other flavors.
- Water – Helps cook down the mixture into a luscious sauce.
Step 1: Peel and Slice the Apples
Peel, core, and slice your apples into thin, uniform pieces. This helps them cook evenly and gives your filling a consistent texture. I usually slice them about 1/4-inch thick.
Step 2: Coat the Apples with Lemon Juice
Toss your sliced apples in lemon juice right away. This prevents browning and adds a nice tartness that balances the sugars later.
Step 3: Make the Sauce
In a large pot over medium heat, whisk together water, granulated sugar, brown sugar, cornstarch, cinnamon, nutmeg, and salt. Stir constantly until the mixture starts to bubble and thicken, about 3–5 minutes.
Step 4: Add the Apples to the Sauce
Once the sauce thickens, carefully fold in the sliced apples. Stir to coat every piece well. Let the apples cook in the sauce for 8–10 minutes, stirring occasionally, until they just begin to soften.
Step 5: Cool and Store
Remove the pot from heat and let the filling cool completely. Transfer to sterilized jars or containers. You can refrigerate for up to a week or freeze for up to 3 months.
How Long to Prepare the Best Apple Pie Filling
Preparation Time: Peeling and slicing the apples takes the most time, especially if you’re doing a large batch. For about 6 cups of sliced apples, expect around 15–20 minutes of prep. Using an apple peeler-corer-slicer can cut that in half.
Cooking Time: Once everything is prepped, the sauce comes together quickly. Cooking the filling on the stove takes about 10–15 minutes total. That includes thickening the sauce and simmering the apples until tender but not mushy. The filling should be cooled completely before storing or using.
Tips for Perfect Apple Pie Filling
- Use a combination of sweet and tart apples for balance.
- Stir constantly while thickening the sauce to avoid lumps.
- Don’t overcook the apples—they should be tender but still hold their shape.
- Let the filling cool completely before using in a pie shell.
- For a richer flavor, add a splash of vanilla extract or a tablespoon of butter at the end.
Watch Out for These Mistakes While Cooking
- Skipping the lemon juice: It helps prevent browning and adds needed acidity.
- Overcooking the apples: They’ll turn to mush in the pie.
- Not thickening the sauce enough: The filling will be too runny.
- Adding cold apples to the sauce: Always add apples right after tossing them in lemon juice to keep temperature even.
- Not cooling the filling: Hot filling can make your pie crust soggy.
What to Serve With Best Apple Pie Filling?
1. Classic Pie Crust
Use the filling to bake a traditional double-crust or lattice apple pie.
2. Pancakes or Waffles
Spoon warm filling over your favorite breakfast stack for a cozy treat.
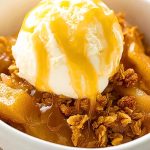
3. Vanilla Ice Cream
Serve it warm on top of a scoop of ice cream for a quick dessert.
4. Oatmeal
Swirl it into a bowl of oatmeal for a comforting fall-inspired breakfast.
5. Yogurt Parfait
Layer with granola and Greek yogurt for a no-bake dessert or snack.
Storage Instructions
Refrigerator: Store the cooled apple pie filling in an airtight container or jar in the fridge. It will stay fresh for up to 7 days. Be sure to use clean utensils when scooping to avoid contamination.
Freezer: Freeze the filling in freezer-safe bags or containers for up to 3 months. Make sure to leave some headspace in jars or containers to allow for expansion. Thaw overnight in the fridge before using.
Estimated Nutrition
Per 1/2 cup serving:
- Calories: ~150
- Sugar: ~28g
- Carbohydrates: ~36g
- Fiber: ~3g
- Fat: 0g
- Protein: 0g
Frequently Asked Questions
How many apples do I need for one pie?
Usually, 6 cups of sliced apples (about 6 medium apples) is perfect for a standard 9-inch pie.
Can I can this apple pie filling for long-term storage?
Yes, but you’ll need to follow proper water-bath canning procedures and use ClearJel instead of cornstarch for safety.
What if my filling turns out too thick?
Add a splash of water or apple juice while reheating to loosen it.
Can I make this without sugar?
You can reduce or substitute sugar with maple syrup or coconut sugar, but the texture may change.
Is this filling good for crisps or cobblers?
Absolutely! Just pour into a baking dish, top with oat or biscuit topping, and bake.
Conclusion
The Best Apple Pie Filling is a pantry essential in my kitchen. It brings the flavors of fall to any dessert with very little effort. From pies to breakfast bowls, it’s incredibly versatile and easy to make in bulk. Once you taste the difference of homemade, it’s hard to go back. Make a batch today—you’ll be thanking yourself later.
Best Apple Pie Filling
- Prep Time: 20 minutes
- Cook Time: 15 minutes
- Total Time: 35 minutes
- Yield: 5 cups 1x
- Category: Dessert
- Method: Stovetop
- Cuisine: American
- Diet: Vegetarian
Description
This homemade apple pie filling is thick, glossy, and packed with warm cinnamon spice, making it the perfect choice for easy dessert prep, quick breakfast ideas, and comforting fall food. Whether you’re filling pies, topping pancakes, or stirring into yogurt, this quick and easy recipe delivers big flavor without the preservatives. A must-have for holiday baking or weeknight dinner ideas, this make-ahead apple pie filling is your new go-to for all things sweet, simple, and satisfying.
Ingredients
6 medium apples (sliced, about 6 cups)
2 tablespoons lemon juice
1/2 cup granulated sugar
1/2 cup brown sugar
1/4 cup cornstarch
1 1/2 teaspoons ground cinnamon
1/4 teaspoon ground nutmeg
1/8 teaspoon salt
2 cups water
Instructions
1. Peel, core, and slice the apples into thin, even pieces about 1/4-inch thick.
2. Toss the apple slices with lemon juice to prevent browning and to enhance the flavor.
3. In a large pot, combine water, granulated sugar, brown sugar, cornstarch, cinnamon, nutmeg, and salt.
4. Cook over medium heat, stirring constantly, until the mixture thickens and begins to bubble, about 3–5 minutes.
5. Stir in the apple slices, coating them well with the sauce. Simmer for 8–10 minutes until apples are tender but still hold shape.
6. Remove from heat and allow the filling to cool completely.
7. Store in airtight jars or containers in the fridge for up to 7 days, or freeze for up to 3 months.
Notes
Use a mix of tart and sweet apples (like Granny Smith and Honeycrisp) for the best flavor balance.
Let the filling cool fully before using it in pies to prevent soggy crusts.
You can freeze this filling in batches for quick pie-making later.
Nutrition
- Serving Size: 1/2 cup
- Calories: 150
- Sugar: 28g
- Sodium: 60mg
- Fat: 0g
- Saturated Fat: 0g
- Unsaturated Fat: 0g
- Trans Fat: 0g
- Carbohydrates: 36g
- Fiber: 3g
- Protein: 0g
- Cholesterol: 0mg
Keywords: best apple pie filling, easy apple pie filling, homemade apple filling, pie prep, holiday pie filling