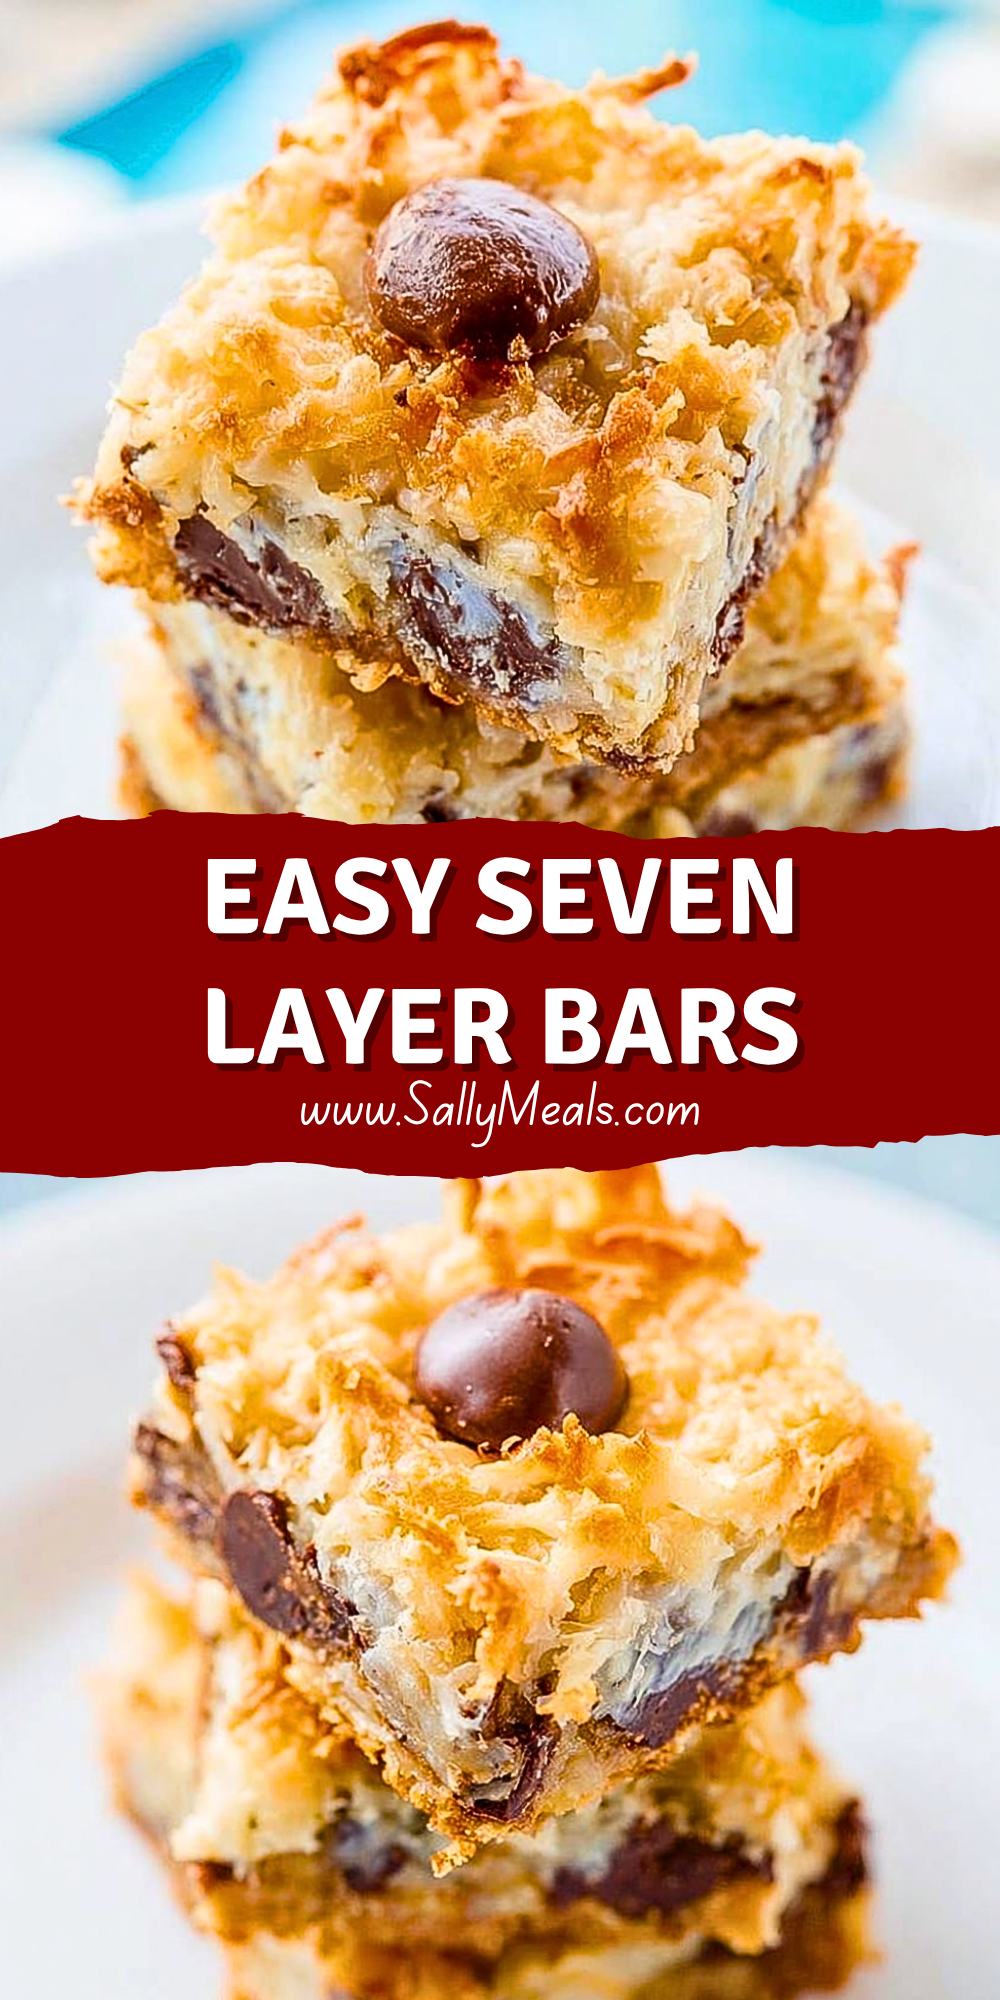
Easy Seven Layer Bars are the kind of dessert that instantly brings comfort with every gooey, chewy bite. Packed with layers of buttery graham cracker crust, rich chocolate, sweet coconut, crunchy nuts, and creamy condensed milk, these dessert bars bake into a golden masterpiece that feels both nostalgic and irresistible. They are perfect for bake sales, holiday trays, casual gatherings, or simply satisfying a sweet craving at home.
One of the best things about Easy Seven Layer Bars is how simple they are to prepare while still looking and tasting impressive. With minimal prep work and a handful of pantry staples, you can create a dessert that delivers a perfect balance of texture and sweetness. Each layer melts together beautifully during baking, creating bars that are rich, decadent, and impossible to stop eating.
Why You’ll Love This Easy Seven Layer Bars Recipe
These Easy Seven Layer Bars are incredibly beginner-friendly and require very little hands-on effort. Everything gets layered directly into the pan, making cleanup simple and stress-free. The combination of crunchy graham crackers, creamy condensed milk, chocolate chips, coconut flakes, and nuts creates a rich flavor in every bite.
Another reason these bars stand out is their versatility. You can customize the ingredients to fit your preferences by using white chocolate chips, butterscotch chips, pecans, walnuts, or even peanut butter chips. They are ideal for parties because they can be made ahead of time and sliced into perfectly portable dessert squares.
Preparation Phase & Tools to Use
Preparing Easy Seven Layer Bars requires just a few essential kitchen tools, but each one plays an important role in achieving the perfect texture and presentation.
- 9×13-inch Baking Pan: This pan provides the ideal thickness for evenly layered dessert bars and allows the ingredients to bake consistently.
- Mixing Bowl: Useful for combining the graham cracker crumbs and melted butter to create a sturdy crust.
- Measuring Cups and Spoons: Accurate measurements ensure balanced sweetness and proper layering.
- Rubber Spatula or Spoon: Helps spread the crust mixture evenly and distribute toppings without disturbing the layers.
- Parchment Paper or Nonstick Spray: Prevents sticking and makes removing the bars from the pan much easier.
- Cooling Rack: Allows the bars to cool evenly before slicing, helping them hold their shape.
- Sharp Knife: Essential for creating clean, neat dessert squares after the bars have cooled.
Each tool contributes to making the preparation smooth and efficient while helping the finished bars look bakery-quality.
Preparation Tips
For the best Easy Seven Layer Bars, make sure to firmly press the graham cracker crust into the pan so it forms a stable base for the layers above. Use freshly opened sweetened condensed milk for the smoothest texture and even distribution. When layering the ingredients, sprinkle them evenly across the surface to ensure every bite contains a balanced combination of flavors.
Allow the bars to cool completely before cutting, as this helps the layers set properly and prevents crumbling. Chilling them for about 30 minutes before slicing can make the process even easier. If you prefer a softer texture, store them at room temperature, while refrigeration creates firmer, cleaner-cut bars.
Ingredients for this Easy Seven Layer Bars Recipe
Creating Easy Seven Layer Bars only requires a handful of pantry-friendly ingredients, yet each layer contributes incredible flavor and texture. Using quality ingredients makes a noticeable difference in the final dessert.
For the Graham Cracker Crust
- 1 ½ cups graham cracker crumbs
- ½ cup unsalted butter, melted
- 2 tablespoons granulated sugar
For the Layers
- 1 can (14 ounces) sweetened condensed milk
- 1 cup semi-sweet chocolate chips
- 1 cup butterscotch chips
- 1 ⅓ cups sweetened shredded coconut
- 1 cup chopped walnuts or pecans
- ½ cup white chocolate chips (optional)
- ½ cup peanut butter chips (optional)
Optional Toppings and Variations
- Drizzle of melted chocolate
- Sea salt flakes for contrast
- Crushed pretzels for extra crunch
- Mini marshmallows for a gooey twist
- Toffee bits for added caramel flavor
Ingredient Notes
- Graham Cracker Crumbs: These create the buttery base that holds the dessert together.
- Sweetened Condensed Milk: The key ingredient that binds all the layers and creates the signature gooey texture.
- Chocolate Chips: Semi-sweet chocolate balances the sweetness while adding richness.
- Butterscotch Chips: Add warm caramel-like flavor that pairs beautifully with coconut.
- Coconut: Provides chewy texture and golden toasted flavor after baking.
- Nuts: Add crunch and help balance the sweetness of the bars.
Step 1: Prepare the Baking Dish
Preheat your oven to 350°F (175°C). Lightly grease a 9×13-inch baking pan or line it with parchment paper for easier cleanup and removal.
Using parchment paper with extra overhang on the sides allows you to lift the bars out cleanly after cooling. This is especially helpful when cutting precise dessert squares.
Step 2: Make the Graham Cracker Crust
In a medium mixing bowl, combine the graham cracker crumbs, melted butter, and granulated sugar. Stir until the crumbs are evenly coated and resemble wet sand.
Press the mixture firmly into the bottom of the prepared baking pan using the back of a spoon, measuring cup, or spatula. Creating a compact crust prevents crumbling once the bars are sliced.
For extra flavor, you can lightly toast the crust in the oven for 5 minutes before adding the remaining layers.
Step 3: Pour the Sweetened Condensed Milk
Slowly pour the sweetened condensed milk evenly over the crust. Try to distribute it across the entire surface to ensure every section of the bars stays moist and chewy.
The condensed milk acts like a glue that binds the toppings together during baking, creating the signature layered texture that makes these bars famous.
Step 4: Add the Chocolate Chips
Sprinkle the semi-sweet chocolate chips evenly over the condensed milk layer. Spread them carefully so every bite contains rich chocolate flavor.
If you prefer a deeper chocolate taste, you can use dark chocolate chips instead. Milk chocolate creates a sweeter dessert, while dark chocolate provides stronger contrast against the sweet layers.
Step 5: Add the Butterscotch Chips
Scatter the butterscotch chips across the pan, making sure they are evenly distributed.
As the bars bake, the butterscotch chips melt slightly and create pockets of creamy caramel flavor that pair beautifully with the coconut and nuts.
Step 6: Sprinkle the Coconut
Evenly spread the shredded coconut over the chip layers. The coconut will toast while baking, developing a golden color and nutty flavor.
For extra texture, lightly press the coconut into the condensed milk so it adheres better while baking.
Step 7: Add the Nuts
Sprinkle the chopped walnuts or pecans evenly over the coconut layer.
The nuts add crunch and help cut through the sweetness of the bars. Pecans provide a buttery flavor, while walnuts create a slightly earthy contrast.
If serving to guests with nut allergies, simply omit the nuts or replace them with crushed pretzels or sunflower seeds.
Step 8: Add Optional Layers
For a more indulgent version, sprinkle white chocolate chips, peanut butter chips, or toffee bits over the top.
These additional layers create more flavor complexity and make the bars feel even more bakery-style and decadent.
Step 9: Bake the Bars
Place the pan into the preheated oven and bake for 25–30 minutes, or until the edges are golden brown and the coconut becomes lightly toasted.
Avoid overbaking, as the bars continue to set while cooling. The center may still look slightly soft when removed from the oven, which is perfectly normal.
Signs the Bars Are Done
- The edges turn golden brown
- Coconut becomes lightly toasted
- Chocolate chips appear melted
- The center is set but slightly soft
- The top develops a glossy finish
Step 10: Cool Completely
Remove the bars from the oven and place the pan on a cooling rack.
Allow the bars to cool at room temperature for at least 1 hour. For cleaner slices, refrigerate them for an additional 30 minutes before cutting.
Cooling is essential because it allows the melted layers to firm up and hold their shape properly.
Step 11: Slice and Serve
Use a sharp knife to cut the bars into squares or rectangles.
For the cleanest cuts:
- Wipe the knife clean between slices
- Chill the bars before cutting
- Use long, smooth slicing motions
- Avoid pressing down too hard
Serve the bars slightly chilled or at room temperature.
Serving Suggestions
Easy Seven Layer Bars are delicious on their own, but they can also be paired with:
- Hot coffee or espresso
- Vanilla ice cream
- Cold milk
- Salted caramel drizzle
- Fresh berries
- Whipped cream
These bars are perfect for:
- Holiday dessert trays
- Potlucks
- Bake sales
- Birthday parties
- Family gatherings
- Weekend baking projects
Flavor Variations to Try
Peanut Butter Seven Layer Bars
Replace butterscotch chips with peanut butter chips and add chopped peanuts for a salty-sweet twist.
Dark Chocolate Coconut Bars
Use dark chocolate chunks and unsweetened coconut for a richer, less sweet dessert.
Holiday Seven Layer Bars
Add festive sprinkles, white chocolate chips, and crushed peppermint candies during the holidays.
Salted Caramel Version
Drizzle caramel sauce over the bars after baking and finish with flaky sea salt.
Tropical Style Bars
Mix dried pineapple pieces and macadamia nuts into the layers for a tropical flavor profile.
Notes
Easy Seven Layer Bars are one of those classic desserts that become even better after they have fully cooled and rested. The layers settle together beautifully, creating the perfect chewy, gooey, and slightly crunchy texture that makes these bars so addictive. Although the recipe itself is simple, taking your time with proper layering and cooling makes a major difference in the final result.
Using high-quality chocolate chips, fresh shredded coconut, and real butter helps create a richer flavor and more balanced sweetness. If you enjoy a less sweet dessert, consider using dark chocolate chips or unsweetened coconut to offset the sweetness of the condensed milk.
These bars are also extremely customizable. You can swap ingredients depending on the season, your pantry, or dietary preferences. Adding peanut butter chips, crushed cookies, caramel drizzle, or dried fruit can completely transform the flavor profile while keeping the classic layered structure intact.
One of the best features of Easy Seven Layer Bars is their make-ahead convenience. They travel well, slice easily after chilling, and stay delicious for days, making them ideal for holidays, parties, bake sales, or casual family desserts.
Watch Out for These Mistakes While Cooking
Even though Easy Seven Layer Bars are beginner-friendly, a few common mistakes can affect the final texture and appearance.
Using Too Much Butter in the Crust
Adding excess butter can make the crust greasy and cause the bars to fall apart when sliced. Measure carefully to maintain a sturdy base.
Not Pressing the Crust Firmly Enough
A loose crust may crumble after baking. Compacting the graham cracker layer helps hold everything together.
Uneven Layering
Concentrating ingredients in certain spots creates uneven flavor distribution. Sprinkle each ingredient evenly across the entire pan.
Overbaking the Bars
Baking too long can dry out the bars and harden the chocolate. Remove them once the edges are golden and the center is just set.
Cutting While Still Warm
Warm bars tend to fall apart and create messy slices. Allow the bars to cool fully before cutting.
Using Sweetened Coconut with Milk Chocolate Only
This combination can become extremely sweet. Balance the flavors with semi-sweet or dark chocolate if desired.
Skipping Parchment Paper
Without parchment paper or proper greasing, the sticky layers can become difficult to remove cleanly from the pan.
Overloading with Extra Toppings
Too many additions can weigh down the bars and prevent even baking. Keep optional toppings balanced.
Storage Instructions
Easy Seven Layer Bars store beautifully, which makes them an excellent make-ahead dessert.
For short-term storage, place the cooled bars in an airtight container and keep them at room temperature for up to 4 days. Layer parchment paper between stacked bars to prevent sticking.
If you prefer firmer bars, refrigerate them in a sealed container for up to 1 week. Chilled bars develop a denser texture that many people enjoy.
For longer storage, freeze the bars individually wrapped in plastic wrap and placed inside a freezer-safe container or zip-top bag. They can be frozen for up to 3 months.
To serve frozen bars, allow them to thaw overnight in the refrigerator or sit at room temperature for about 30 minutes.
Avoid storing the bars uncovered, as they can dry out and lose their chewy texture.
Estimated Nutrition
The nutritional values below are approximate and may vary depending on ingredient brands and portion sizes.
Per Serving (Based on 24 Bars)
- Calories: 280
- Carbohydrates: 33g
- Protein: 4g
- Fat: 15g
- Saturated Fat: 8g
- Cholesterol: 18mg
- Sodium: 95mg
- Fiber: 2g
- Sugar: 25g
Nutritional Highlights
- Coconut provides texture and small amounts of fiber.
- Nuts contribute healthy fats and added crunch.
- Semi-sweet chocolate offers a more balanced sweetness compared to milk chocolate.
Because these bars are rich and decadent, smaller portions are usually satisfying.
Frequently Asked Questions
Can I make Easy Seven Layer Bars ahead of time?
Yes, these bars are perfect for making ahead. In fact, they often taste even better the next day after the flavors have fully settled.
Why are my bars falling apart?
This usually happens if the crust was not pressed firmly enough or the bars were sliced before fully cooling.
Can I freeze Easy Seven Layer Bars?
Absolutely. Wrap the bars individually and freeze them for up to 3 months for best freshness.
What nuts work best in this recipe?
Walnuts and pecans are the most common choices, but almonds, macadamia nuts, or peanuts also work well.
Can I make these bars without coconut?
Yes. Simply leave out the coconut or replace it with oats, crushed pretzels, or additional chocolate chips.
How do I get clean slices?
Chill the bars before cutting and wipe the knife clean between each slice.
Can I use homemade graham cracker crumbs?
Yes, homemade crumbs work wonderfully and often provide fresher flavor and better texture.
Are Easy Seven Layer Bars very sweet?
They are definitely a rich dessert, but using dark chocolate, unsweetened coconut, or salted nuts can help balance the sweetness.
Conclusion
Easy Seven Layer Bars are the ultimate crowd-pleasing dessert for anyone who loves rich layers of chocolate, coconut, crunchy nuts, and buttery graham cracker crust. Their simple preparation, customizable ingredients, and irresistibly gooey texture make them a timeless favorite for every occasion.
Whether you are baking for holidays, potlucks, family gatherings, or simply treating yourself at home, these bars deliver bakery-style flavor with minimal effort. Once you make them, they are guaranteed to become a regular dessert recipe in your kitchen.
From the chewy layers to the golden toasted topping, every bite offers a delicious balance of texture and sweetness that keeps everyone reaching for another square.
Easy Seven Layer Bars
Ingredients
- 1 ½ cups graham cracker crumbs
- ½ cup unsalted butter melted
- 2 tablespoons granulated sugar
- 14 ounces sweetened condensed milk
- 1 cup semi-sweet chocolate chips
- 1 cup butterscotch chips
- 1 ⅓ cups sweetened shredded coconut
- 1 cup chopped walnuts or pecans
- ½ cup white chocolate chips
- ½ cup peanut butter chips
Instructions
- 1. Preheat the oven to 350°F (175°C) and grease or line a 9×13-inch baking pan with parchment paper.
- 2. In a mixing bowl, combine the graham cracker crumbs, melted butter, and granulated sugar until evenly mixed.
- 3. Firmly press the crust mixture into the bottom of the prepared baking pan.
- 4. Pour the sweetened condensed milk evenly over the crust layer.
- 5. Sprinkle the semi-sweet chocolate chips evenly across the pan.
- 6. Add the butterscotch chips in an even layer.
- 7. Sprinkle the shredded coconut evenly over the top.
- 8. Add the chopped walnuts or pecans across the surface.
- 9. Sprinkle white chocolate chips and peanut butter chips if using.
- 10. Bake for 25 to 30 minutes or until the edges are golden brown and the coconut is lightly toasted.
- 11. Remove the pan from the oven and allow the bars to cool completely.
- 12. Refrigerate for 30 minutes before slicing for cleaner cuts.
- 13. Slice into bars and serve.