
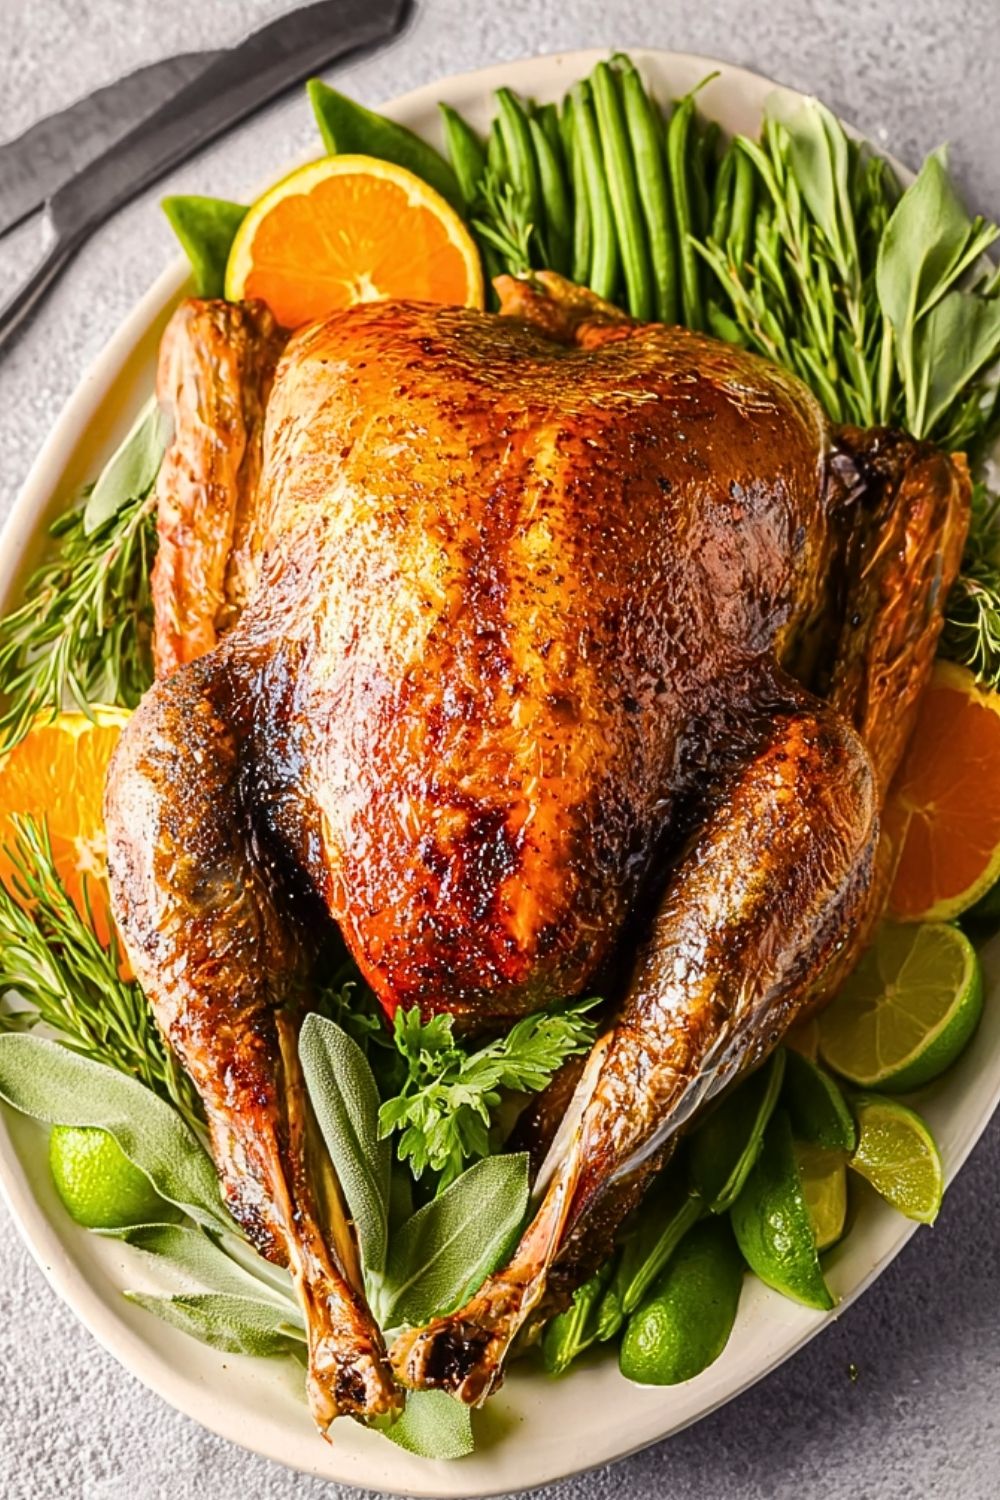
A perfectly brined turkey is the secret to a juicy, tender, and flavorful holiday centerpiece. This Juicy Turkey Brine infuses the bird with layers of savory herbs, citrus brightness, and subtle sweetness that keep the meat moist from the inside out. Whether you’re roasting, grilling, or smoking your turkey, this brine ensures every bite is succulent, never dry.
Brining isn’t just for pros—it’s a simple, transformative technique that works wonders for your bird. The saltwater solution penetrates deep into the turkey, enhancing flavor and texture while locking in natural juices. When combined with aromatics like garlic, bay leaves, peppercorns, and fresh herbs, the result is a show-stopping turkey that’s anything but ordinary.
Why You’ll Love This Juicy Turkey Brine
- Guarantees a moist and tender turkey every time
- Enhances flavor without overpowering the natural taste of the meat
- Easy to make ahead, freeing up time on the big day
- Works well for whole turkeys, turkey breasts, or even chicken
Preparation Phase & Tools to Use
To prepare the perfect turkey brine, you’ll need a few key tools:
- Large Stockpot: This is where you’ll boil your brine mixture. It needs to be big enough to hold water, salt, sugar, and aromatics.
- Food-Safe Bucket or Brining Bag: Once cooled, your brine and turkey need to soak together. A 5-gallon bucket or brining bag works best.
- Tongs or Meat Fork: These help safely lower and remove the turkey from the brine.
- Meat Thermometer: Essential for ensuring your turkey is cooked to a safe internal temperature after brining.
- Refrigerator Space or Cooler: Since the brine must stay cold, make sure you have enough space to store the bucket or bag during the brining process.
Each tool plays a critical role—from creating and infusing the brine to ensuring food safety and ideal cooking results.
Preparation Tips
Start your brining process at least 24 hours before cooking. Always allow the brine mixture to cool completely before adding the turkey, as hot liquid can start to cook the meat prematurely. If fridge space is limited, use a cooler with ice packs to keep the brine cold. Don’t forget to rinse and pat the turkey dry after brining to remove excess salt on the surface—this helps you get that crispy, golden skin. Finally, skip adding extra salt during cooking; the brine has already done the heavy lifting!
Ingredients for this Juicy Turkey Brine
- 1 gallon (16 cups) water
- 1 cup kosher salt (do not substitute with table salt)
- 1/2 cup brown sugar (light or dark)
- 1 tablespoon whole black peppercorns
- 1 tablespoon dried rosemary (or 2-3 fresh sprigs)
- 1 tablespoon dried thyme (or 2-3 fresh sprigs)
- 2 bay leaves
- 5 cloves garlic, smashed
- 1 large onion, quartered
- 2 oranges, sliced
- 1 lemon, sliced
- Optional: 1 tablespoon crushed red pepper flakes (for a subtle heat)
- Optional: 1/2 cup apple cider vinegar or apple juice (for added depth)
- 1 additional gallon cold water (or ice) to cool and dilute the brine
- 12-16 lb whole turkey, thawed
Step 1: Prepare the Brine Base
In a large stockpot, combine 1 gallon of water with the salt, brown sugar, peppercorns, garlic, onion, herbs, citrus slices, and optional ingredients if using. Bring the mixture to a boil over medium-high heat, stirring until the salt and sugar are fully dissolved. This step ensures all flavors are well combined and the aromatics are activated.
Step 2: Cool the Brine Completely
Remove the pot from heat and allow the brine to cool to room temperature. To speed up cooling, you can add 2-3 cups of ice. Once cooled, stir in the additional gallon of cold water. This dilution is important for maintaining the right salinity.
Step 3: Submerge the Turkey
Place your thawed turkey into a large food-safe bucket, brining bag, or cooler. Carefully pour the cooled brine over the turkey until fully submerged. Weigh it down with a plate if needed to keep it fully under the liquid. Cover and refrigerate for 12 to 24 hours. If using a cooler, surround the bag with ice packs to maintain a food-safe temperature.
Step 4: Remove and Rinse
After brining, remove the turkey from the liquid and discard the brine. Rinse the bird thoroughly under cold water to remove excess salt and herbs. Pat dry with paper towels—this step is key for achieving crispy skin when roasting.
Step 5: Proceed to Season and Roast
Now your turkey is ready for roasting. Do not add any additional salt to the outside or cavity of the bird—the brine has already seasoned it throughout. Season with pepper, herbs, butter, or aromatics as desired. Roast as your recipe instructs, using a meat thermometer to ensure the internal temperature reaches 165°F in the thickest part of the breast.
Step 6: Rest and Carve
Once your turkey is perfectly roasted, let it rest for 20-30 minutes before carving. This allows the juices to redistribute, ensuring every slice is moist and flavorful. Then carve and serve your beautifully brined masterpiece!
Notes
Brining your turkey is an easy but impactful step that can elevate even a basic bird into something extraordinary. One of the best parts of using a brine is that it allows room for customization. You can tweak the citrus, switch up the herbs, or add your own unique blend of spices to reflect your flavor preferences. The base of salt and sugar does most of the heavy lifting, but the aromatics are what make your turkey truly memorable.
Watch Out for These Mistakes While Cooking
- Brining too long: Over-brining can lead to a mushy texture. Stick to the 12–24 hour window.
- Not cooling the brine: Adding the turkey to hot or warm brine can partially cook it, leading to food safety risks and uneven texture.
- Skipping the rinse: Failing to rinse the turkey after brining can result in an overly salty skin and gravy.
- Using too much salt: If you adjust the brine recipe, be careful not to increase the salt content beyond balance.
- Improper storage: Always keep the turkey cold while brining. Use a refrigerator or a well-iced cooler to avoid bacterial growth.
- Salting again after brining: The bird is already seasoned internally. Additional salt will likely overdo it.
Storage Instructions
If you’re prepping in advance, you can brine your turkey up to two days before cooking. Once brined and rinsed, you can store the bird in the fridge uncovered for up to 12 hours to allow the skin to dry out, which helps with crisping. Leftover cooked turkey should be cooled completely, stored in airtight containers, and consumed within 3–4 days. You can also freeze the brined and cooked turkey meat for up to 2 months.
Estimated Nutrition
(Per 6 oz serving of roasted brined turkey breast)
- Calories: 240 kcal
- Protein: 35g
- Fat: 9g
- Saturated Fat: 2.5g
- Carbohydrates: 2g
- Sugars: 1g
- Sodium: ~580mg
- Fiber: 0g
Frequently Asked Questions
Can I use this brine for a frozen turkey?
Only after it has completely thawed. Never brine a frozen or partially thawed turkey.
Do I need to boil the brine ingredients?
Yes, boiling helps dissolve the salt and sugar and releases flavors from the aromatics.
How long should I brine a 12-16 lb turkey?
A minimum of 12 hours and up to 24 hours is ideal for optimal moisture and flavor.
Can I reuse the brine?
No. Once a raw turkey has soaked in the brine, it should be discarded for food safety reasons.
Do I need to rinse the turkey after brining?
Absolutely. This removes excess salt and prevents the skin from being overly salty.
What if I don’t have space in the fridge?
Use a cooler packed with ice packs to keep the brining turkey at or below 40°F.
Will the turkey taste salty?
Not if you follow the recipe and rinse well. It will be seasoned, not salty.
Can I dry brine instead?
Yes, but it’s a different method. This brine is a wet brine, which adds moisture as well as flavor.
Conclusion
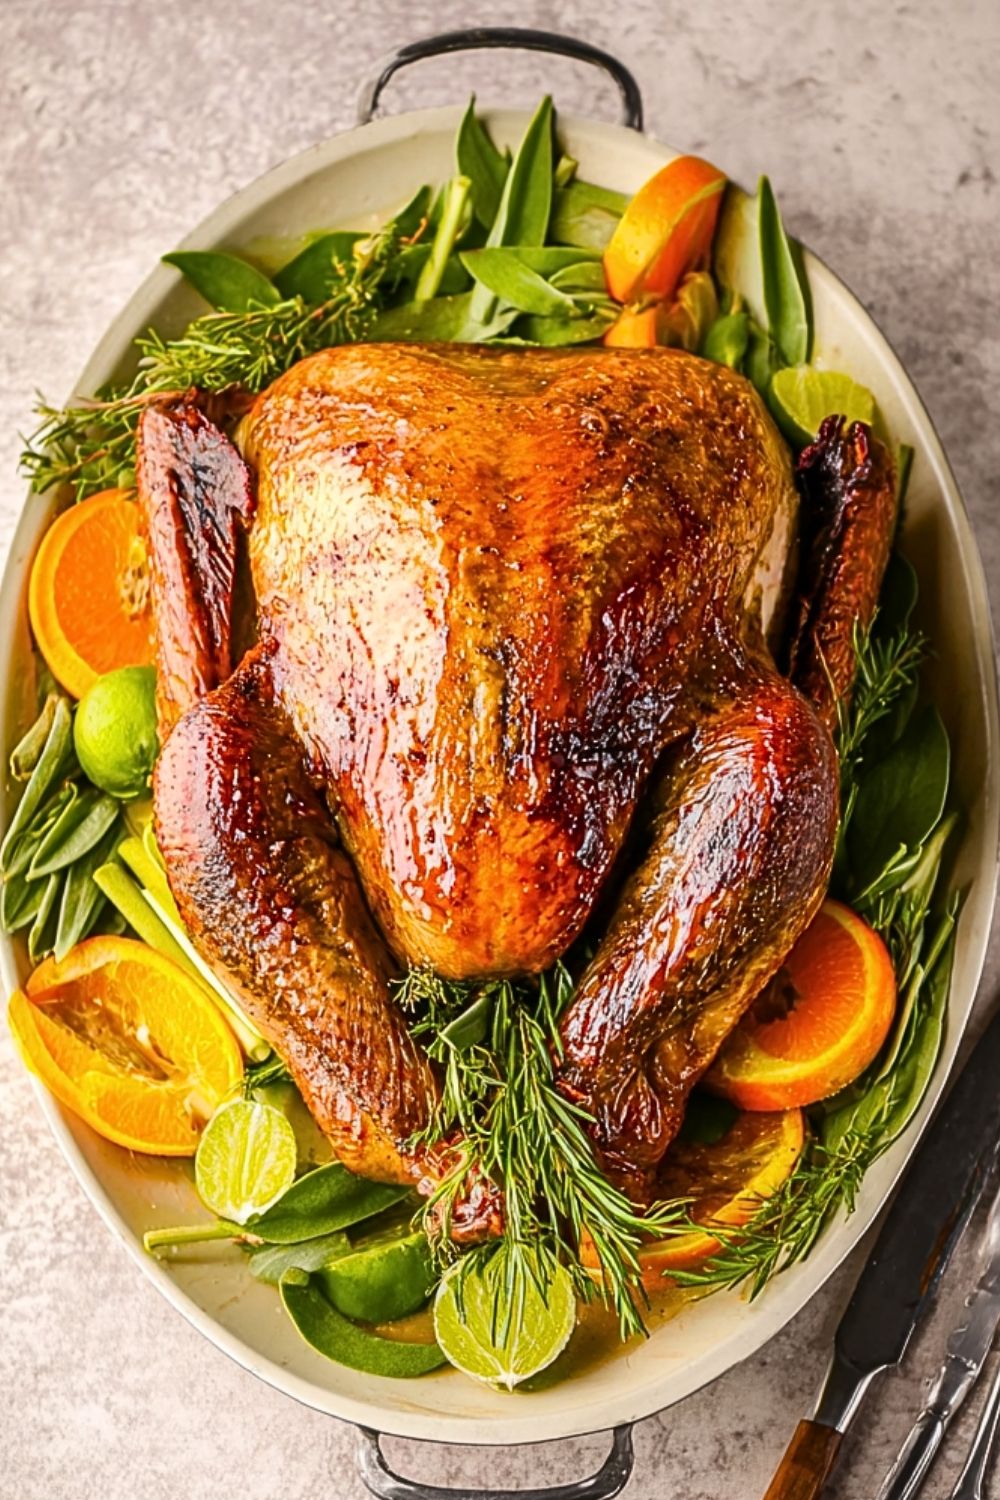
Using this Juicy Turkey Brine recipe transforms a traditional bird into something unforgettable—moist, flavorful, and worthy of a celebration. With simple ingredients and a bit of prep time, you ensure a crowd-pleasing dish that stands out on any holiday table. Skip the dry, bland turkey this year and give your bird the flavorful soak it deserves!

Juicy Turkey Brine
- Prep Time: 15 minutes
- Cook Time: 15 minutes
- Total Time: 12 to 24 hours
- Yield: 1 brined turkey (12–16 lb) 1x
- Category: Dinner
- Method: Brining
- Cuisine: American
Description
Transform your holiday turkey into the juiciest, most flavorful centerpiece with this easy Juicy Turkey Brine recipe. Using a mix of salt, sugar, citrus, and herbs, this brine infuses the bird from the inside out—perfect for impressing guests or simply enjoying a tender roast. Whether you’re looking for a quick prep before a feast, a reliable method for a juicy Thanksgiving turkey, or foolproof dinner ideas, this brine has your back. Ideal for beginners and seasoned cooks alike, it’s the ultimate easy recipe to upgrade your poultry game.
Ingredients
1 gallon water
1 cup kosher salt
1/2 cup brown sugar
1 tablespoon whole black peppercorns
1 tablespoon dried rosemary or 2–3 sprigs fresh
1 tablespoon dried thyme or 2–3 sprigs fresh
2 bay leaves
5 cloves garlic, smashed
1 large onion, quartered
2 oranges, sliced
1 lemon, sliced
1 tablespoon crushed red pepper flakes (optional)
1/2 cup apple cider vinegar or apple juice (optional)
1 gallon cold water or ice
1 whole turkey (12–16 lb), thawed
Instructions
1. In a large pot, bring 1 gallon water, salt, sugar, herbs, spices, garlic, onion, citrus, and optional ingredients to a boil, stirring until dissolved.
2. Let the brine cool completely, then stir in 1 gallon cold water or ice to dilute and chill.
3. Submerge the thawed turkey in the brine using a brining bag, bucket, or cooler. Ensure it’s fully covered.
4. Brine the turkey in the refrigerator or cooler for 12 to 24 hours.
5. Remove turkey, rinse well under cold water, and pat dry thoroughly with paper towels.
6. Roast your turkey using your preferred method. Do not add more salt.
7. Let turkey rest for 20–30 minutes before carving to retain juices.
Notes
Always cool the brine before adding the turkey to prevent partial cooking.
Rinse the bird well after brining to remove excess surface salt and aromatics.
Do not salt your turkey again after brining—it’s already well-seasoned.
Nutrition
- Serving Size: 6 oz
- Calories: 240
- Sugar: 1
- Sodium: 580
- Fat: 9
- Saturated Fat: 2.5
- Unsaturated Fat: 6
- Trans Fat: 0
- Carbohydrates: 2
- Fiber: 0
- Protein: 35
- Cholesterol: 85
Keywords: juicy turkey, turkey brine, thanksgiving recipe, easy dinner, holiday dinner, turkey ideas